Below are some photographs I took at the Crooked River National Grassland in Madras, Oregon earlier this year.
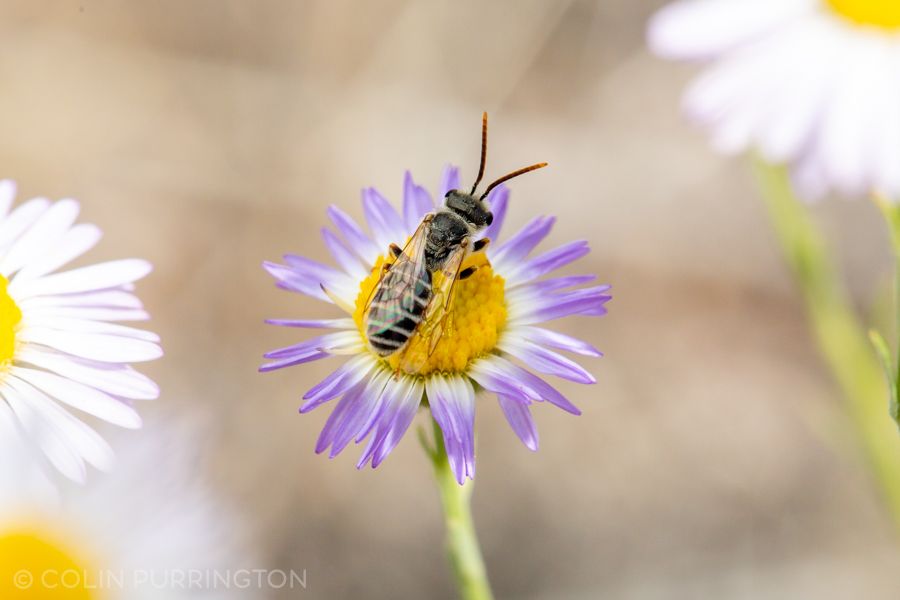
This is a male ligated furrow bee (Halictus ligatus). It was probably less than 1 cm long and very hard to photograph. Females collect pollen but I’m assuming this guy was just drinking nectar. Or perhaps just hanging out waiting for females. If you’re looking for ID tips, see page 121 of The Bees in Your Backyard and BugGuide. There’s also a fantastic guide to the species on iNaturalist.
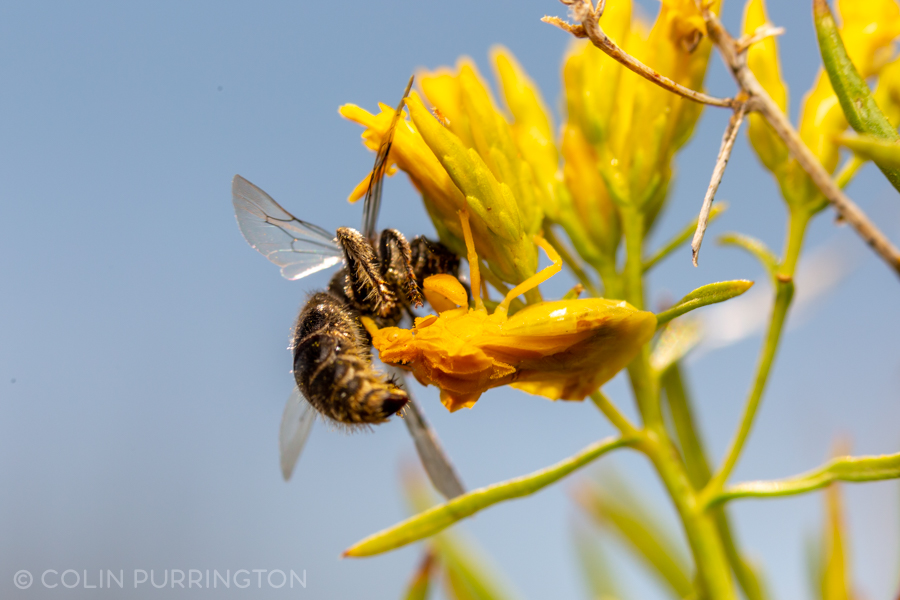
This is some sort of Phymata species, sucking juices out of a bee. They are just masters at camouflage. For an excellent summary of how they choose flowers that match their color and how they change colors, see this post.
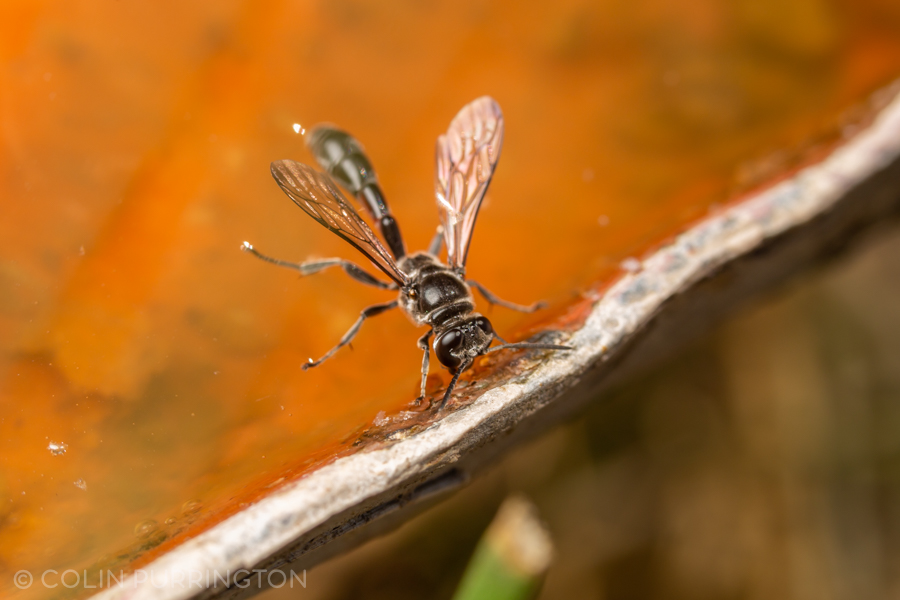
I’m not sure of species, but this wasp is in the genus Trypoloxylon. It was amazing to see them land on water. Females collect spiders (and nectar and water) while the males guard the nest, often a hollow twig. I have a similar species in my yard back in Swarthmore, Pennsylvania, and they are my favorite wasps.
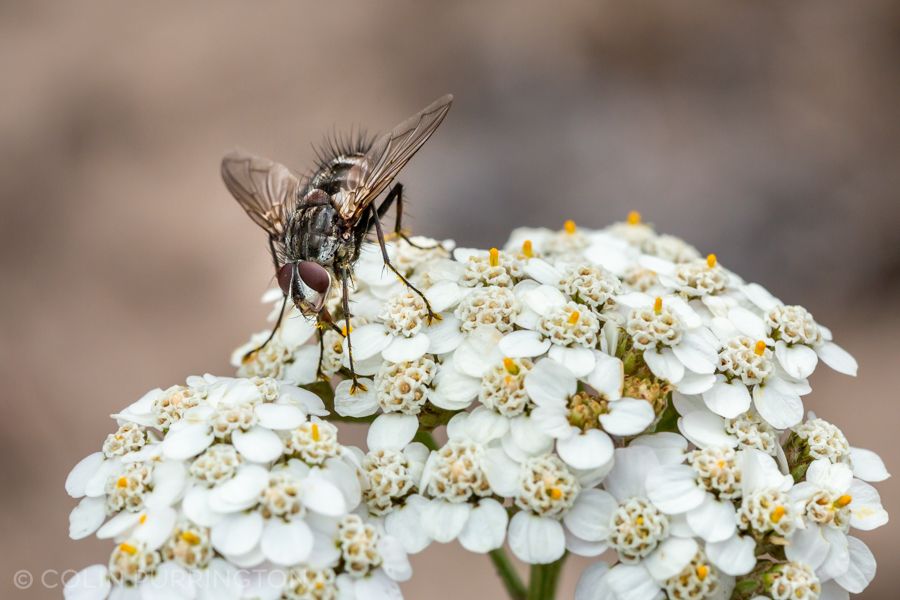
Some sort of Ptilodexia species, likely a parasite of scarab beetle larvae per literature on the genus. There were thousands of these flies in the area so there must be a huge population of scarabs there, too.
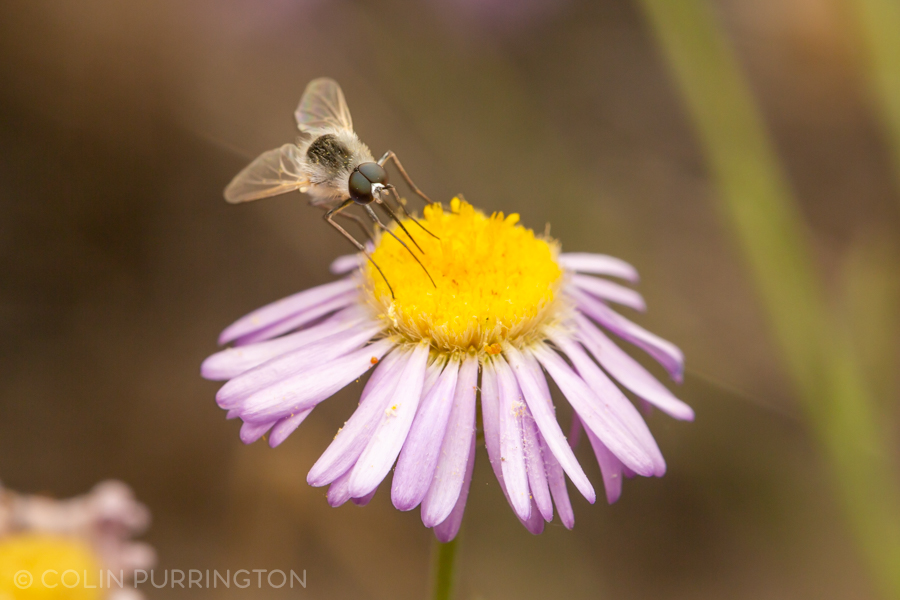
a Geron of some sort. I failed to capture a side view, so you can’t really see the humped back (of an old person) that the genus is named for. Likely parasitic on some Lepidopteran larvae.
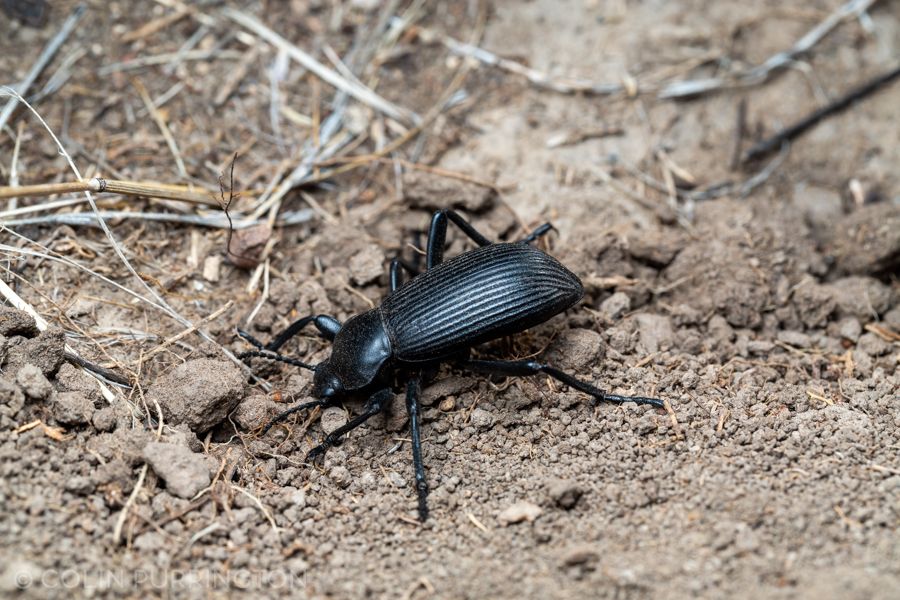
This is Eleodes obscura sulcipennis, and they were were so numerous you had to watch where you stepped. Reminiscent of the tanker bugs in Starship Troopers, especially when they go into a butt-up defensive posture. Here’s BugGuide information page if you’re curious. By the way, the common name, “circus beetle”, refers to Eleodes hirtipennis.
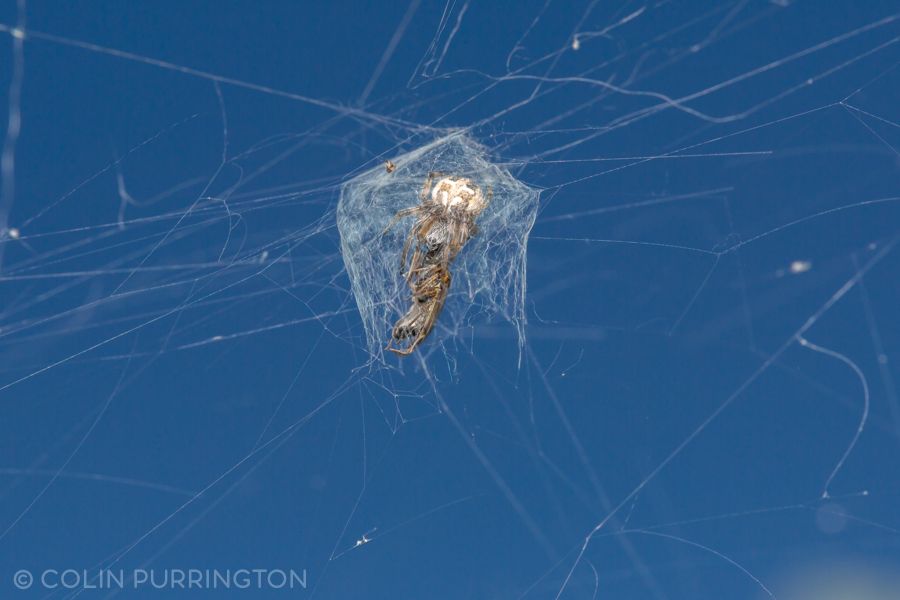
I’m guessing, but I think this might be a Metepeira. It was maybe 4 mm and the wind was blowing its web back and forth, so it was super hard to get any closer views.
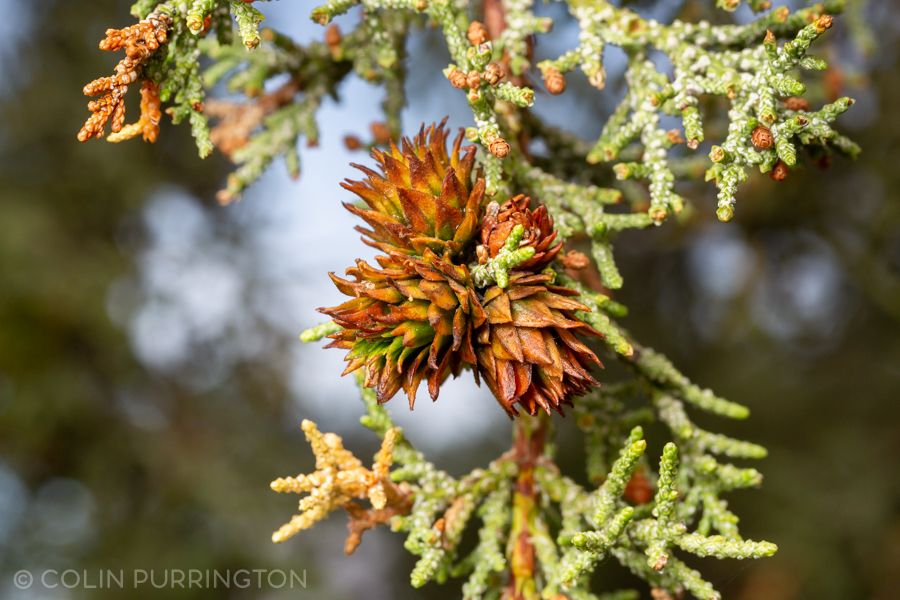
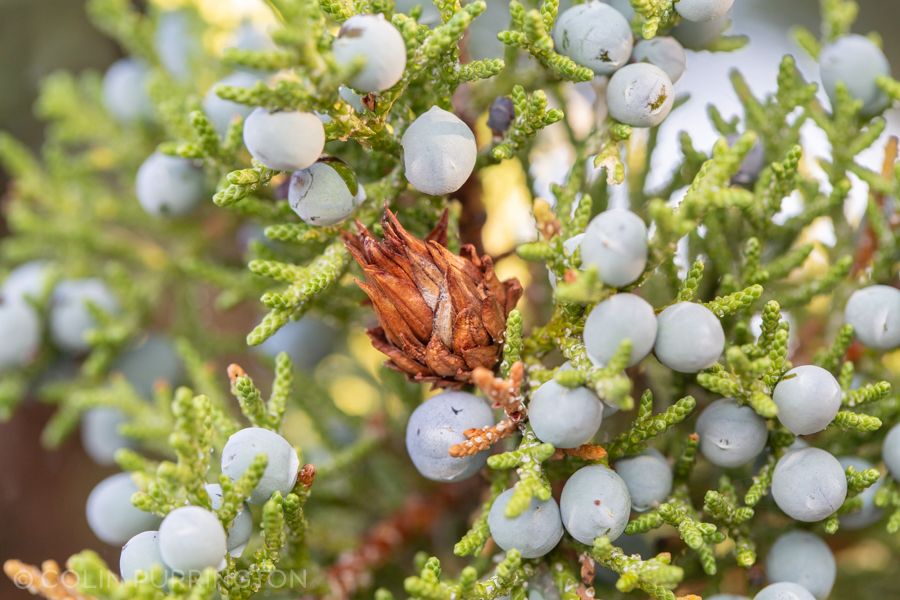
This juniper gall is the creation of an undescribed gall midge in the genus Walshomyia. Russo’s book, Field Guide to Plant Galls of California and Other Western States, refers to it is as “species B.” But per research by my dad and sister, the galls are often filled with a moth:
Purrington, F.F., and T.M. Purrington. 1995. Hienrichiessa sanpetella Neunzig (Lepidoptera: Pyralidae) is an inquiline in juniper midge galls (Diptera: Ceciomyiidae). Proceedings of Entomological Society 97:227.
This is the same species but shows the actual juniper cones. I.e., even though the gall looks like a gymnosperm cone, it’s not.
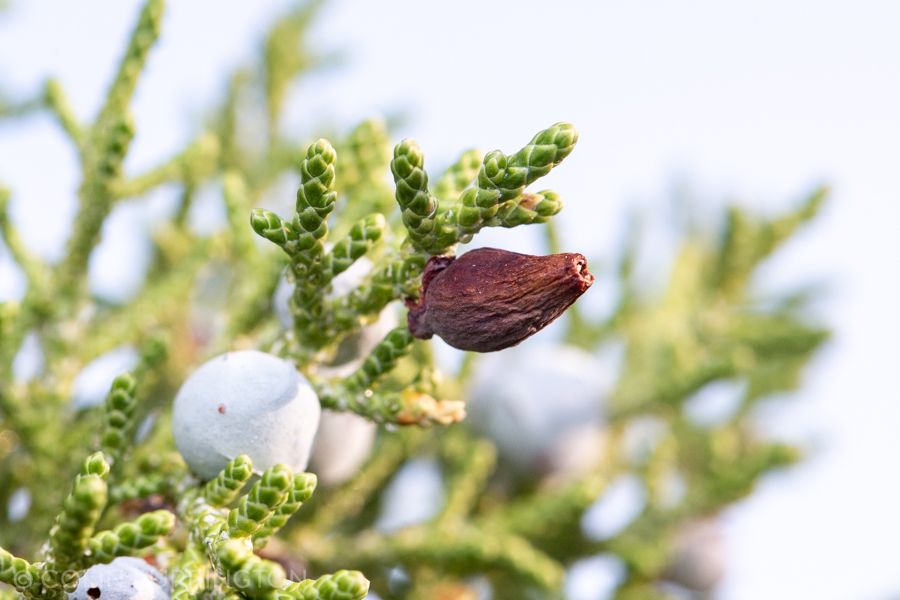
This is a juniper urn gall midge (Walshomyia juniperina). The tip splits open when the adult is ready to eclose. At that stage the urns resemble pods in the Alien franchise. I know, two references to science fiction movies in one post. It’s my blog and I can do what I want.
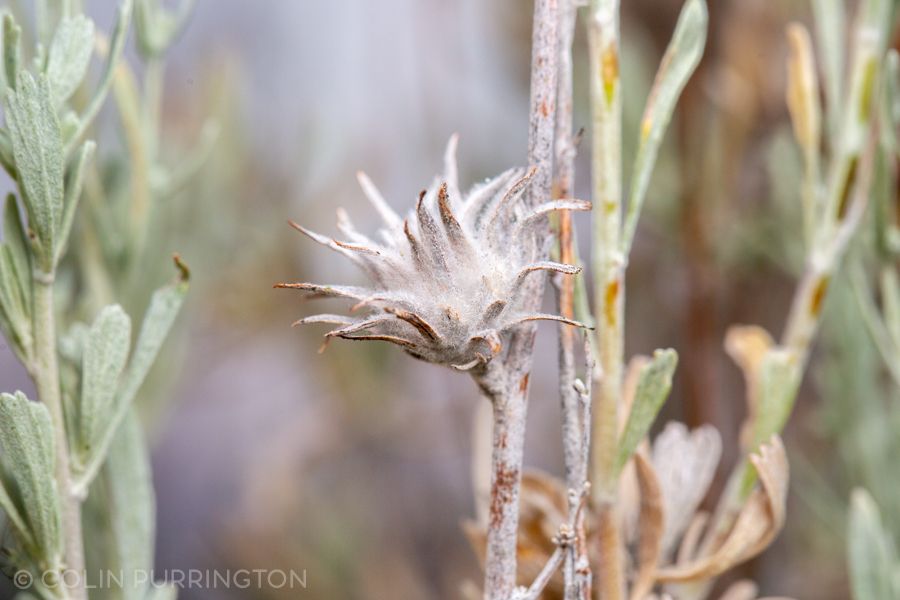
Sadly, I have no idea what makes this gall. Perhaps Rhopalomyia sp., but that’s just a guess given that so many species in the genus make galls on sagebrush. Here’s my iNaturalist observation in case you can help me out.
More pics from Crooked River National Grassland on my SmugMug account.

