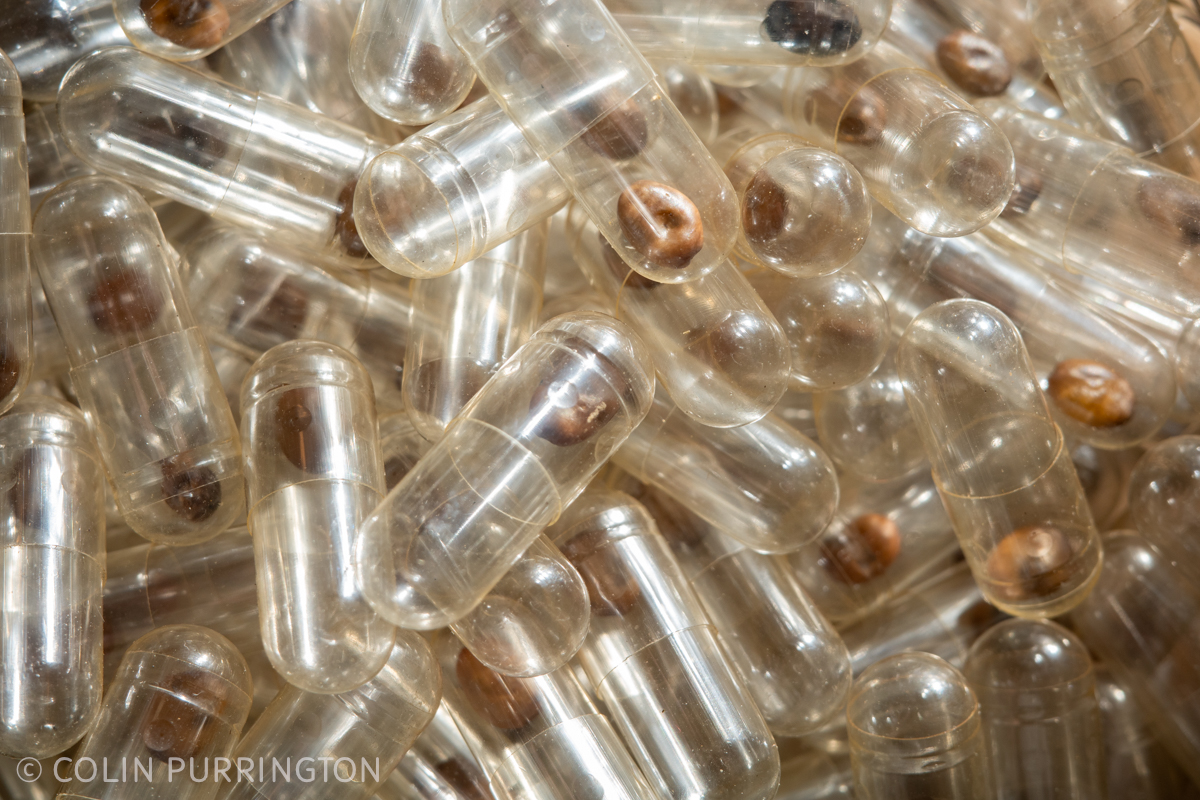
Last fall I collected several hundred redbud seeds and crammed them into gel caps so that I could document the wasps that emerged in the spring. This is a continuation of my 2025 post that described some of the species that were associated with the tree in the fall when the seedpods were still attached.
Before I get to the wasps a quick FYI: no redbud seed bruchids (Gibbobruchus mimus) emerged from the collection of several hundred seeds, which is totally expected because the species overwinters as adults (pic). The wasps below are likely parasitoids of the beetle, but I haven’t confirmed that and thus some might be simple seed predators.
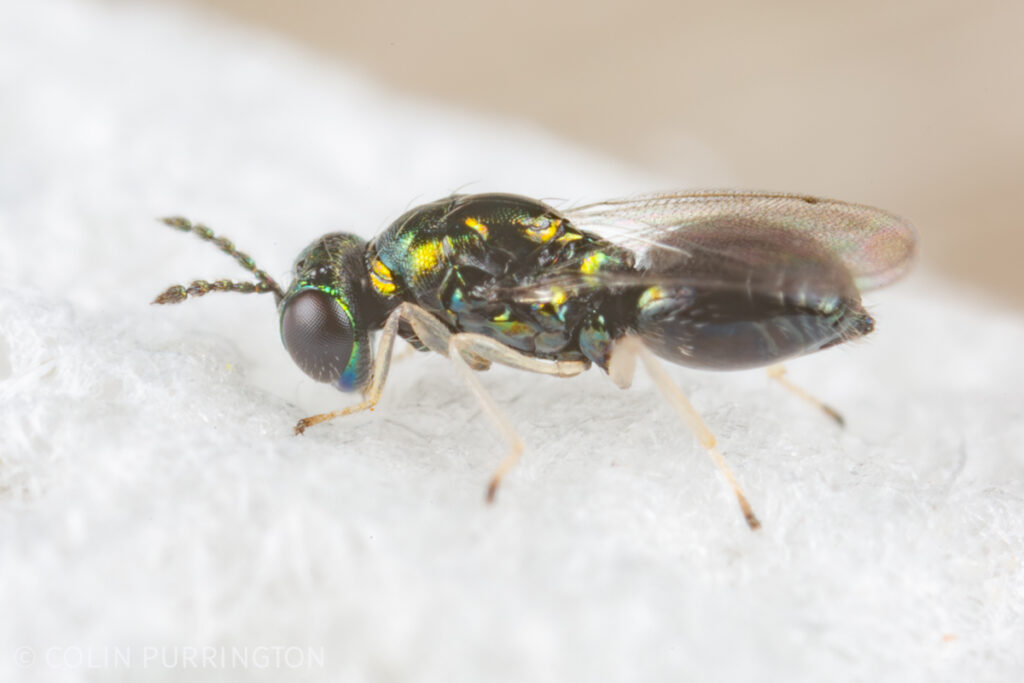
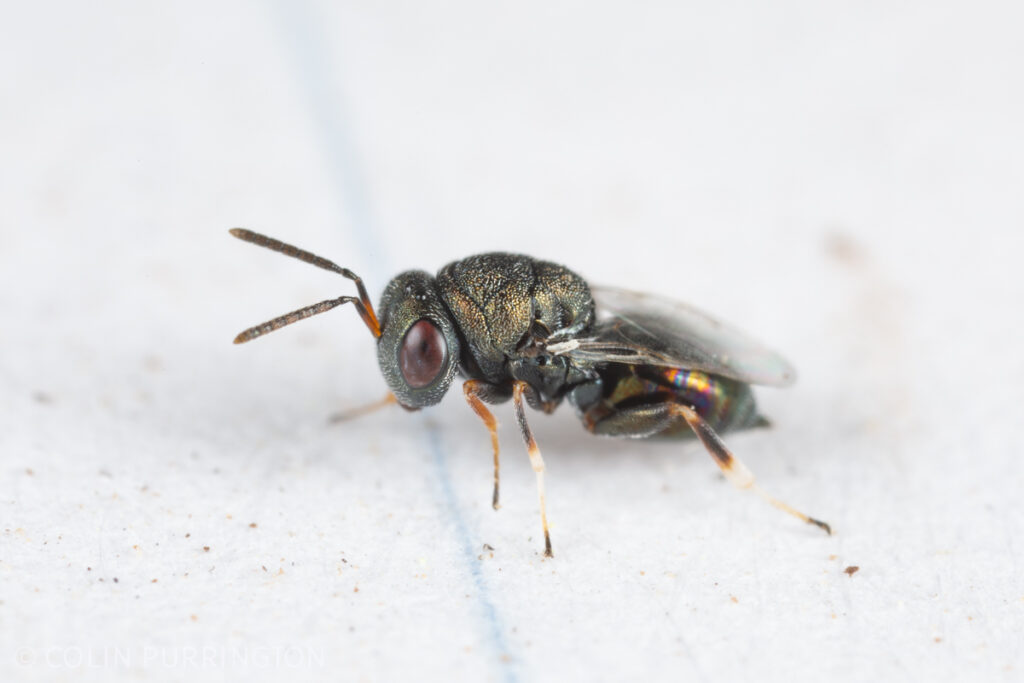
The big excitement (for me, at least) was the emergence of what I believe is Horismenus missouriensis (Eulophidae), a species that is known to parasitize the redbud seed bruchid but that I didn’t see in my 2025 census. So it was the species I was hoping to find, plus it’s beautiful. Both photographs are hyperlinked to iNaturalist if you’d like to confirm or correct my identification, which I based in part on photographs in Hansson et al. 2004.

The other mild surprise is that I found zero Heterospilus sp. (Braconidae). The most likely reason is that it’s rare, as it was in the fall. Klingeman and Carrington 2005 observed it emerging from seeds. Here are my photographs from 2025.
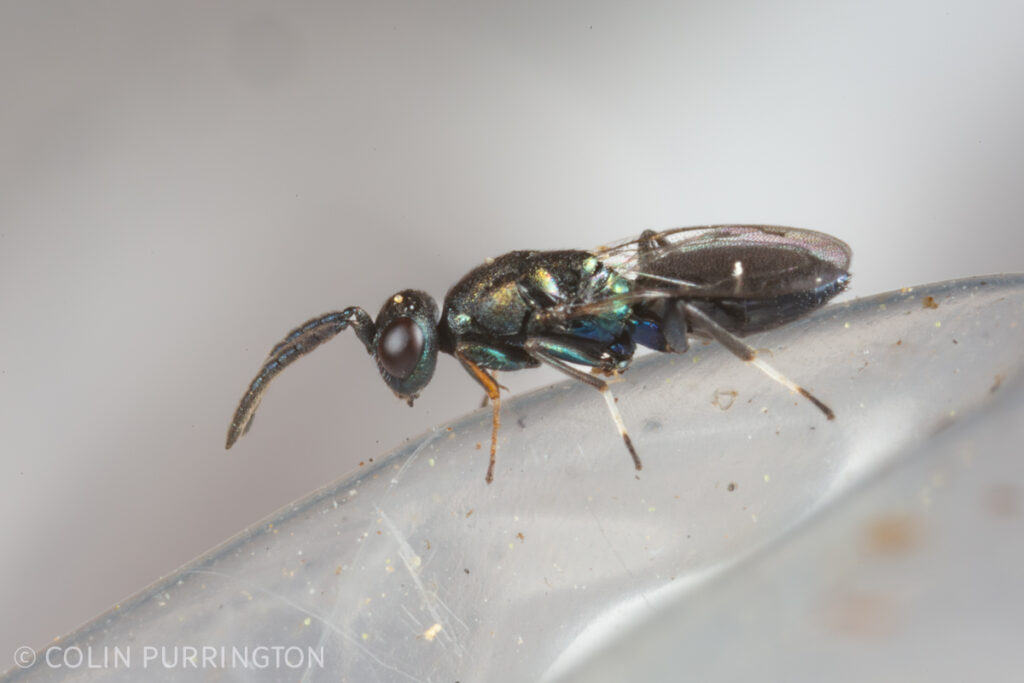
Only a small number of Eupelmus pulchriceps (Eupelmidae) emerged. It’s a beautiful wasp so I was hoping to see more of them.
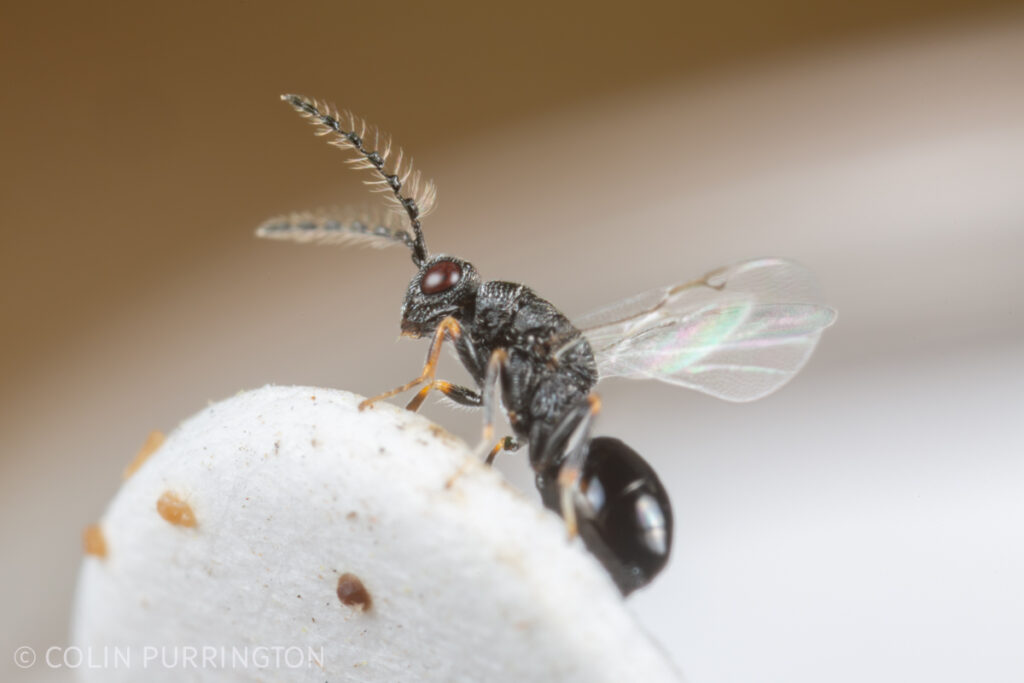
Eurytoma sp. (Eurytomidae) individuals were very common on the trees in the fall and were very well represented among the emergers. The males (left image) have distinctive plumose antennae.
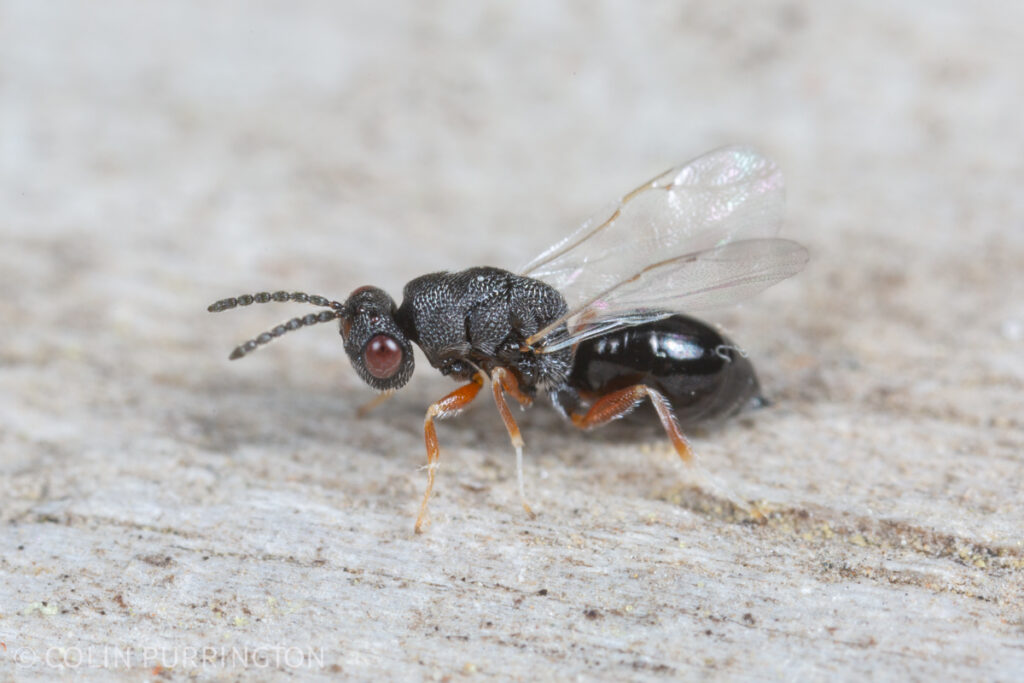
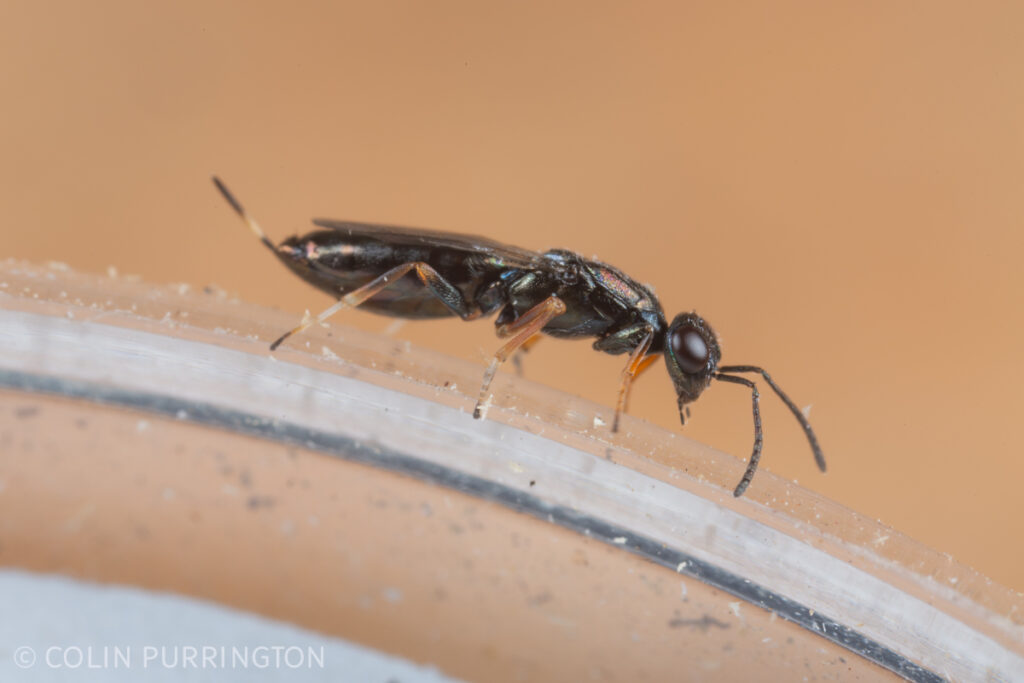
Another common emerger was Dinarmus sp. (Pteromalidae), possibly D. basalis. I think I have correctly identified the sexes (male on left) but I’m not positive. Given how hard small wasps are to identify, I’m not 100% certain these are the same species or even the same genus. As with all the other photographs these are hot-linked to their respective iNaturalist locations, so please weigh in if you have expertise.

Future
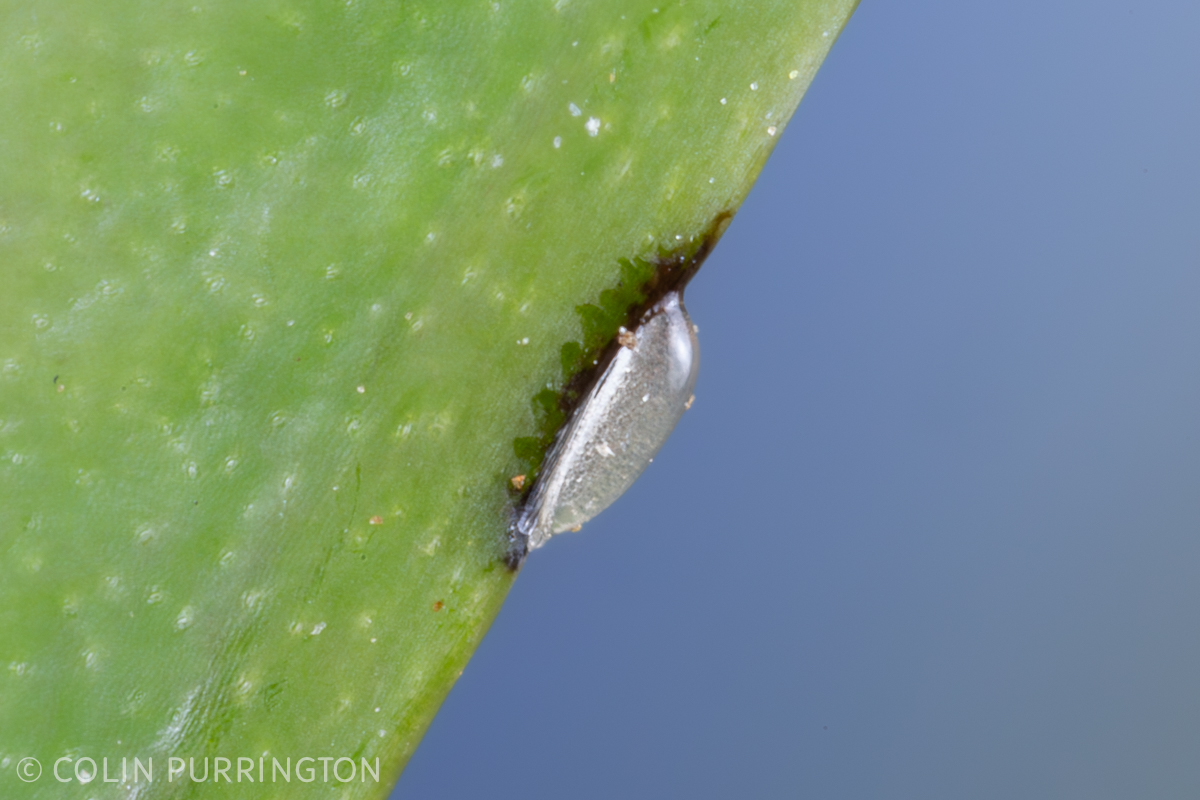
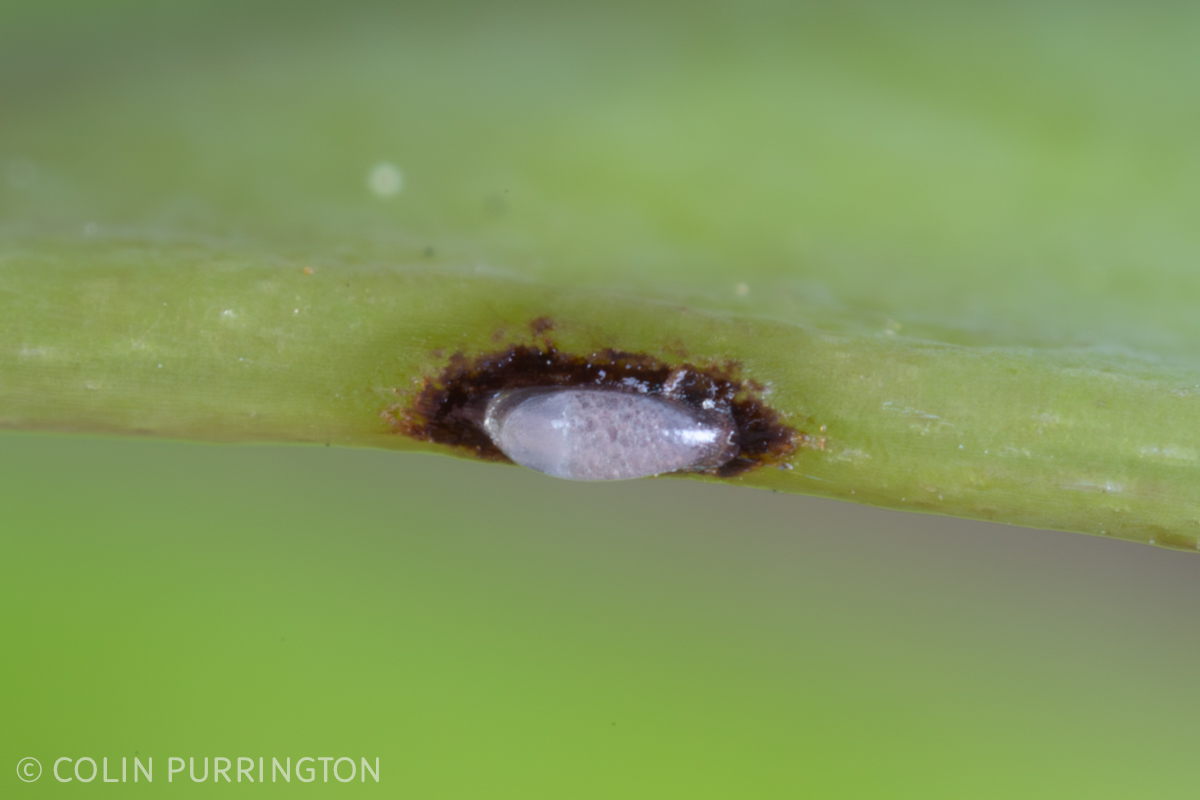
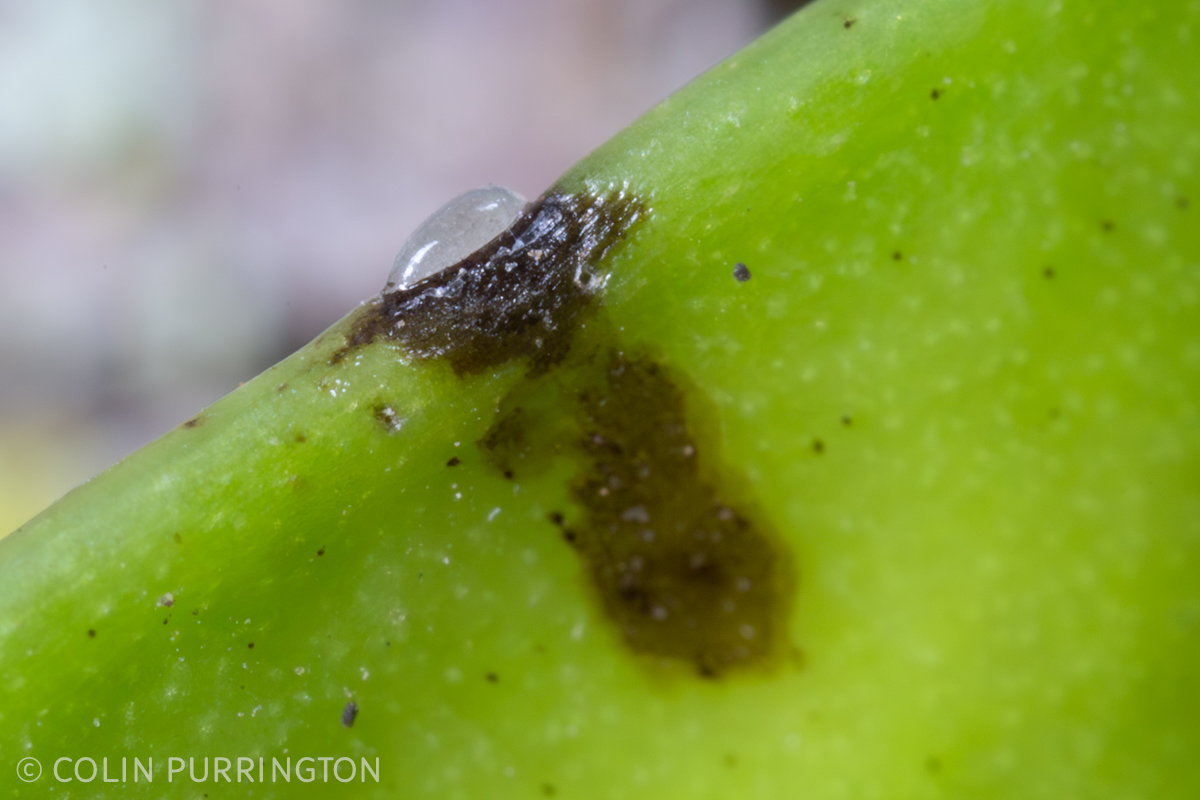
Something I’d love to look at someday is whether the redbud bruchid is attacked at the egg stage by fairy wasps (Mymaridae). The eggs are very easy to find on the developing pods and I imagine there is a way to cover the location with a miniaturized cage that could trap the emerging wasp. Here are some photographs of the eggs. Sometimes there is a line of pigment that Santiago-Blay and Turcotte 2024 assert is caused by feeding damage.