This spring I decided to figure out which bird species are decimating my peas, with the hope that an ID might help me better protect my crop next year. Sneaking up on my allotment so as not to spook the birds, it didn’t take me long to figure out that the culprits were mainly house sparrows. Usually a large flock of them. As proof, here’s Exhibit A, a female house sparrow with a big chunk of a leaf in her mouth.
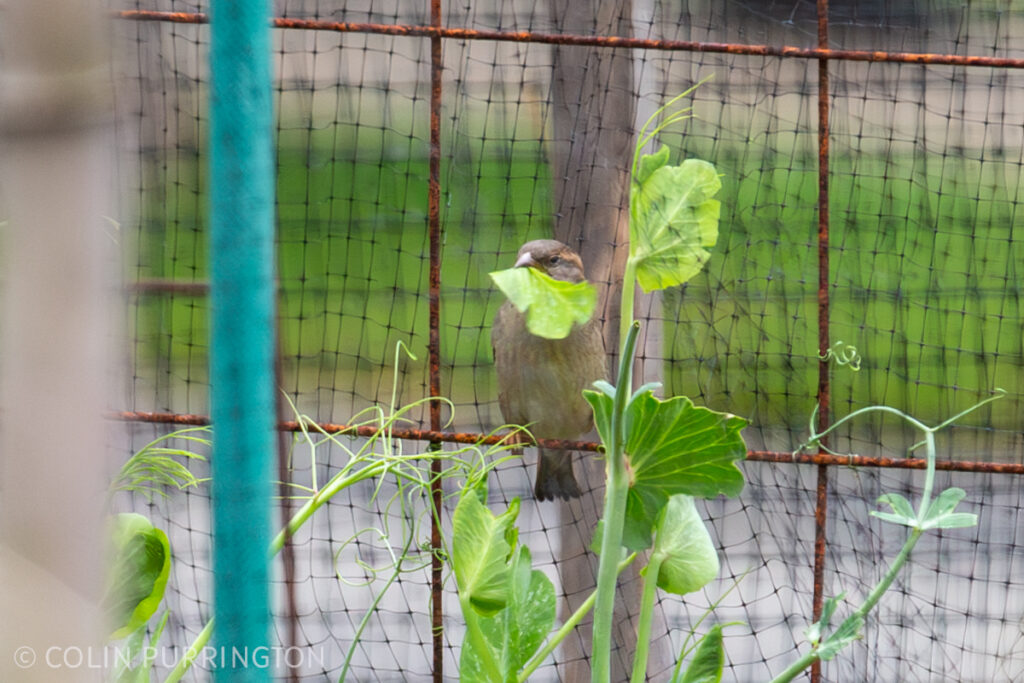
But I’ve also observed northern cardinals and American goldfinches doing the same, so I can’t blame everything on the sparrows. Indeed, I suspect I’d see additional species helping themselves if I camped out under cover of a bird blind for a day. Pea shoots are just that good.
Naturally, I immediately ran out and purchased bird netting and fully enclosed my trellises in a large box, complete with multiple doors made from overlapped netting, all pegged at the ground with rocks. The netting is delicate and black so it’s hard to see in the photograph below but trust me, it’s there and it covers everything rather tightly.

But after I set it all up the damage to the pea plants continued at pretty much the same level as before. Please refer to Exhibit A, above, and note how the background of the photograph shows the bird netting — the birds just found tiny gaps in the netting, ate their fill, then let themselves out. The cardinals and finches weren’t deterred much, either, and at one point I saw all three species inside, happily munching away.
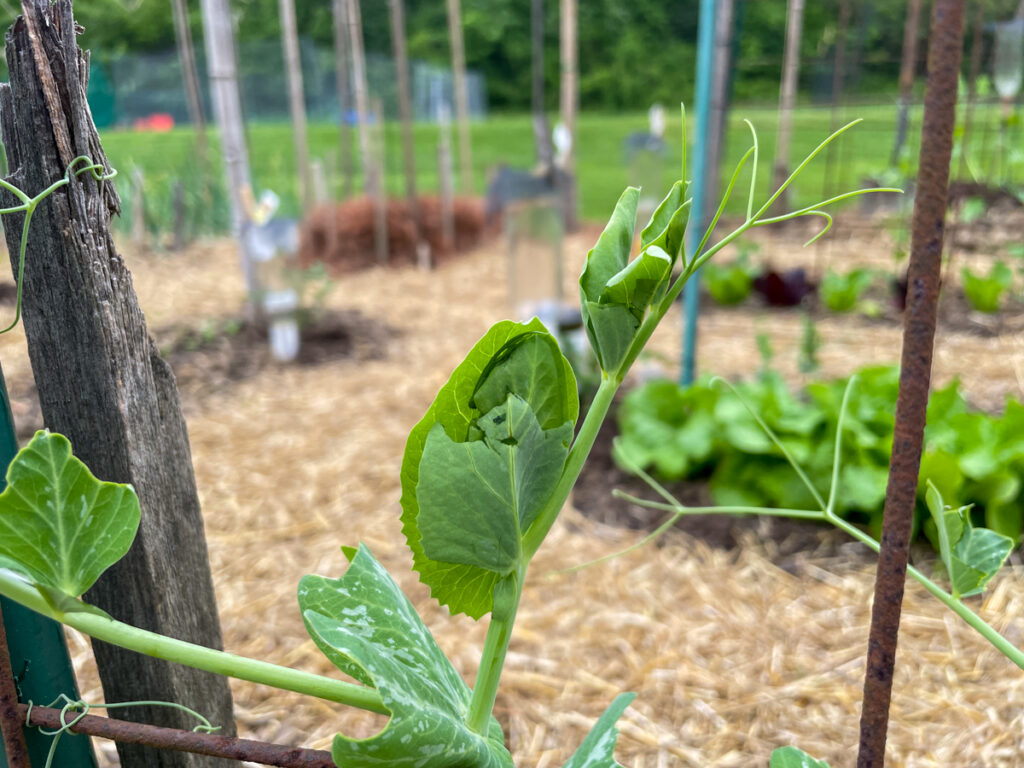
Below are photographs of the damage in case you’re interested why I’m so worked up about this situation: growth on primary meristems are nibbled off, leaves covered in tiny beak-shaped compression wounds, shoots bent when fat birds perch on the stem while foraging, severed branches left on the ground. When I surprised the birds I could see them flying off with pieces still in their beaks.
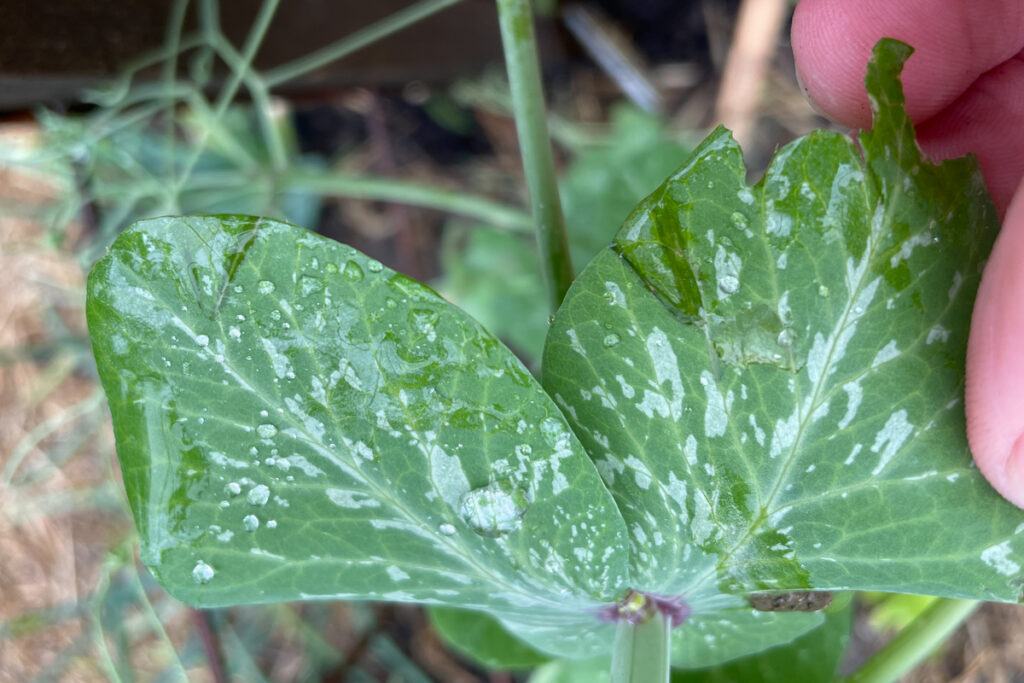


I should point out that my allotment is just one of many, and other people have completely unprotected pea plants (gasp!). So I’m wondering, why bother navigating my cage system when there is plenty to eat elsewhere?? Although other people’s plants certainly show damage, whenever I spy on the gardens from afar the birds seem to be on mine plot, on my peas. I’m thinking they must prefer the varieties I’ve planted, all heirloom varieties that climb (‘First 13’, ‘Magnolia Blossom’, ‘Tall Telephone’, and ‘Purple Podded’).
Perhaps the dwarf, self-supporting varieties that most people grow have more lignin and such in the stems and leaves, rendering them less palatable to birds. In support, I’d note that of the varieties I have the birds seem to prefer ‘Magnolia Blossom’, a sugar snap pea (Pisum sativum var. macrocarpon, I think) which Burpee says has “edible tendrils” (tendrils = shoots to pea folks, I think). The Ottawa Gardener, writing about peas with edible shoots and tendrils, says something similar: “I’ve noticed that most recommended varieties are those with edible pods which may be [sic] because the shoots are less fiborous [sic] or sugary.” Andrew Barney says something similar about peas with edible leaves: “any variety with both p / v genes for low fiber in the pod would be a good candidate for this. Plants with lower fiber in the pods also have lower fiber in the leaves,” adding that leafcutting bees (Megachile spp.) also seem to have a preference for tender-leafed types.
So, what to do? I think for this season I’m just going to keep fussing with the netting to minimize the damage. But next year I’ll replace it all with stiffer netting that can be better fastened together with twist ties and such. It will be a lot of work but man I love fresh peas and I don’t like to share.
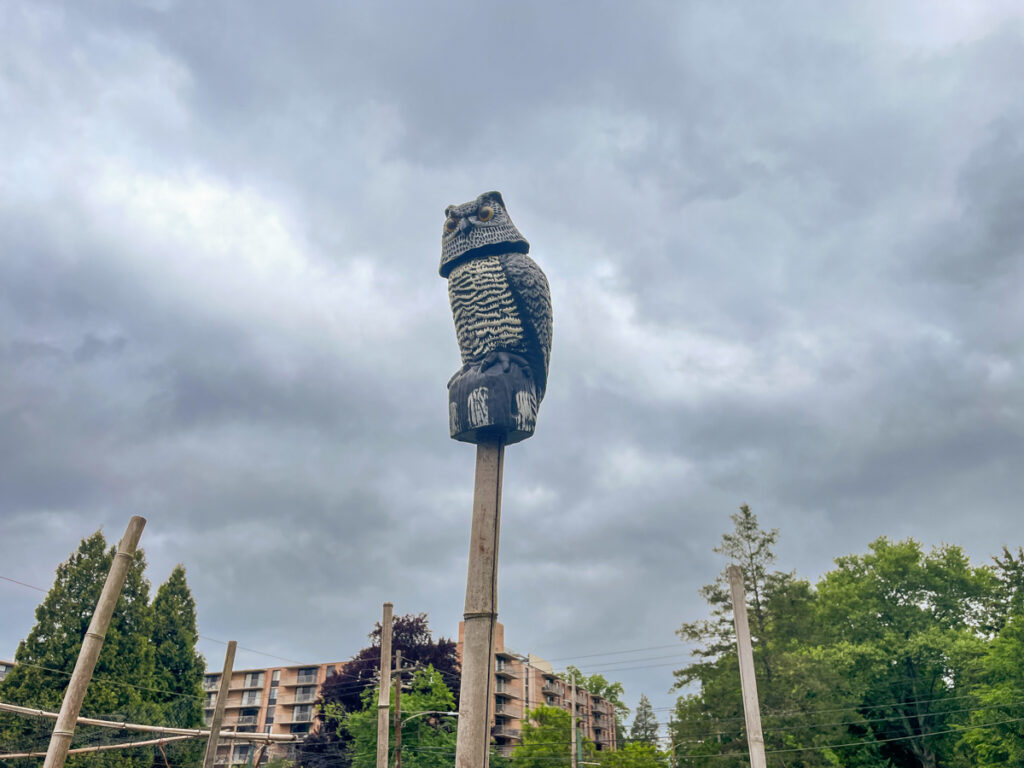
Anyone have suggestions? I’ve tried a fake owl (birds don’t care at all) but I haven’t yet experimented with holographic tape, threatening mylar balloons, or CDs suspended from monofilament. I’m think none of these will work. What I’d really like to do is leave a hungry cat inside the trellis cage. But I know that would be frowned upon by the locals. Same for the laser defense systems that some vineyards use.
