Mock-orange scissor bee (Chelostoma philadelphi)

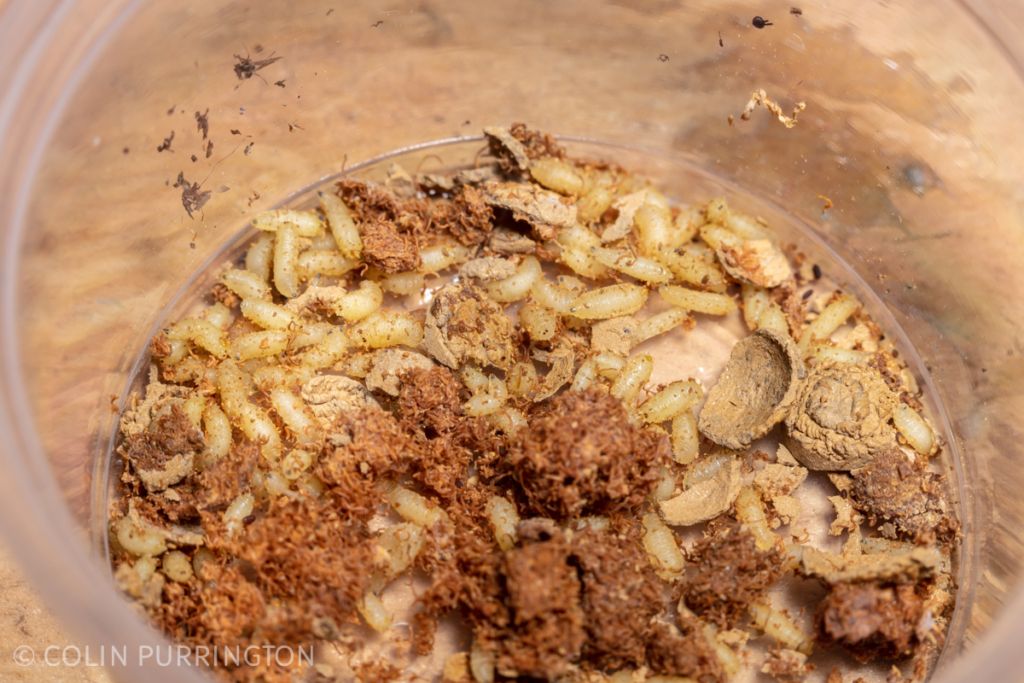
Some photographs of Chelostoma philadelphi, the most common guest at my mason bee hotel in past years. Approximately 7 mm in length and all black unless covered in pollen. Seems to prefer nest holes that are 1/8″ in diameter. In looking at photographs online they seem to show up on a variety of flowers (perhaps with preference for asters), but females are reported (Sedivy et al. 2008) to collect only Philadelphus pollen for use in nest provisions for her brood.  

Chelostoma philadelphi in flight
Chelostoma philadelphi with pollen load
Chelostoma philadelphi
Chelostoma philadelphi covered with pollen

My photo loss nightmare

As if 2021 wasn’t bad enough, the external hard drive that holds approximately 100,000 of my photographs died. And my backup drive turned out to be no help at all. I’ve detailed the whole catastrophe in case it might help others avoid the mistakes I made. Mistakes were definitely made.

The disaster started in November when I decided to put my entire library online in case my external drives ever failed or were destroyed (say, in a fire). I have a SmugMug account with unlimited storage, so all I had to do was set up a Publish Service with yearly Smart Albums, then hit Publish. This is all very easy to set up and allows one-click syncing of physical and virtual copies.

The only pain was that the process of uploading each album (~5,000 pics each) can take days and ties up Lightroom. So I would just set multiple years up on the Publish task and leave my computer to do its thing. And while Lightroom hummed away I did yard work, cooked, and cleaned the chicken coop. I’d check back every few hours just in case Lightroom stopped uploading, which happened a lot. But that’s normal with Publishing actions so I’d just restart the publish process on the remaining, unpublished photographs in each album and walk away. Days went by like this, and I was slowly getting my collection online, with perhaps 30,000 photographs to go. The remaining photographs were large RAW files (50-60 MB each), so I wasn’t too alarmed by the glacial upload speeds and the frequent need to restart the publishing process.

Failure of primary external hard drive

At some point in this process the hard drive simply unmounted. Disk Utility deemed it unfixable.

The failed drive (bottom): G-Technology 4T USB 3.0 / FireWire 800.

Backup drive to the rescue?

With the primary drive out of commission (oh, well, that happens) I simply pointed Lightroom to my backup photographs on the other 4T drive. It was a slower, cheaper drive but it was a clone of other drive thanks to nightly updating I did with SuperDuper! software ($27.95). Lightroom made this switch flawlessly — the number of photographs in my catalog was exactly the same as it was when using the dead drive. Phew. So I ordered a new backup drive and then continued the uploading to SmugMug, now even more convinced that I needed virtual copies of all my photographs.

But the uploading process still kept hanging, and I eventually discovered that the Publishing process was choking on missing files. But this new drive was just fine, so I was perplexed. After a bit of poking around I discovered that approximately 30,000 originals were missing. The Preview files were there, just no originals. My guess is that the original drive failed over a week or so, and SuperDuper! faithfully copied all the errors onto the backup drive. And because those missing originals were never uploaded to the cloud, I had truly just lost 30,000 photographs. Family pics, nature pics, etc. All gone, forever. I was horrified. I don’t deal with loss well.

Data Rescue 3 to the rescue?

But because the working drive used to have those files, I hoped I might be able to get them back using Data Rescue 3, which I own. It worked, but the files had to be manually placed in the correct Lightroom folder and then rematched to the catalog. This process took weeks and was extremely unpleasant. And to my dismay, I soon realized that a large percentage of the files were damaged. I was seriously considering just aborting the entire process, or perhaps dedicating a third hard drive for housing the tens of thousands of unhomed, potentially damaged files that I’d recovered. The process of fixing the mess could easily take me thousands of hours, all unpleasant.

Disk Warrior to the rescue?

I decided to buy Disk Warrior ($120), which many people said worked wonders on drives that Disk Utility couldn’t repair. Maybe, I hoped, the files were OK on the original drive and only became corrupted during the cloning process. I know that’s delusional thinking, but I was desperate. And Disk Warrior couldn’t repair it. But for some reason it tricked the Finder into allowing the disk to be mounted. And when I tunneled into the drive to see whether the original files were there, they were there — and undamaged.

I then tried to use the clone feature on Data Rescue 3 to make a copy of the damaged drive. That process was slow but appeared to be working. E.g., at one point in the process it needed another 56 hours to complete step 2 of 3.

But the after four days the estimate kept growing, eventually suggesting it might take several years. I decided to abort because the drive was likely to fully die before the clone ever completed. Or I would die of old age, waiting. Both seemed likely.

It was agonizing. I knew the files were there … but the drive was so slow for some sectors that I couldn’t get them. E.g., if I used the finder to drag a file from the damaged drive to a new location, it choked. Sometimes it worked but there were thousands of files that simply couldn’t be copied.

FreeFileSync to the rescue

After some searching online, I discovered several programs that were capable of slowly copying directories of files. FreeFileSync turned out to be just the ticket. I used it to copy whole months of photographs from the damaged drive to the new one. Each copy process might take days but it would plug away even though read speeds would go to near zero for hours. Identifying the missing files and getting them all copied took weeks, but it worked. I ended up giving money to the brilliant folks at FreeFileSync.

Lessons I’ve learned

After approximately two months of near constant work I have recovered every single photograph. In case helpful, here are some tips to avoid a similar mess.

  1. Regularly check Lightroom for missing originals and for originals that are missing Previews. The reason for the latter is that Lightroom cannot make previews from present but damaged originals.
  2. Only after I am convinced that files are present and healthy do I invoke a synchronization action to update my backup drive. I use FreeFileSync.
  3. A single backup drive is insufficient. I purchased an additional, portable drive (LaCie Rugged) that I now update every week but unplug and keep in a fireproof lockbox. I’ll probably get a fourth drive that I can keep at a friend’s house.
  4. Online backups are critical. But I already knew that.
  5. Don’t unduly stress a drive with massive Lightroom tasks. I decided to buy a LaCie SSD drive for this reason (because no moving parts).
  6. Check drives occasionally to see whether they are going bad. Disk Utility is OK for this but I might also invest in DriveDx.

Now I can get back to taking and posting nature pics. I’ve missed it.