
Per posts on Reddit and Facebook, jars baited with malbec can trap Houdini flies (Cacoxenus indagator), an invasive kleptoparasite of solitary bees in the genus Osmia. The species was first reported in New York in 2011 and has since appeared in Maryland, Massachusetts, New Jersey, Oregon, Pennsylvania, Virginia, Washington, and British Columbia. For anyone with an insect hotel in an affected area, brood losses can be considerable so the news of a control method is welcome news. Currently hotel owners deal with the parasites by squishing them one by one, vacuuming them up, or trapping them on sticky cards situated in the eaves. All of these techniques seem futile given that a single Houdini fly can leave hundreds of eggs.
The trap
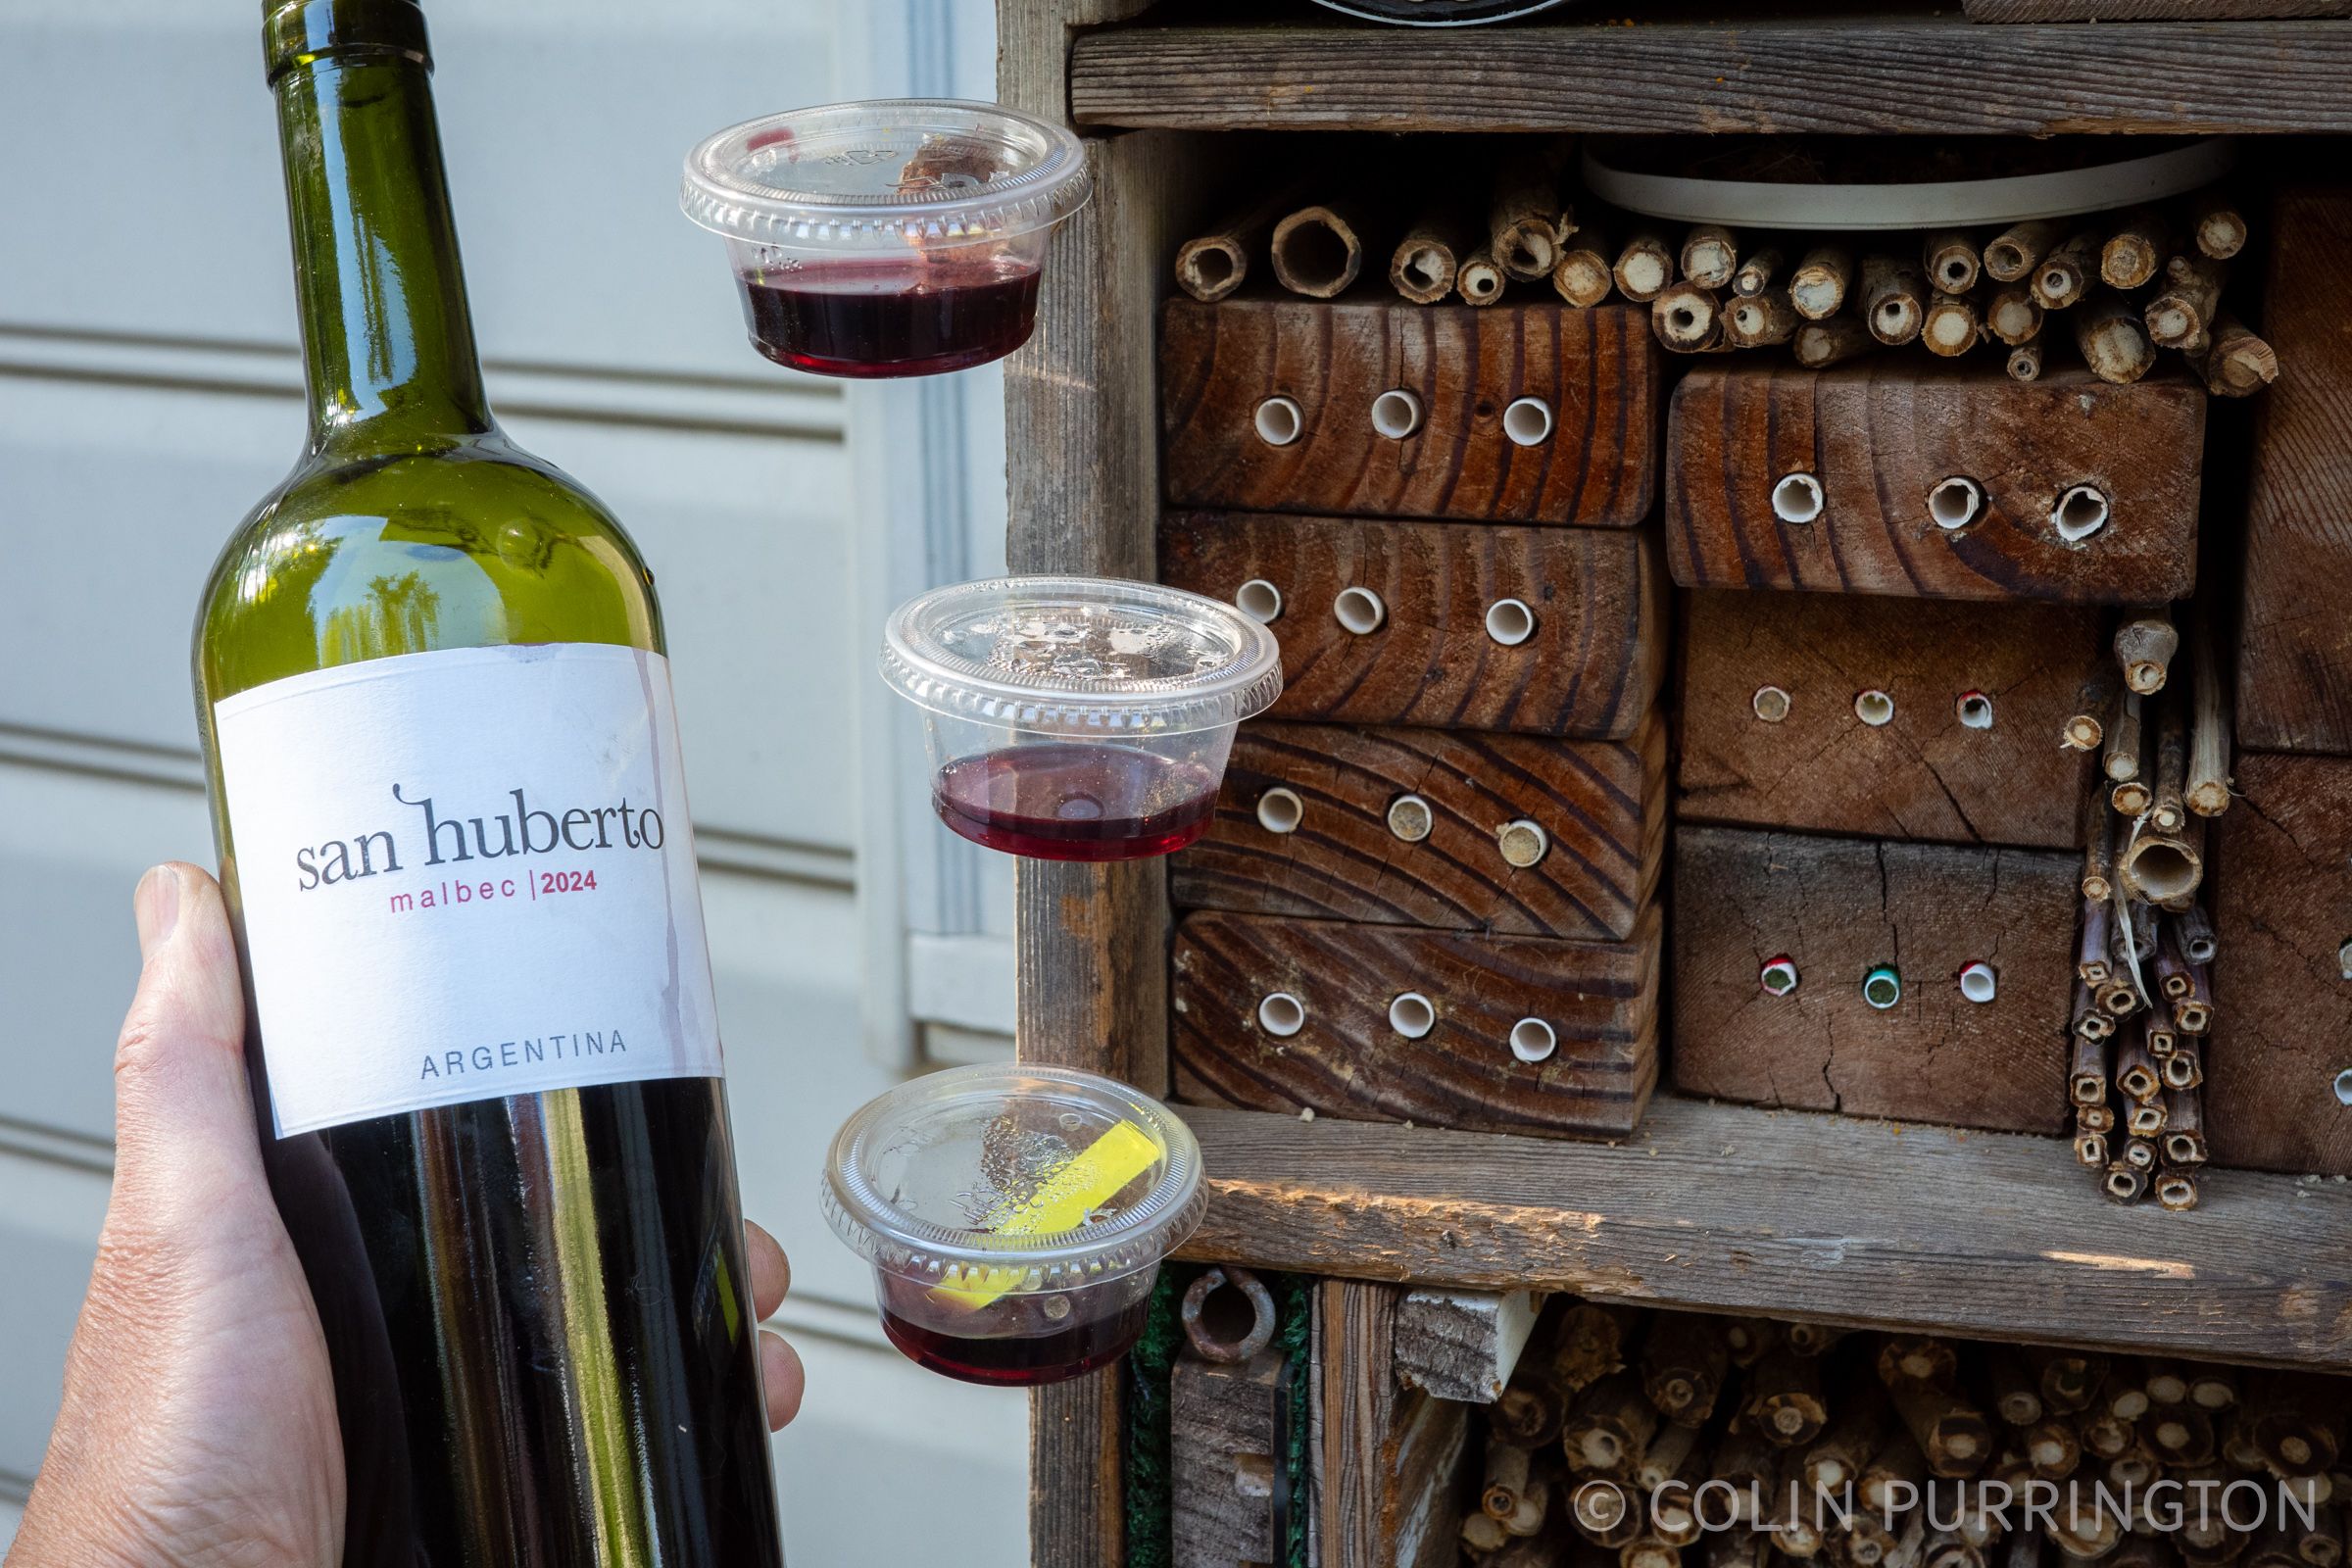
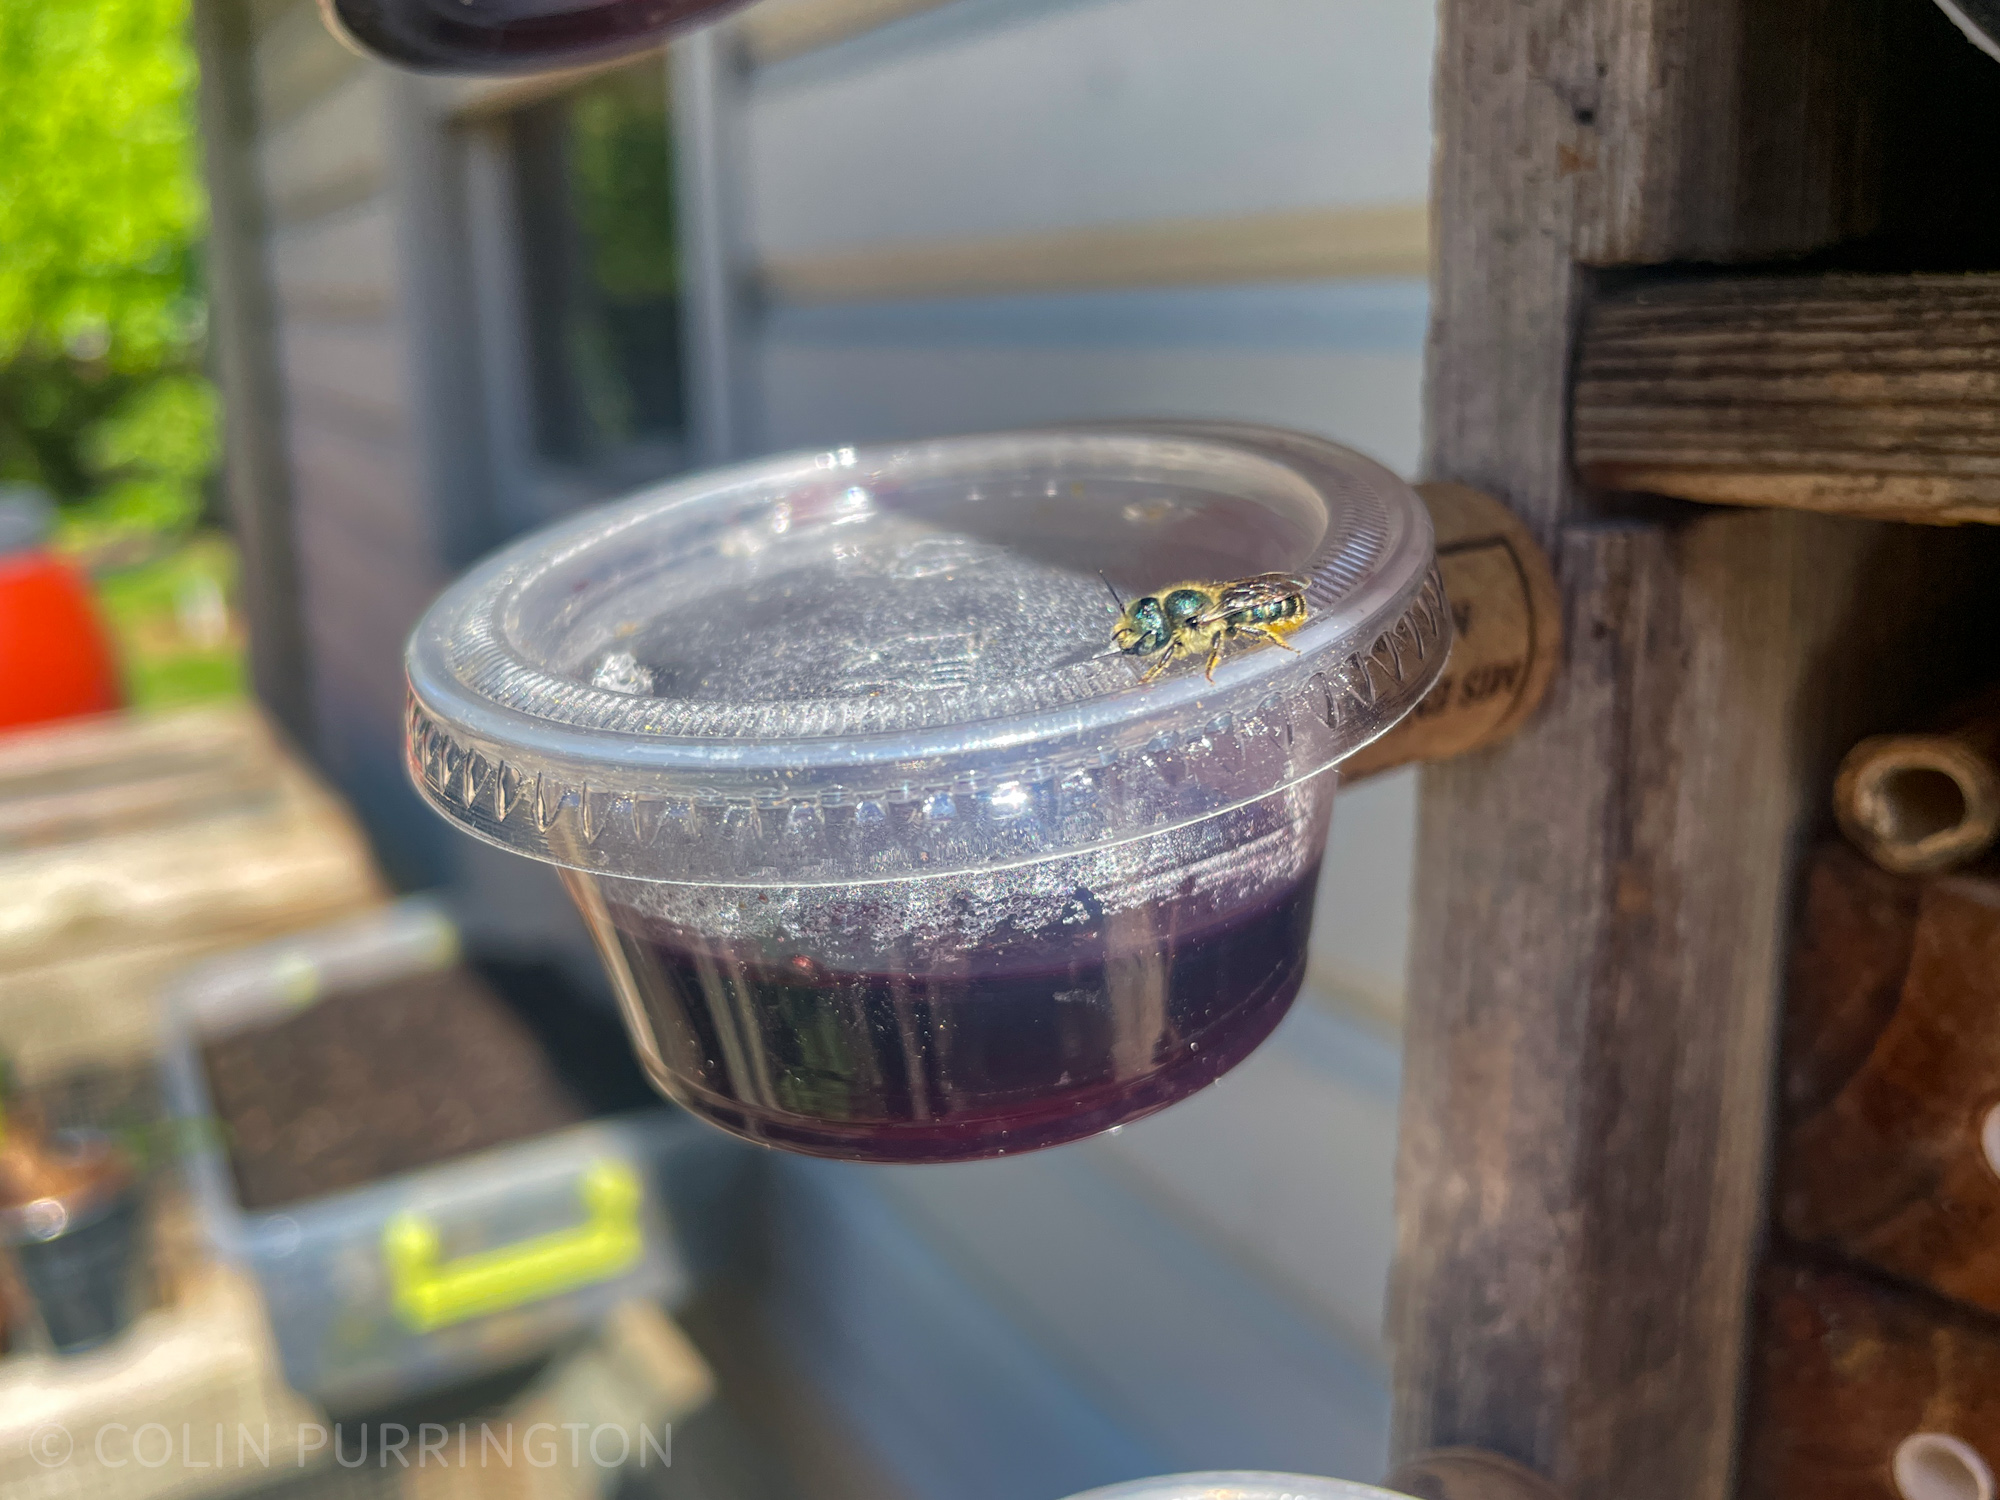
The general idea is to put the wine into a container that has small, fly-sized holes, then situate in a nook in your insect hotel. I opted to use 2-oz containers that I had sitting around but several posters on reddit use small mason jars. I then drilled four, 1/8″ holes in the lids, attached segments of cork with a 1 5/8″ screw to either the side of the container or the lid, and then screwed it to the hotel.
Evidence that it works
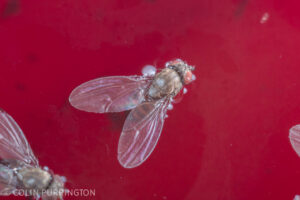
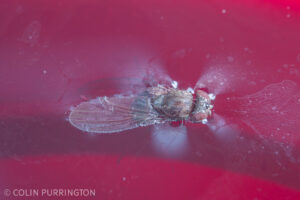
I set mine up too late in the season to estimate how many Houdini flies can be trapped per day, but I can confirm that some did go inside the traps and drown. Here are two:
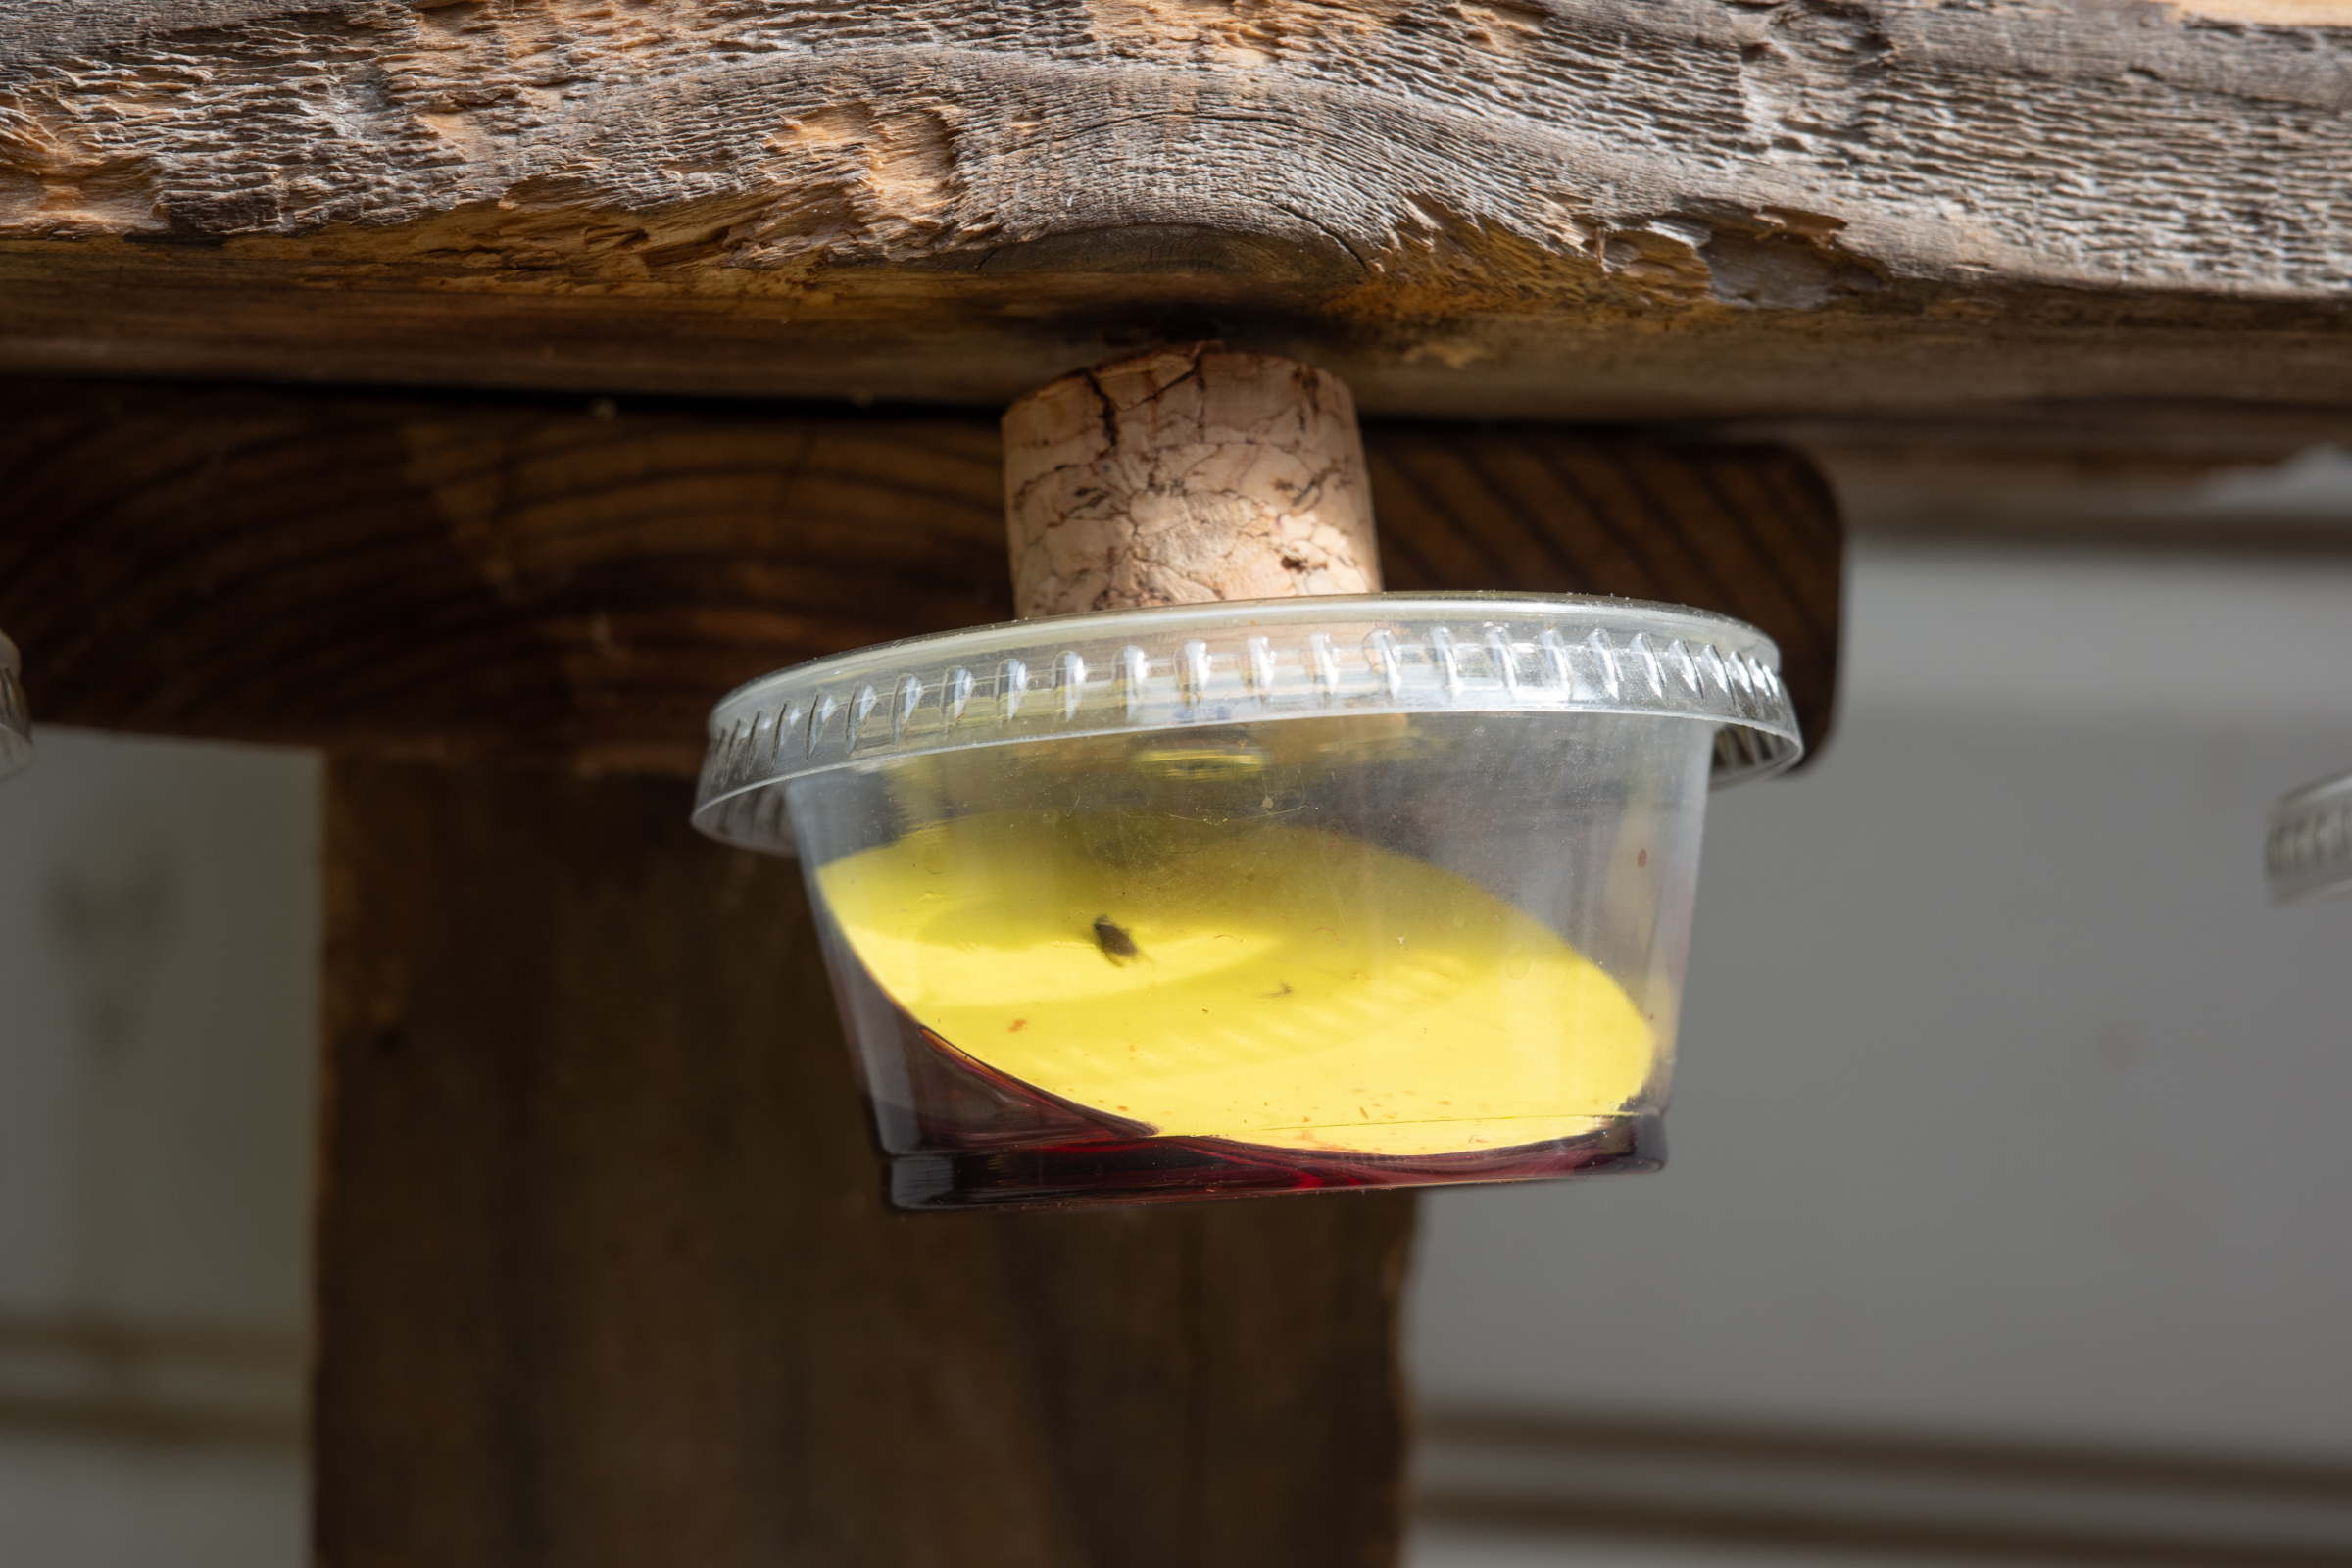
Small waterlogged flies are difficult to identify even when you have decent photographs, so I eventually fitted the containers with sticky cards that would immobilize insects before they drowned. Here’s a trap attached via the lid and a Houdini fly that got stuck:
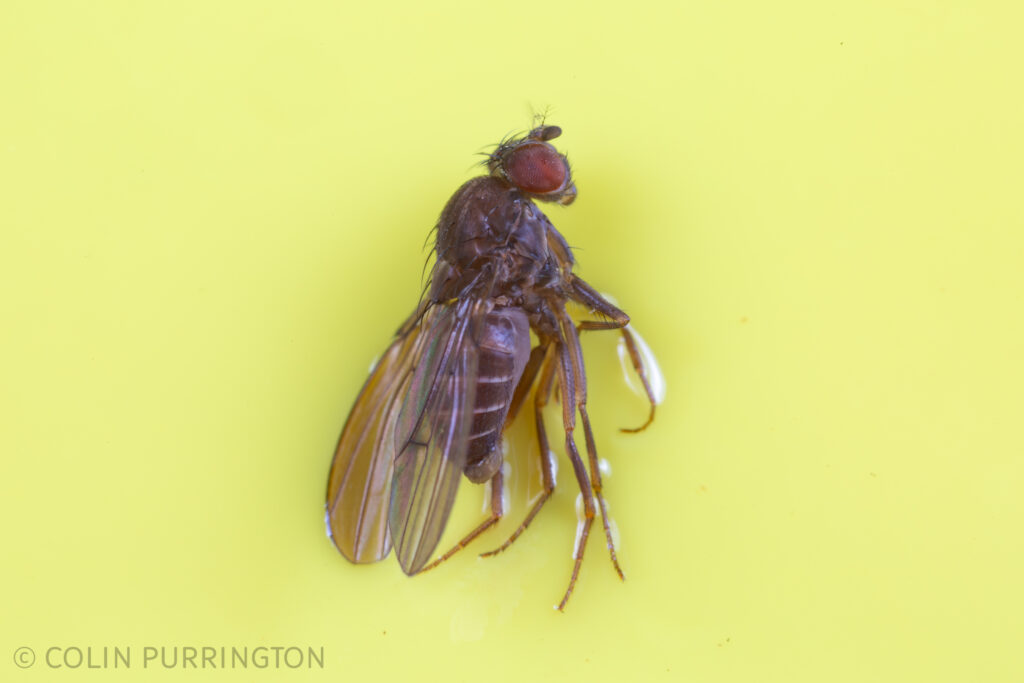
I should emphasize that my traps also caught dozens of small fruit flies that were not Houdini flies. So if you are trying this trap method be cautious in deciding whether it’s actually working or whether it’s just attracting small flies that happen to like red wine. I encourage everyone to use sticky cards and to submit photographs for ID confirmation to either BugGuide (North America only) or iNaturalist. If you opt for the latter you’ll likely get input from me within 24 hours (I’ve ID’d 200 Houdini flies already).
Is it safe for bees?
The holes are too small for many mason bee species but there are plenty of solitary bees that could fit into 1/8″ holes if they wanted to try. So far, however, none has become stuck in any of my nine traps. Some of the bees even use them as landing platforms because the sun hits them in the afternoon.
Design tips
Some thoughts that I’ll update as I continue with testing.
- Opt for clear-sided containers so you have a better view of what is inside.
- I’m now using a slightly smaller drill bit because 1/8″ allows rather big flies to enter.
- Reddit user atrailofdisasters uses a red-pepper shaker, a solution that might work well for those who don’t have a drill and collection of small bits.
What wines work best?
Per reddit, the person who came up with the trap idea, Nicole Kenney, of Portland, Oregon, tested different wines for several years and decided that red wine, especially Argentinian malbec, is best. I have no idea how she did the tests but I’ll link to more information when I can find it. I’ve only tried malbec in mine but will do some comparisons next year during peak Houdini-fly season. Malbec is an old grape grown around the world but apparently thrives in Argentina and much of the acreage is in the mountains. It would be very interesting to know exactly which component is attracting the Houdini flies, of course.
Why does it work?
Houdini flies are members of the vinegar fly family (Drosophilidae) and are known to like fermenting fruit juice (source) so it’s not a surprise they are attracted to wine. And all animals are lazy so if there is food near where females are busy ovipositing, they will happily take a break to a have a drink.
More information
If you’d like to see photographs of Houdini flies I have about 20 on iNaturalist.
Please also see my blog post, “Houdini fly alert for owners of insect hotels.”