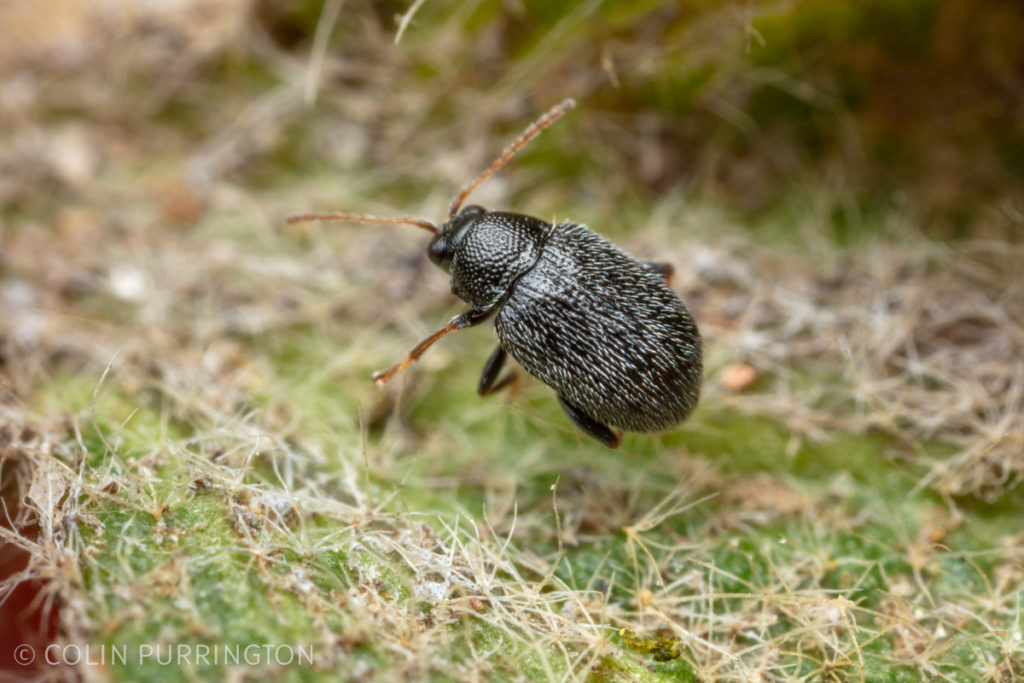
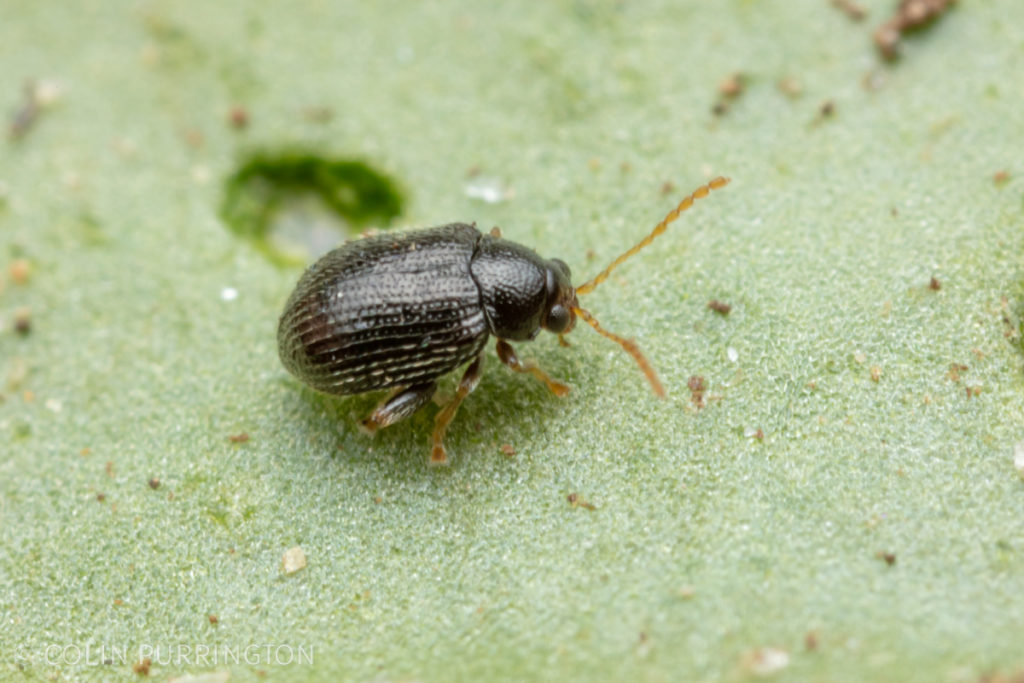
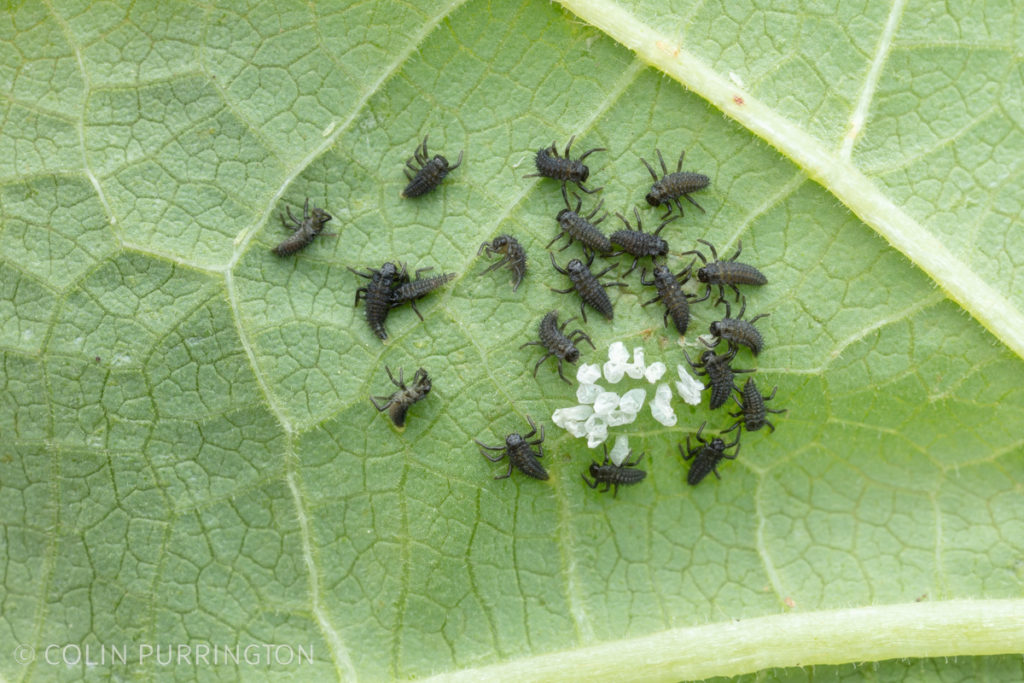
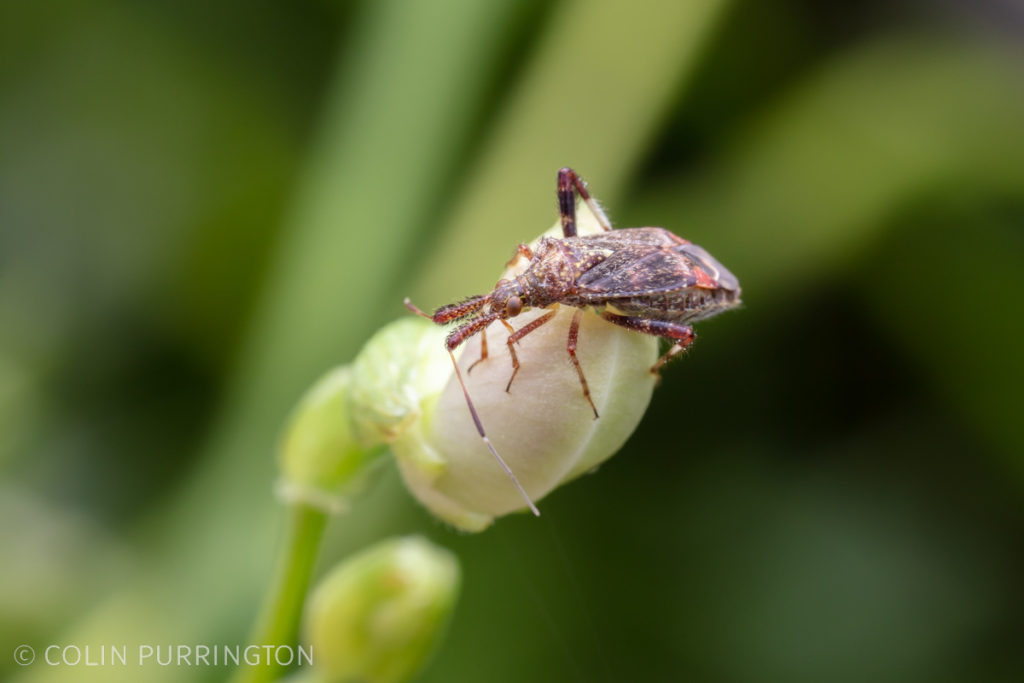
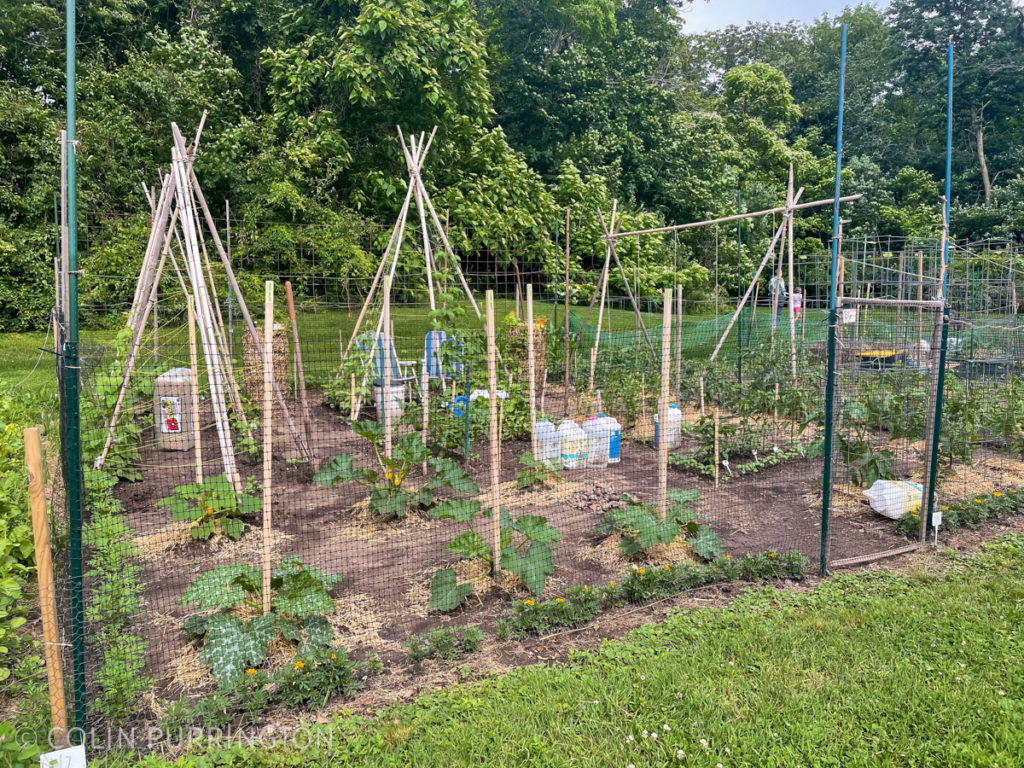
Below is a sampling of photographs I took during a June stay at Mohonk Mountain House near New Paltz, New York. If nature bores you please scroll to the end for food pics.
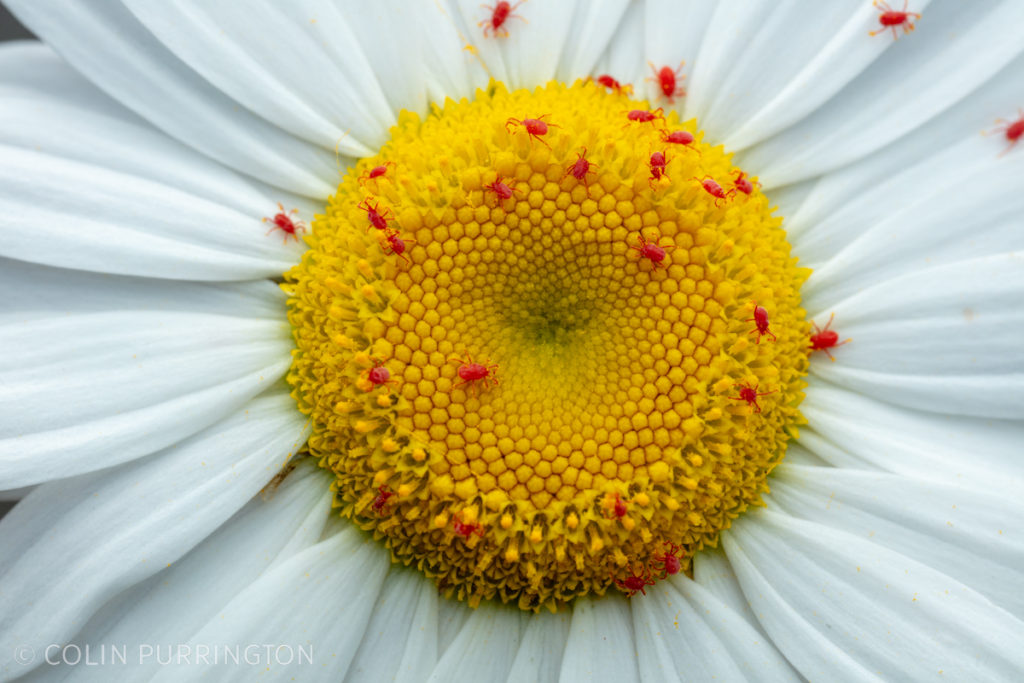
I believe these are sidewalk mites (Balaustium sp.). There were thousands on the flowers nearby, all apparently engaged in eating pollen. There are some species that eat only pollen but I gather from the BugGuide description that the more predatory species may eat it facultatively.
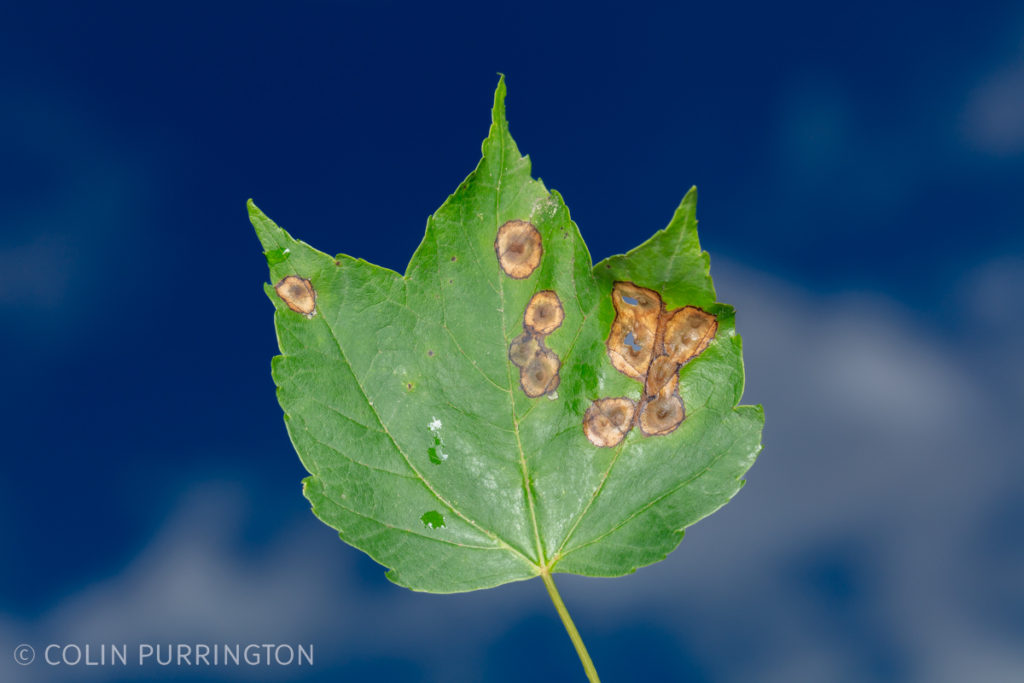
These galls are made a the larvae of Acericecis ocellaris, a midge (fly). The ones in this photograph are pretty drab but the galls can be bright red and white, like targets (example). For more on the natural history, please see Michael J. Raupp’s blog post on the species.
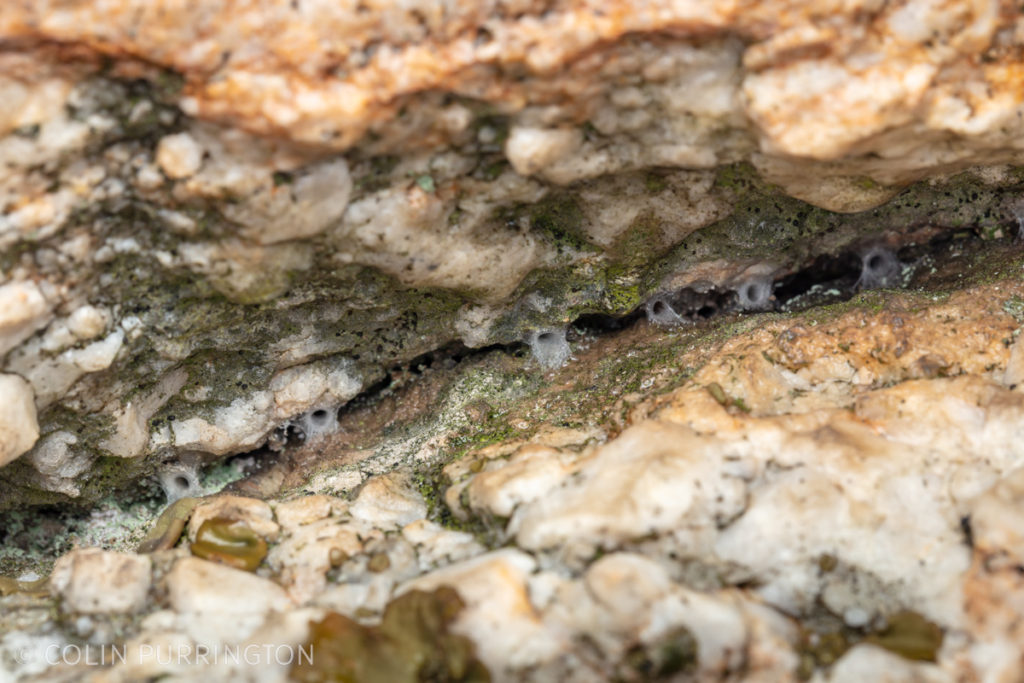
Whenever I’m at Mohonk Mountain House in the summer I spend a few minutes taking photographs of the webs along Lake Shore Path, in the rock face near the wood walkway. They are made by Ariadna bicolor, a member of the tunnel-web spider family (Segestriidae). Sadly, they are nocturnal so I don’t have any great photographs of the spiders themselves (I have only one, in fact). I hope to get some nighttime pics during my next visit.
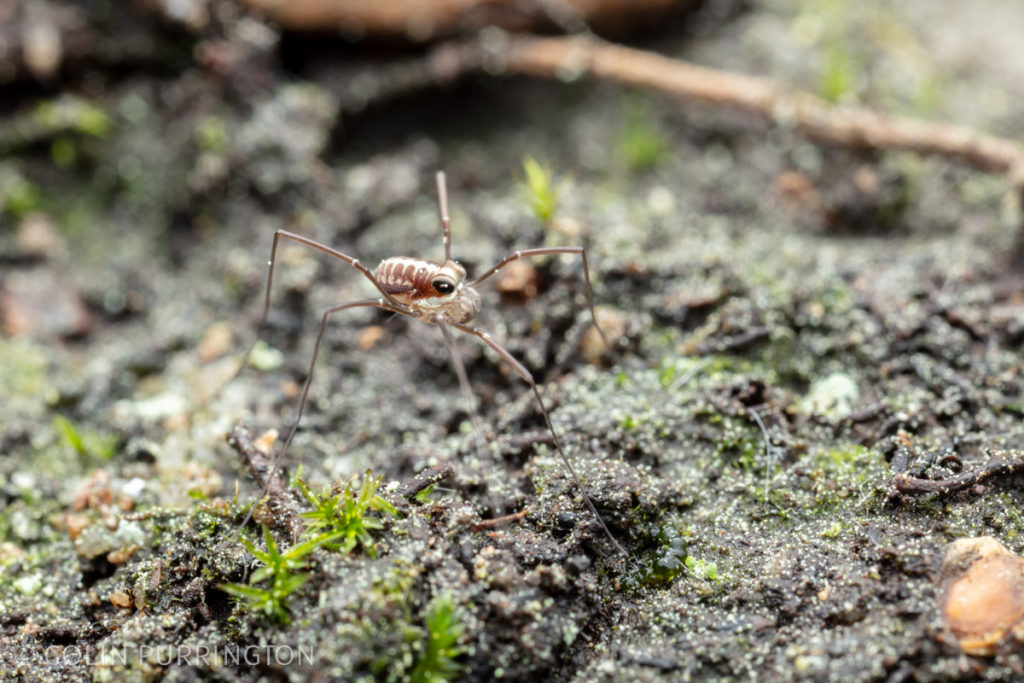
This is Caddo agilis, an adorable little harvestman that looks remarkably like a cuttlefish or, perhaps, an alien. Once I got a search image for these beasties there were everywhere. Apparently parthenogenetic so this is almost certainly a female (a harvestwoman?). Males have been found but are super rare.
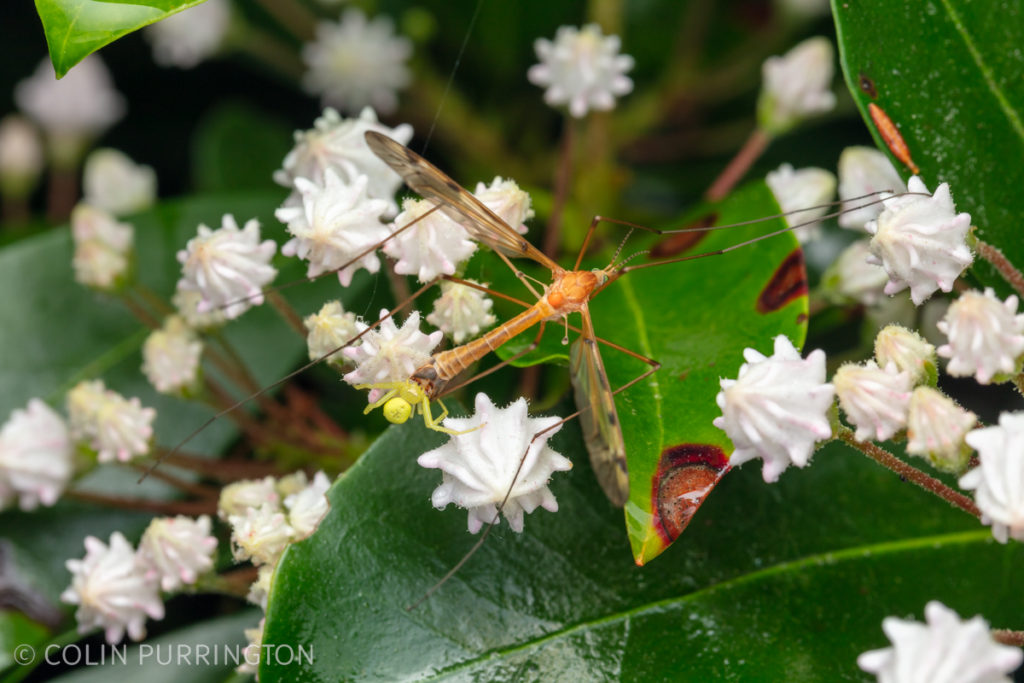
American green crab spider (Misumessus oblongus) attempting to subdue a male sooty crane fly (Tipula fuliginosa). This unlucky fly is also carrying a parasitic mite (Trombidioidea).
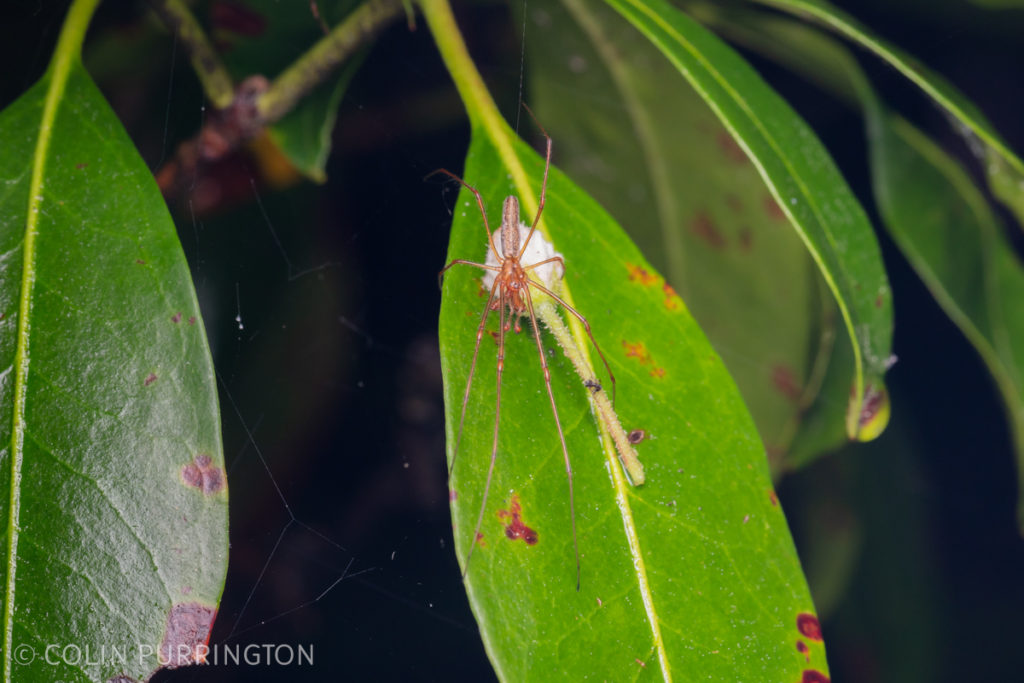
This spider isn’t doing anything interesting but I’m including it because it was easily the largest long-jawed orbweaver I’ve ever seen. I’m pretty sure it’s a Tetragnatha elongata (more details).
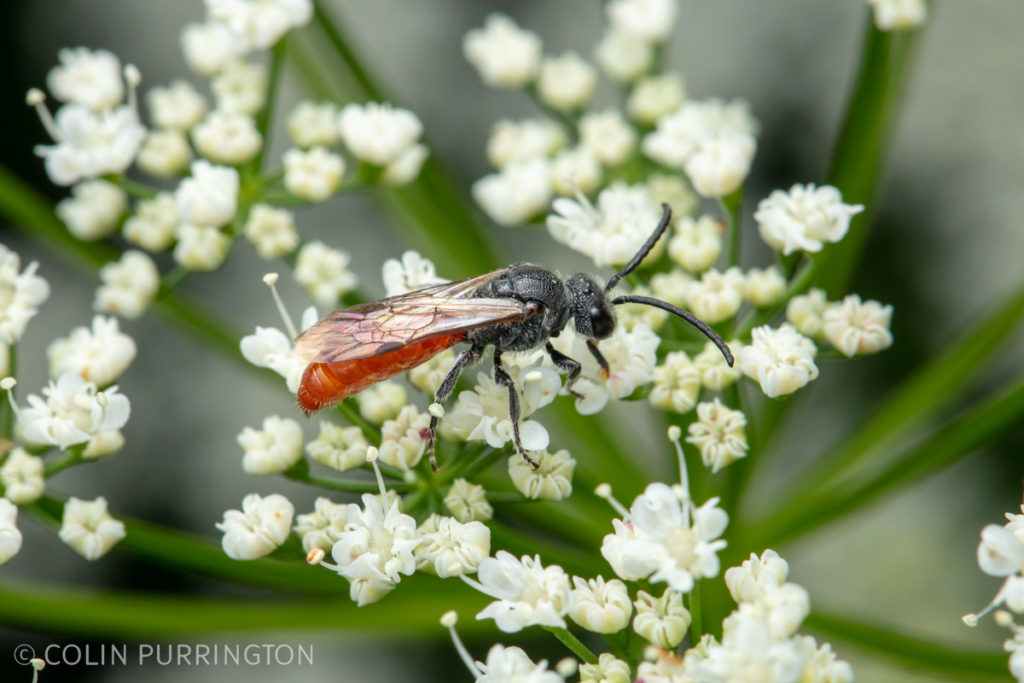
I think this is a male buttercup blood bee (Sphecodes ranunculi). This species is kleptoparasitic on fellow halictids. I’d love to know more about why the abdomen is red.
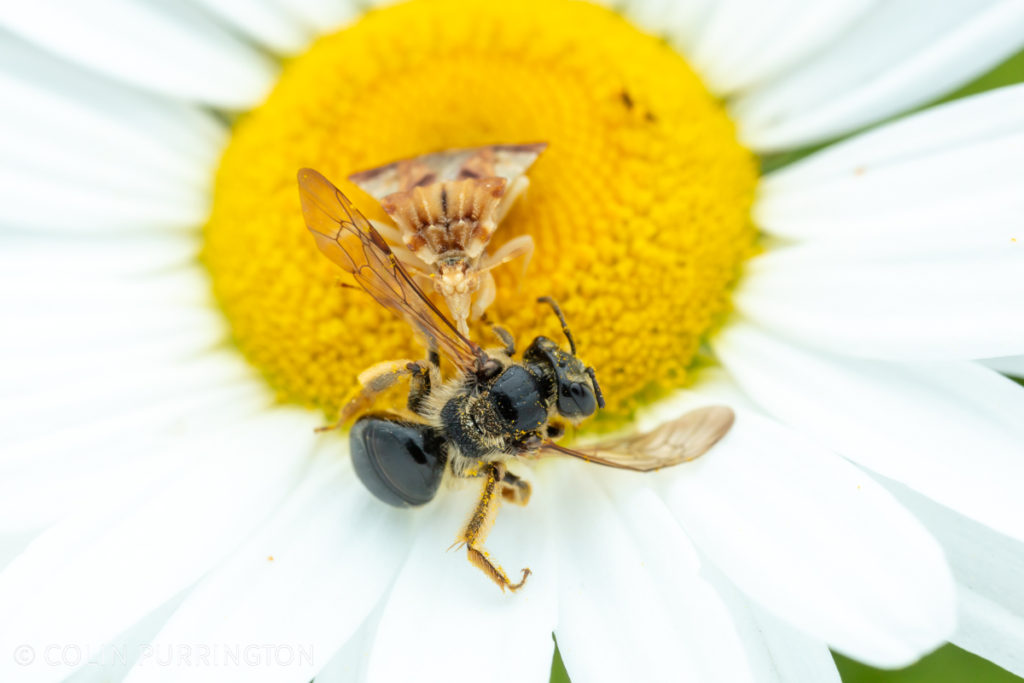
Jagged ambush bug (possibly Phymata fasciata) eating a nude mining bee (Andrena nuda). It’s awful to have your innards sucked out while paralyzed but an upside, for me, is that otherwise rare and fast-moving insects become easy to photograph.
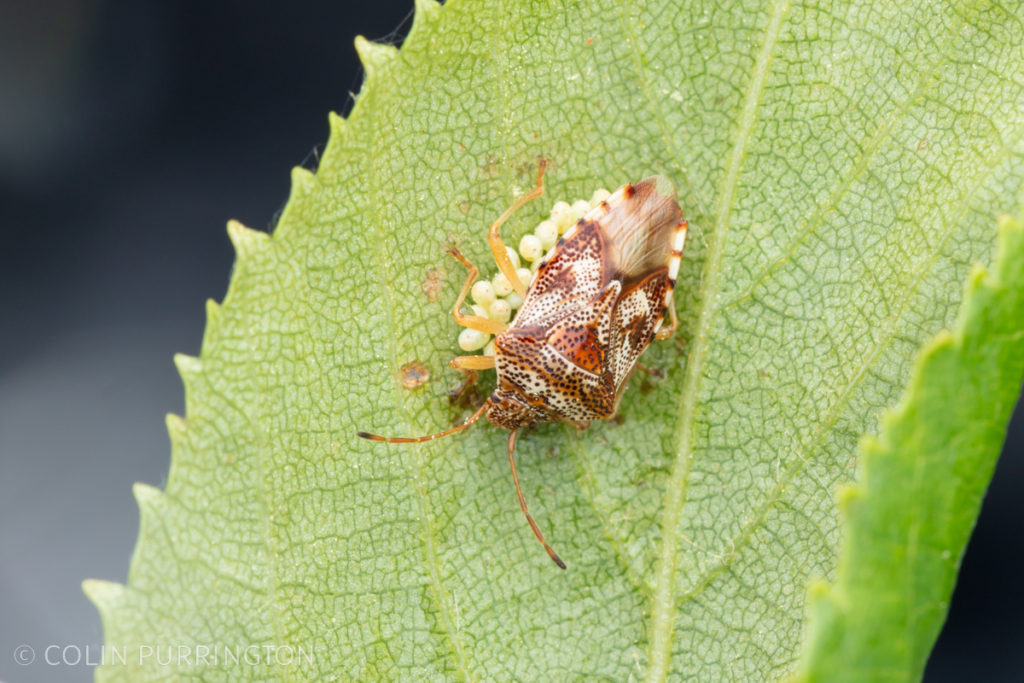
Edge-striped shield bug (Elasmucha lateralis) guarding her eggs, something I’ve never seen in a bug. It’s in fact so rare that that is how I made the ID. Per Frost and Haber 1944 (as described on p 112, here), females of this species will vibrate their wings if you separate them from their eggs or squish the nymphs. In related and strange news, males of a related species do the guarding (Requena et al. 2010).
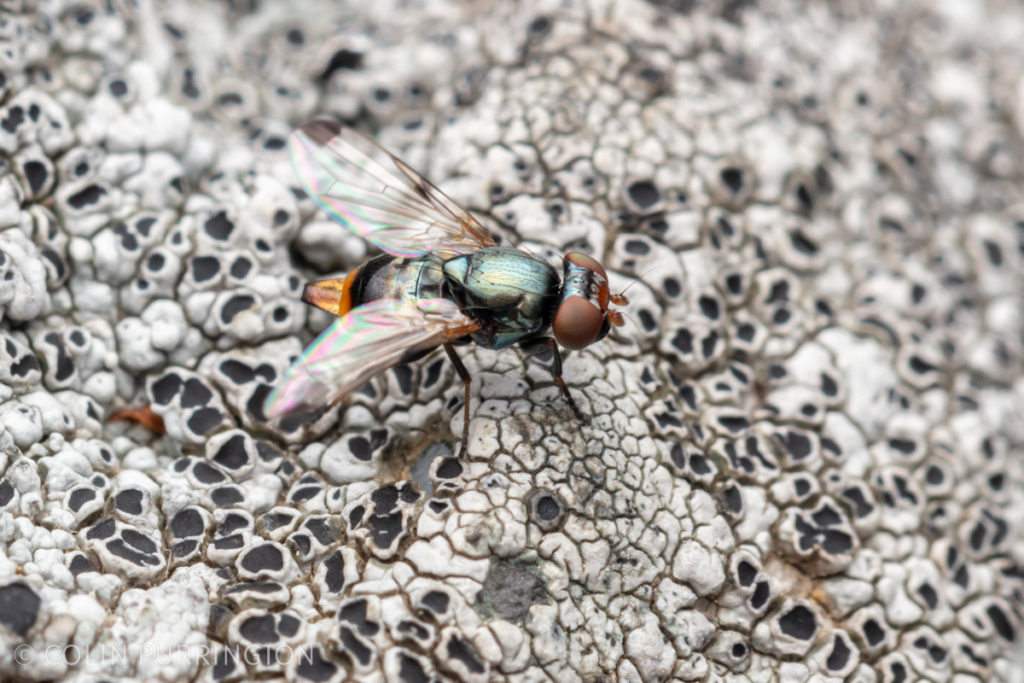
Spotted root maggot (Euxesta notata), also known as the cabbage root fly. Per the literature you can rear them by collecting rotting fruit and vegetables, especially onions. If you’re into that sort of thing.
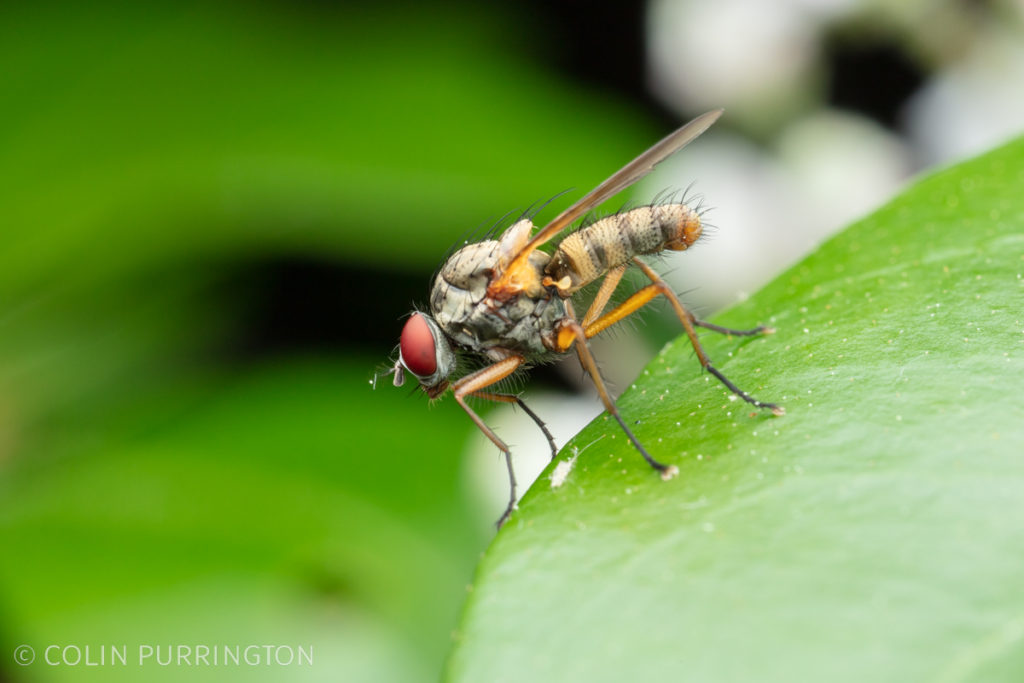
Male Hylemya alcathoe (Anthomyiidae). There were hundreds in the area, all perched at the edges of leaves, alert for females. Per Alcock 1983, males defend their leaves so aggressively that they’ll take flight to pursue small sticks and stones thrown to pass near them.
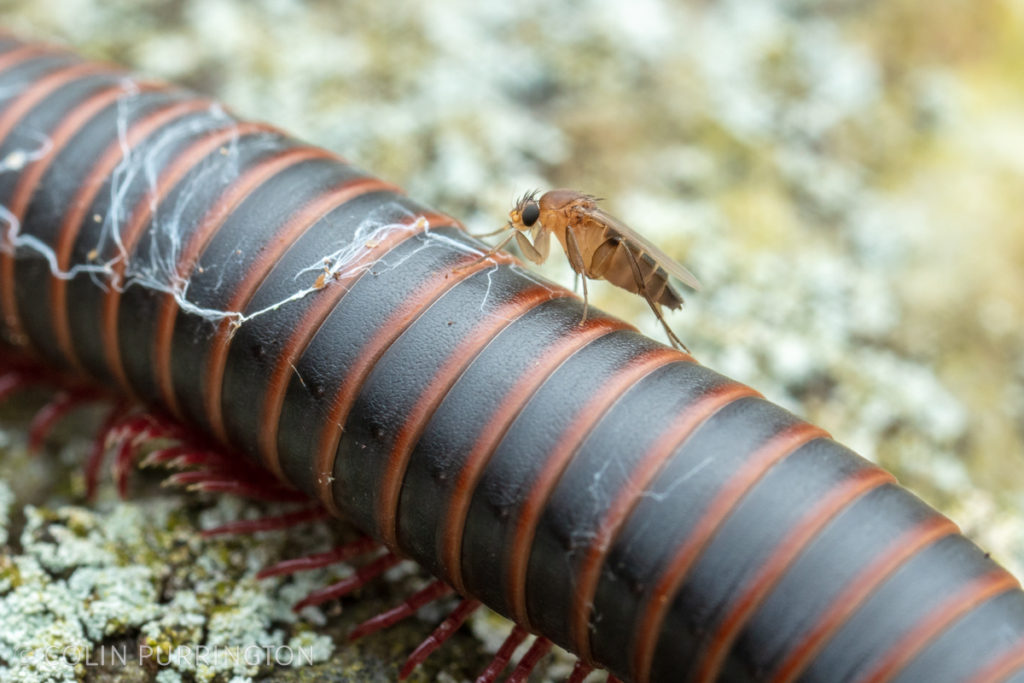
This tiny fly was perhaps the highlight of my trip. It’s a millipede-killing fly in the genus Myriophora, and they were hounding a millipede that was cruising around at top speed in an attempt to dislodge them. The flies just rode them around like sandworms on Arrakis, occasionally ovipositing into the gaps between the tergites.
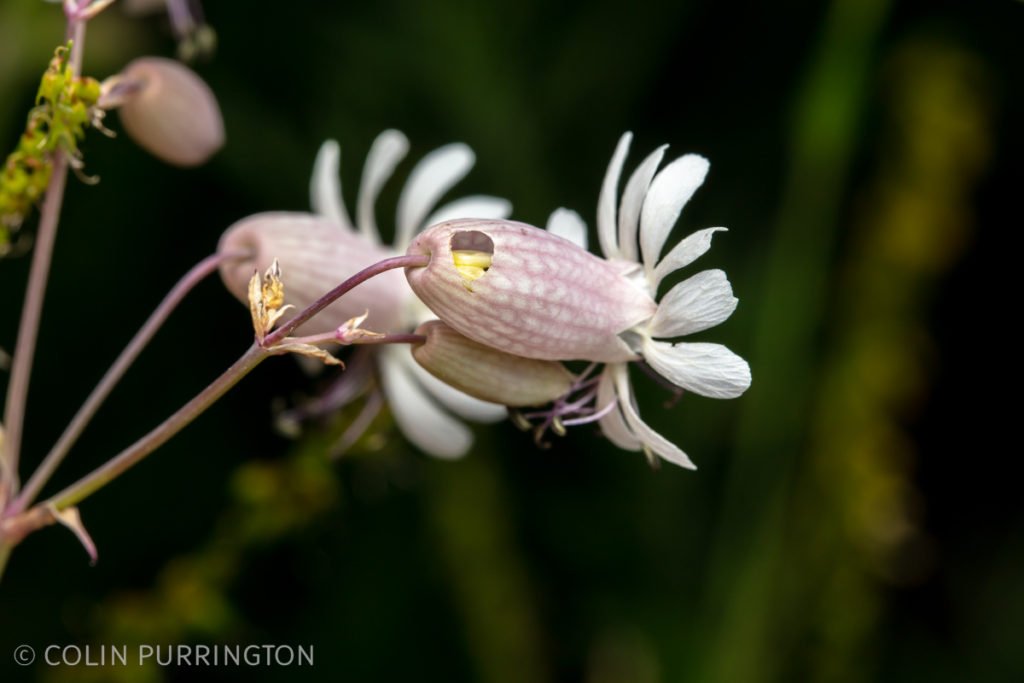
Flower of bladder campion (Silene vulgaris) that has been chewed by a nectar-robbing bumblebee. Once breached, other pollinators use the back door to more easily steal the nectar.
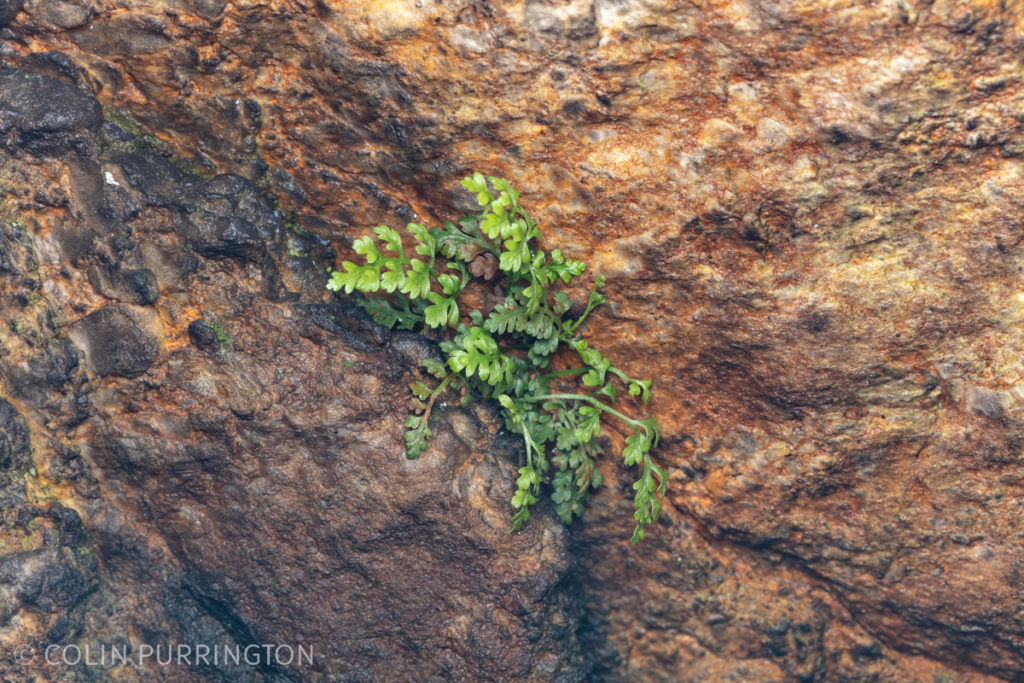
I was introduced to the mountain spleenwort (Asplenium montanum), above, on a nature walk hosted by Dr. Jackie Schnurr. It’s all over the place once you get a search image for it and the kinds of places it grows (cracks in acidic rock faces). Reeves 1974 reports the existence of a subspecies Asplenium montanum shawangunkense, but it’s not registered (yet) in iNaturalist. Per Reeves its range is between Lake Minnewaska and Lake Mohonk. And lacks sori, so definitely be on the lookout if you are in the area.
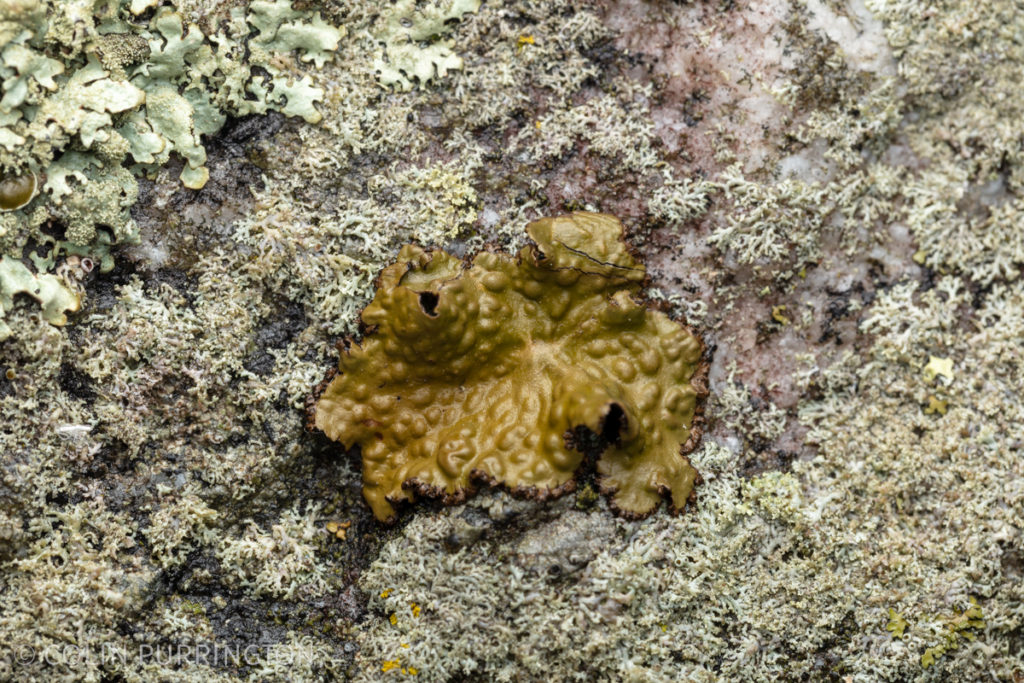
This beauty is a Pennsylvania toadskin lichen (Lasallia pensylvanica). This lichen features prominently in a 1974 article by Daniel Smiley (of Mohonk fame) and Carl George, “Photographic documentation of lichen decline in the Shawangunk Mountains of New York“. See figure 3 within for a photograph of the location with Albert Smiley for scale.
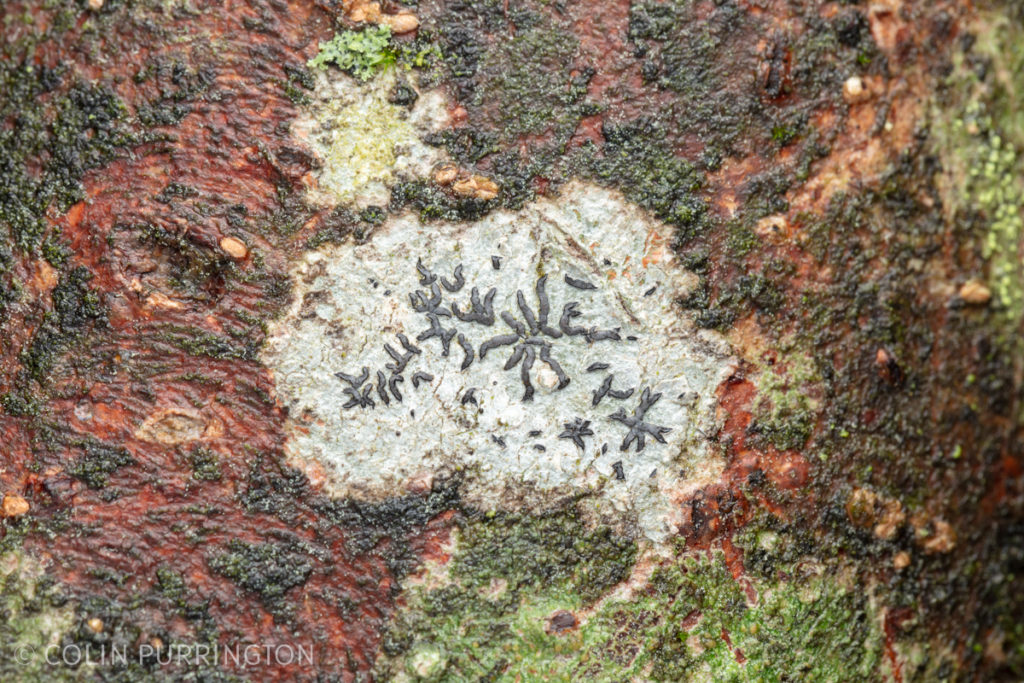
Common script lichen (Graphis scripta) growing on a tree. Or at least that’s what I think it is. Species tends to occur on smooth-barked trees such as birch. I found beetle mites on them.
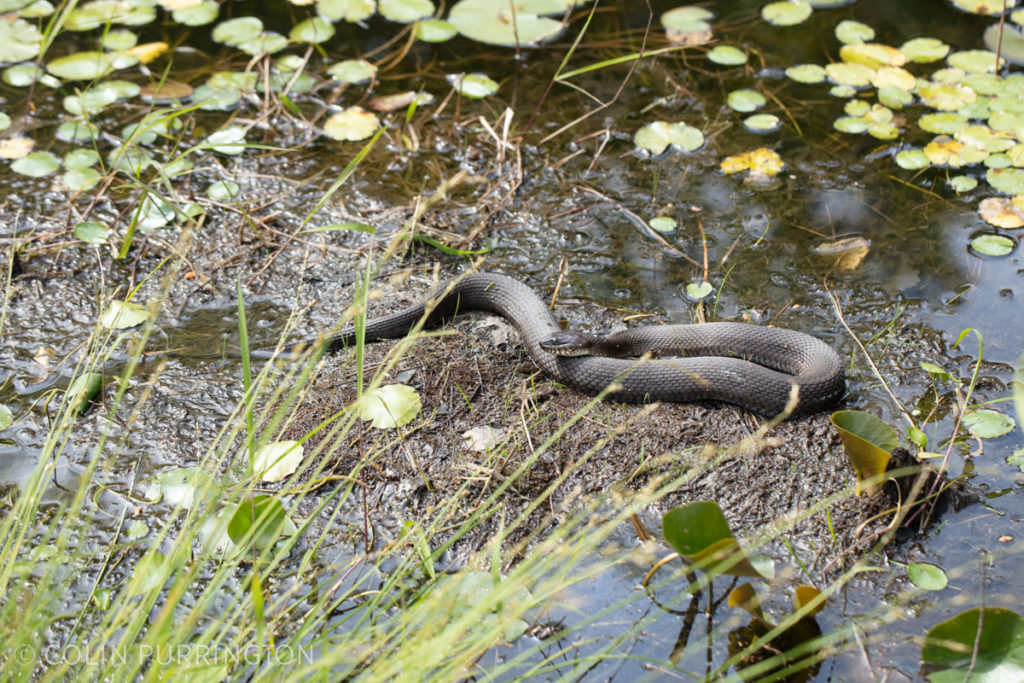
Northern watersnake (Nerodia sipedon sipedon) basking at the Lily Pond. Per a book on watersnakes the bulk of their diet is fish, but they also eat amphibians, insects, millipedes, spiders, mollusks, and annelids. I was amazed to learn that they sometimes flick the surface of the water with their tongue to mimic a distressed insect (Gibbons and Dorcas 1963). I love how they always seem to use their bodies as chin rests.
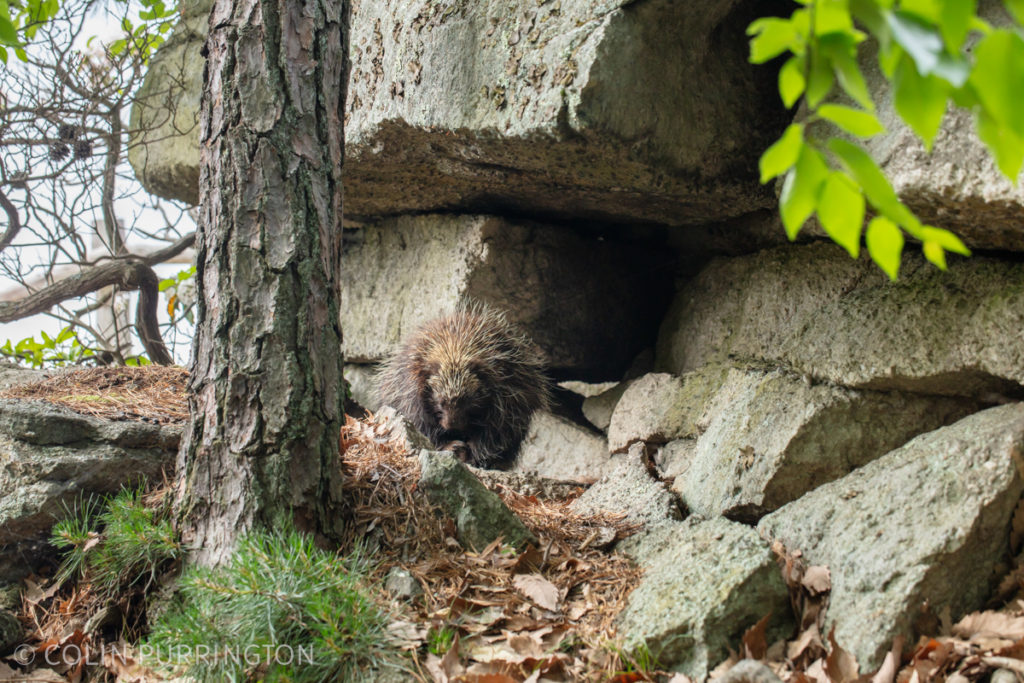
And last but not least, here’s a pic of a charismatic megafauna: a North American porcupine (Erethizon dorsatum). It looked dazed or half asleep. I wonder whether it might have been injured, perhaps from a fall from a tree while it was grazing on leaves (this happens a lot to porcupines).
Food
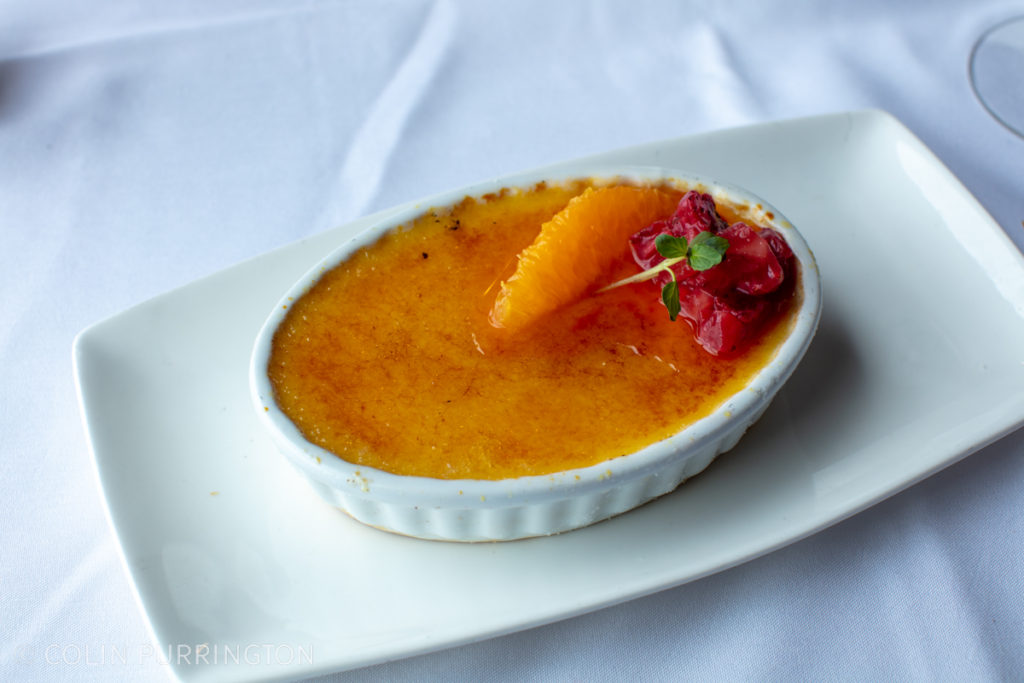
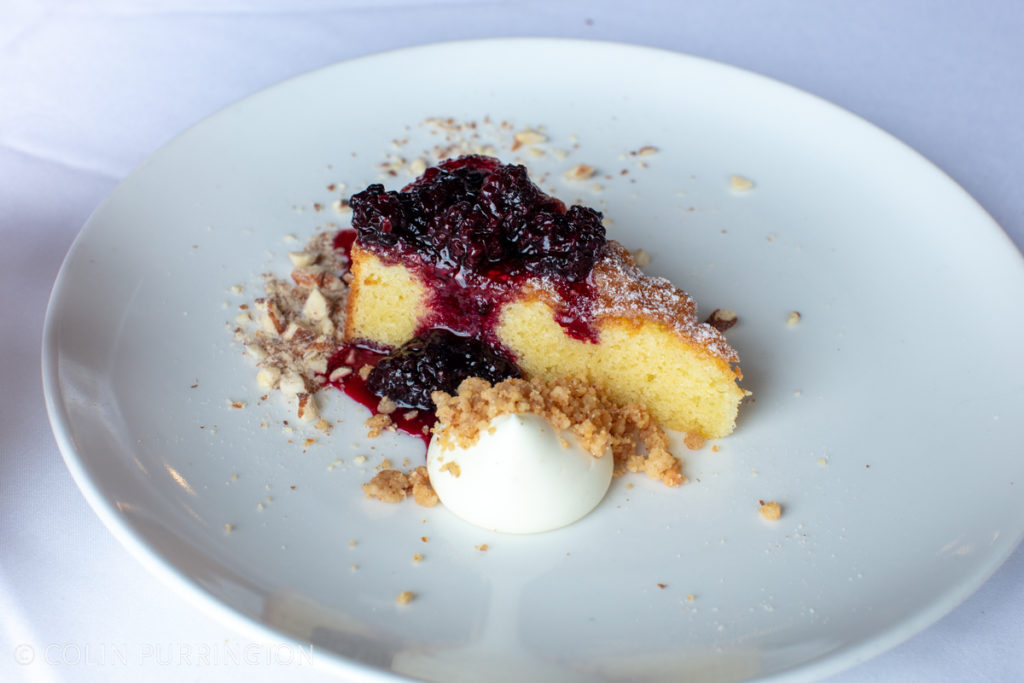
Here’s a sampling of the meals I had while staying at the hotel. In related, unsurprising news, I gained weight.
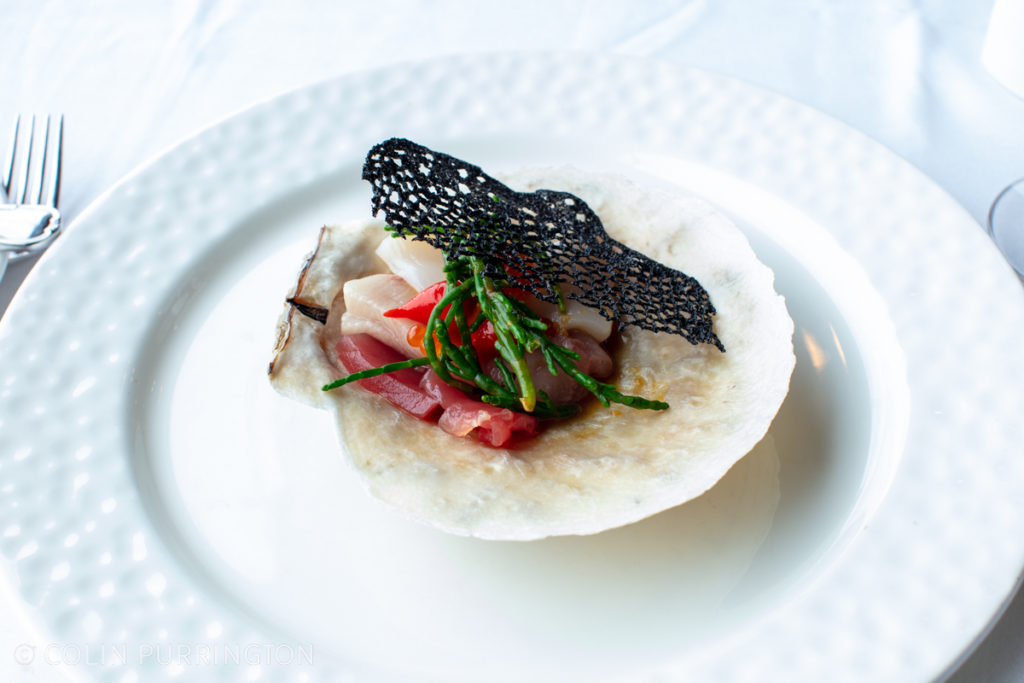
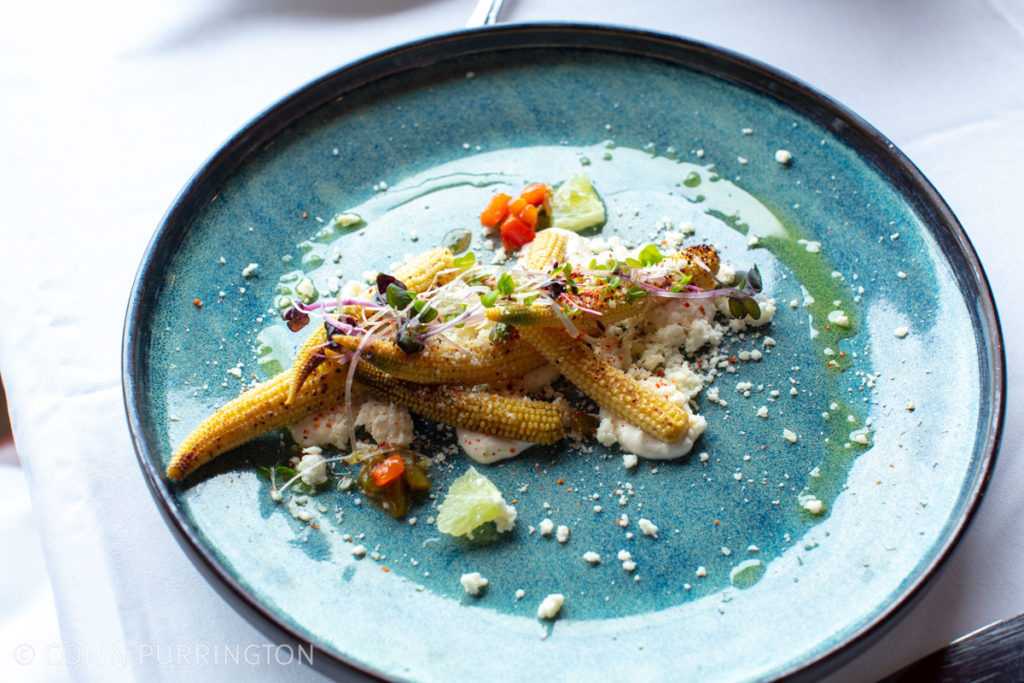
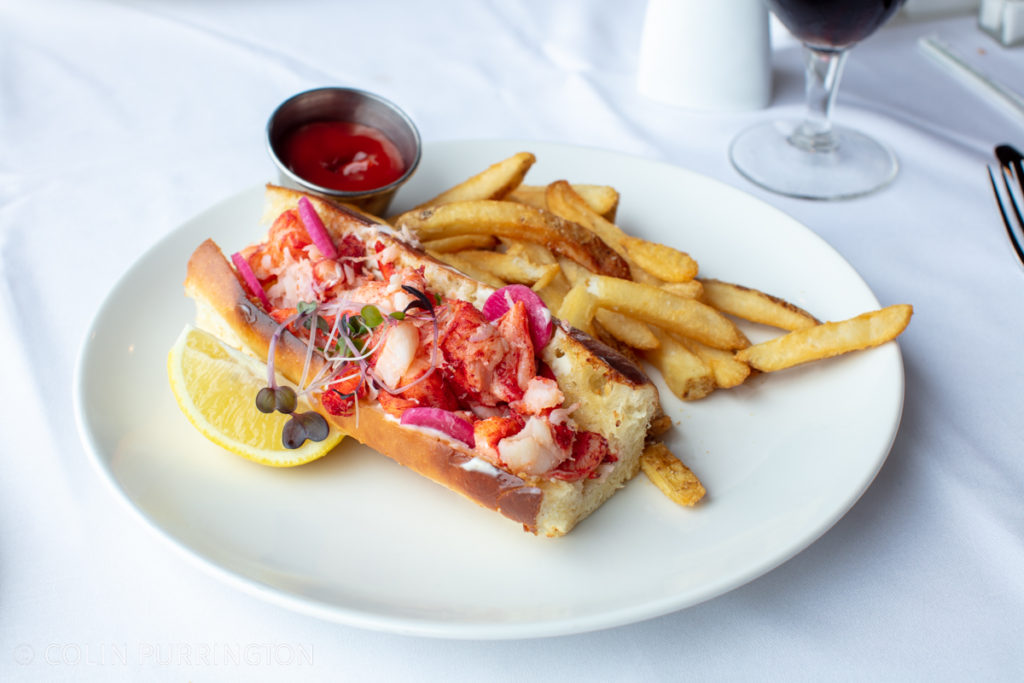
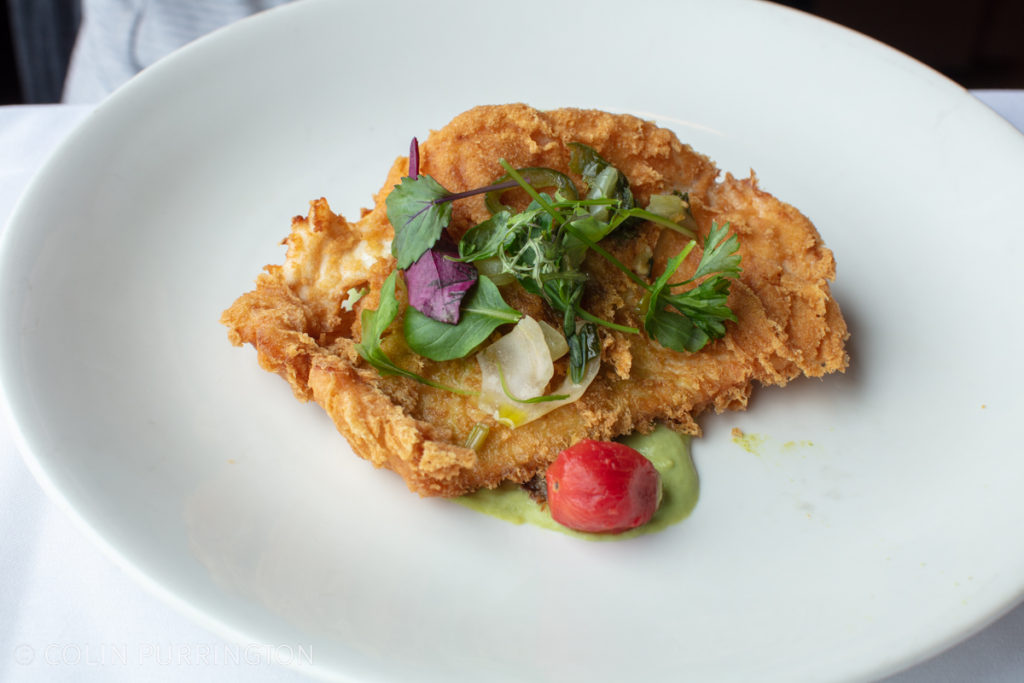
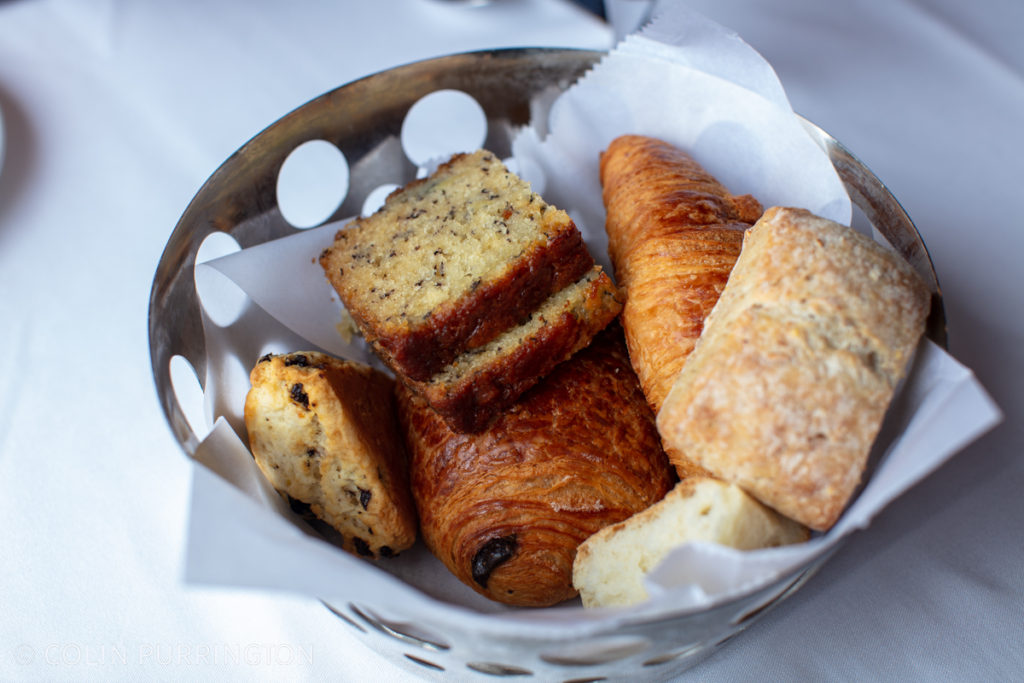
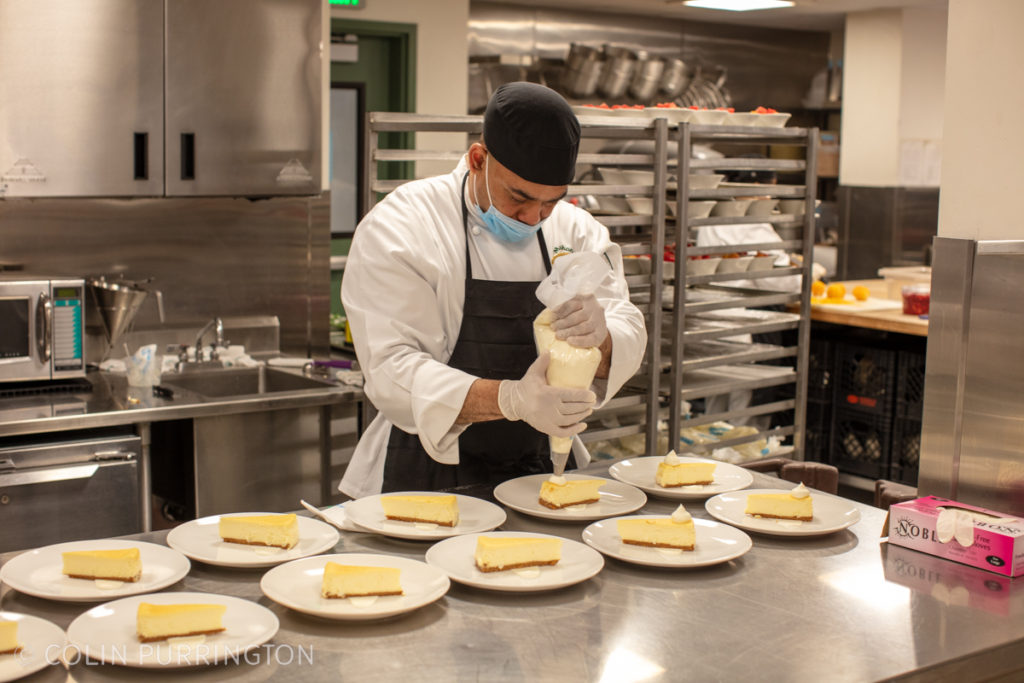
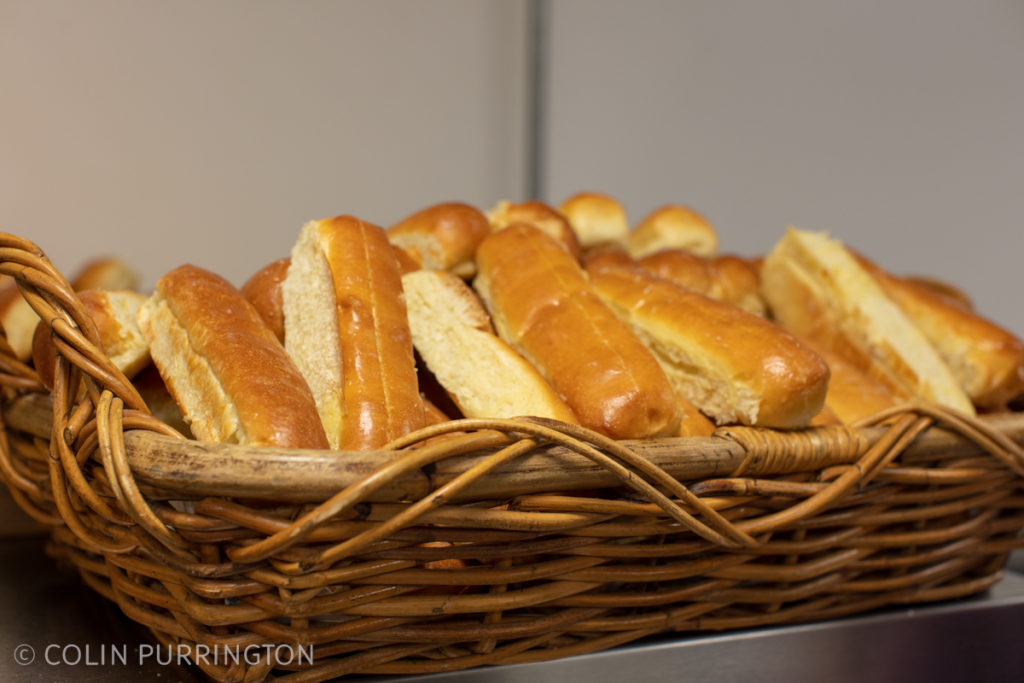
If you’ve been to Mohonk but wondered what the kitchen looks like these days (it was recently remodeled), here are some pics from a tour led by head chef, Jim Palmeri. Last pic features me.

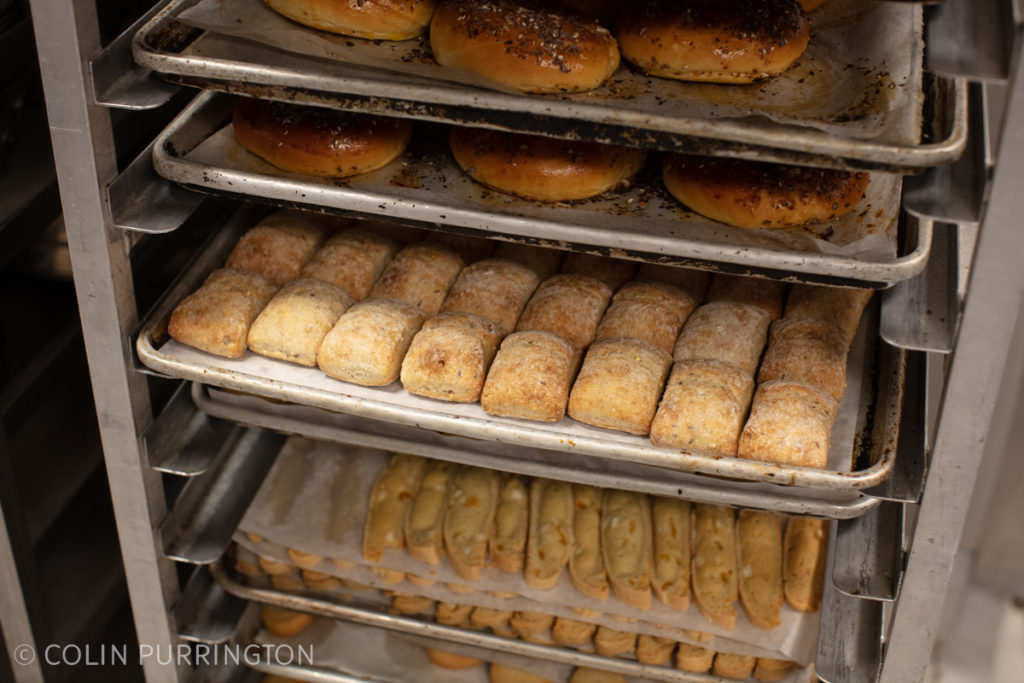
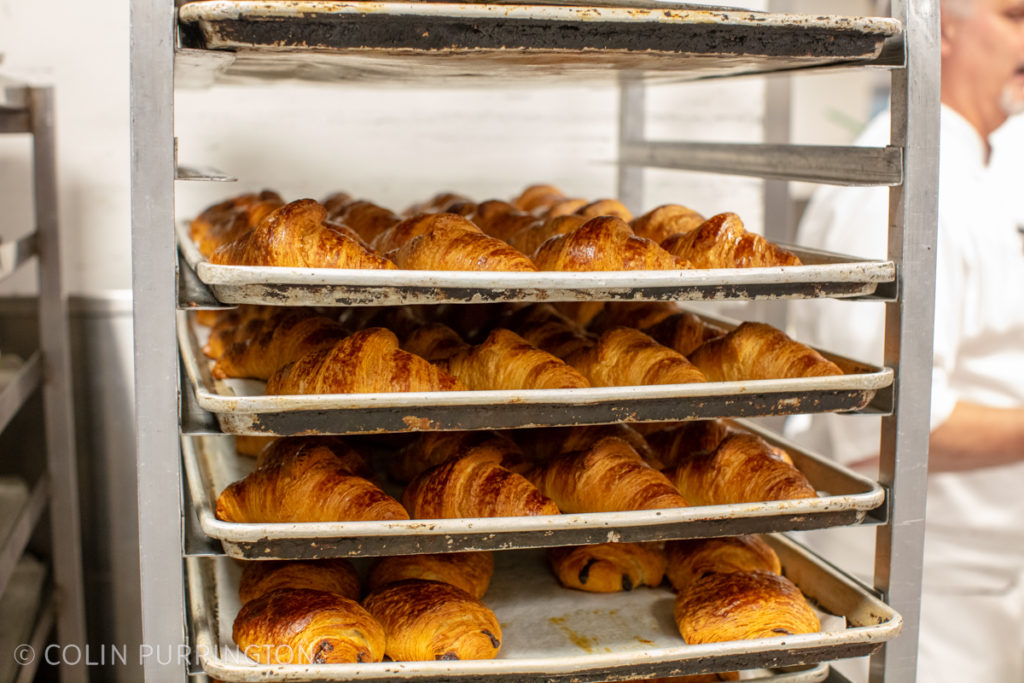
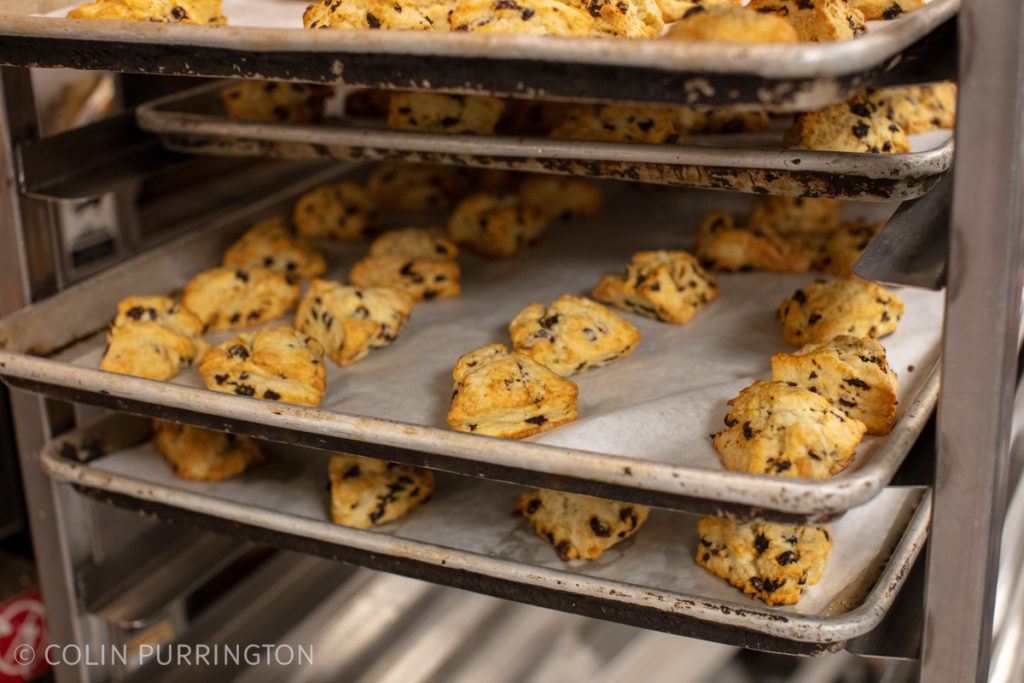
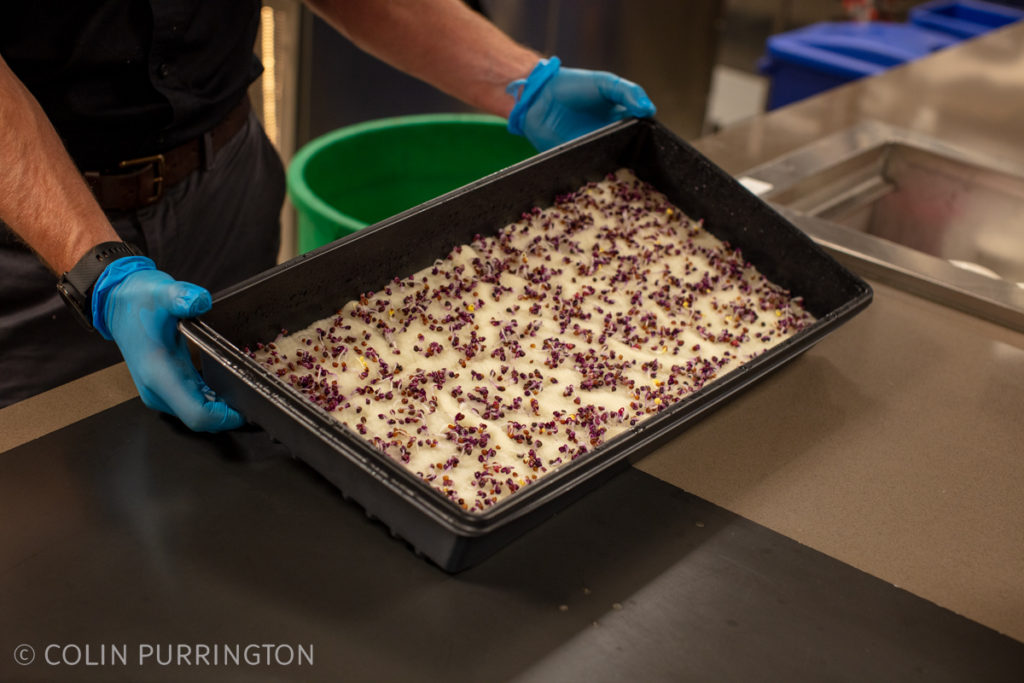

If you need more, a post with last summer’s pics is here. Building and landscape views of Mohonk Mountain House over the past 20 years are here.

