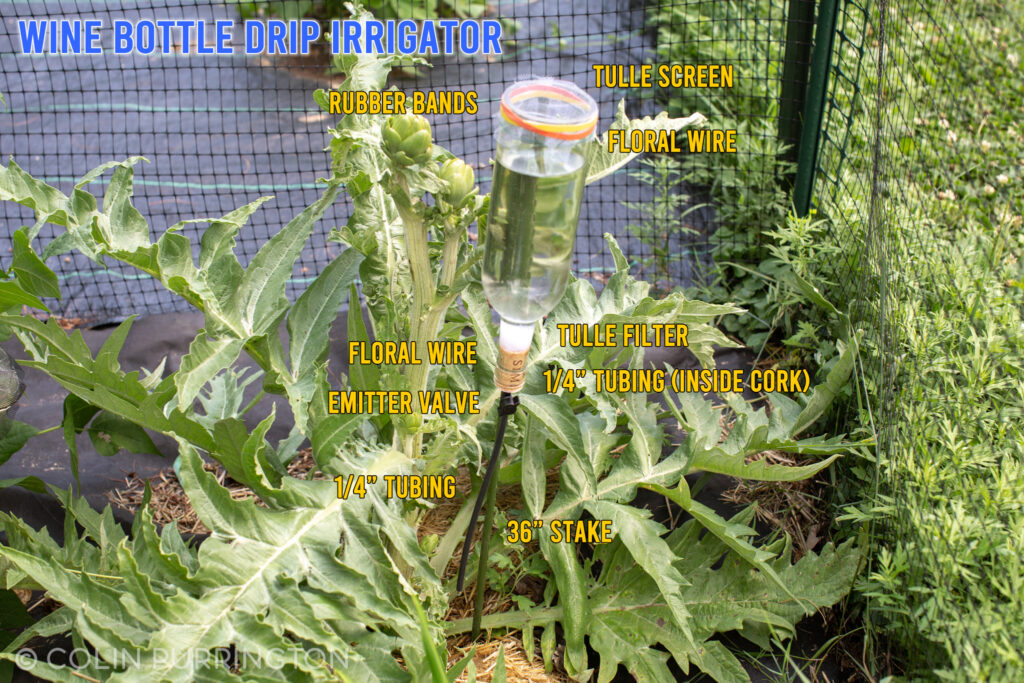
Instructions for making a drip irrigator out of a wine bottle. In case you’re bored out of your mind during the Covid-19 lockdown.
Instructions
- Cut the bottom off the bottle. The above shows a 750-mL bottle but a 1.5-L works, too. I own a Creator’s bottle cutter kit (it’s fantastic) but there are videos showing other techniques.
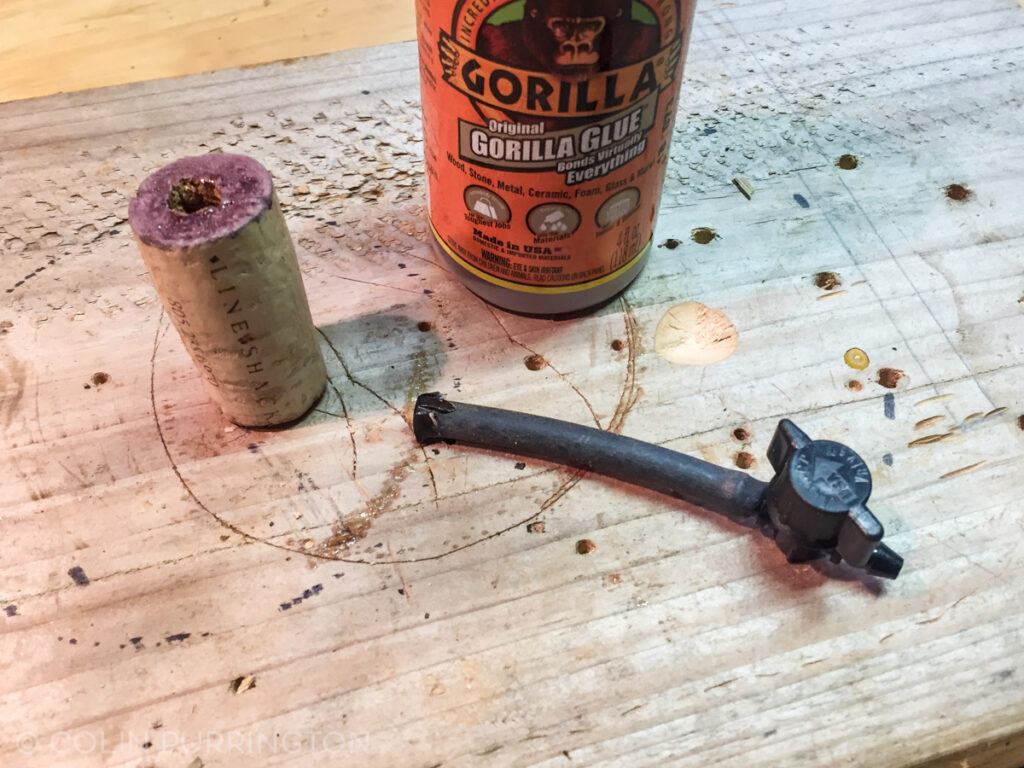
- Drill a hole through the cork to accommodate 1/4″ tubing.
- Cut a length of 1/4″ drip irrigation tubing so that it is 1/2″ longer than the cork. Put a small piece of tape over the opening of one end.
- Put a few drops of outdoor glue into the hole. Gorilla Glue is nice because it tends to expand, filling gaps in the cork.
- Insert the taped-up end of tubing into hole, pushing until untaped part is flush. Take off tape (that was there to make sure it didn’t get filled with glue).
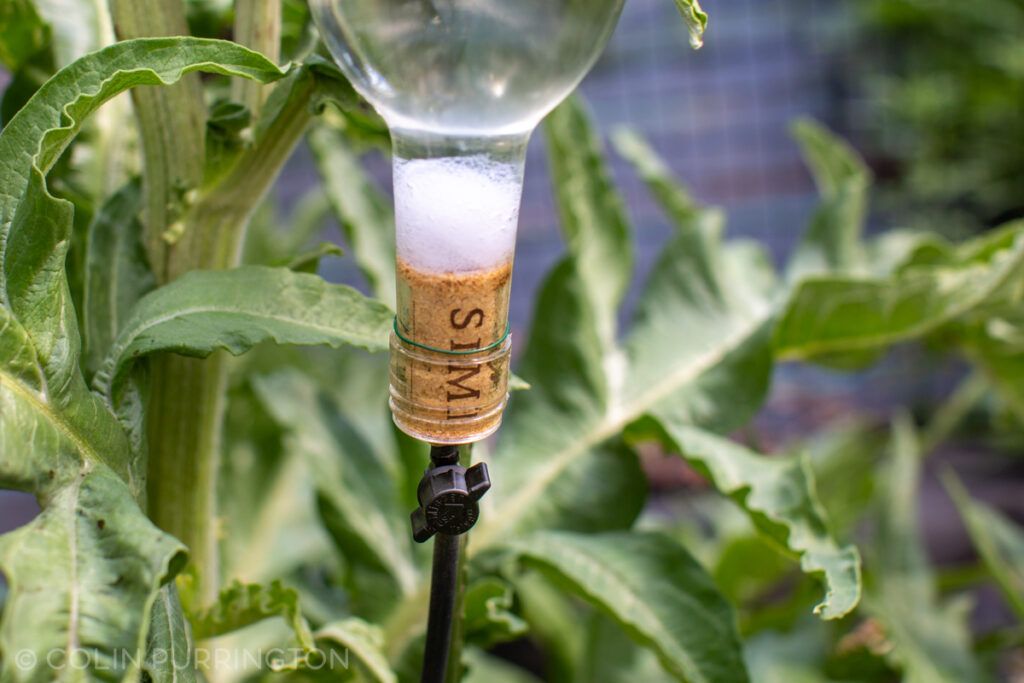
- Once glue is dry, insert cork into bottle so that the 1/2″ overhang is sticking out.
- Attach an adjustable valve to the tubing.
- Attach a 12″ (or so) length of 1/4″ tubing to the valve.
- Attach bottle to a 36″ stake (1×1″ wood, 1/2″ bamboo, or plastic-coated metal) using wire. Make it extremely snug so that when filled with water it won’t drift down.
- Crumple up some tulle (or flexible screening) to form a filter plug near cork. Tamp down using a long rod. This prevents hole and valve from clogging.
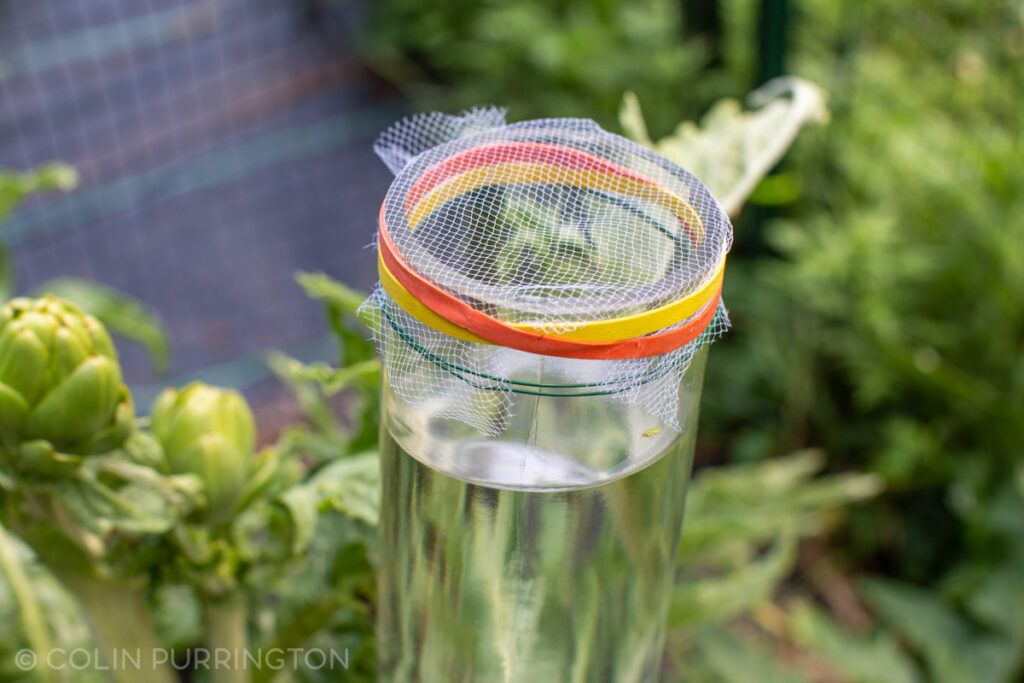
- Attach tulle (or flexible screening) to top with two rubbers bands. One rubber band is fine but the second is backup in case sunlight degrades one. The screening keeps out debris, but also prevents mosquitoes from ovipositing when valve is closed (and bottle is filled).
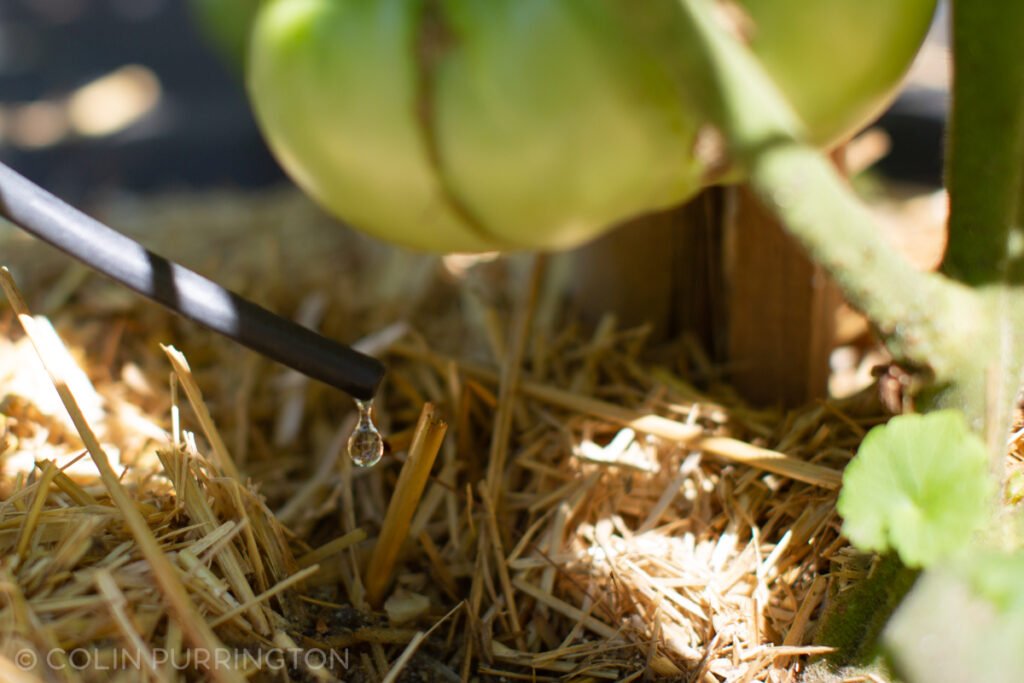
Here are some closeups:
Once done, situate the irrigator in your garden so that you can easily see the drip and adjust the valve without fighting foliage or stooping. This is why the instructions above call for a short length of tubing rather than something that fully extends into the soil near the plant (where you couldn’t see it). Evaporation from a falling drop of water is probably non-zero but I think the ability to see the drip rate is worth it.
When you water drop by drop, slowly, the soil has time to fully absorb the moisture. Drip irrigated plants thus need far less water, sometimes dramatically less. Another benefit is that water isn’t constantly splashed onto leaves, something that can distribute as well as activate pathogens. Some plants simply don’t like wet leaves (don’t judge). And many plants (such as tomatoes) also benefit from being constantly hydrated, something that is hard to accomplish with normal irrigation. Finally, plants tend to take up fertilizer better when it is slowly delivered.

