
I thought I’d type up some thoughts on traveling to Big Bend National Park in case anyone ever googles for that. I’ve only been once so please take my advice as merely a starting point. It could be the case that I don’t know what I’m talking about. For the record, I’m not a part of any affiliate program so the links to things you might want to buy are just that.
- Join the Facebook group, Friends of Big Bend National Park. There are frequent discussions of what trails are best, where to stay, and how to dress during different times of the year. If you monitor responses for several months you’ll slowly absorb lots of excellent advice. The only downside is that because so many people share photographs the visual impact once you arrive at the actual park will be a tad muted.
- Join Big Bend Chats for the same reasons, though I think the Facebook group tends to be a tad more polite, thanks to good admins who tend not to tolerate rude behavior.
- Find lodging at least six months in advance. If at all possible, stay inside the park so that you don’t spend too much time driving to get to trailheads in the morning. There are four options: Chisos Mountain Lodge, campgrounds, primitive roadside campsites, and backcountry camping. If you’re camping, you can apparently get alerts of cancellations by signing up at campflare.com. Also, sometimes people on the Facebook group (above) post alerts when they are about to cancel a reservation at the lodge or at one of the campsites.
- If you stay outside of the park, Terlingua and Study Butte (pronounced “stoody butte”) are two good options. Alpine is too far away (80 miles).
- Government shutdowns should always be on your radar when you’ve booked tickets and hotels for visits to national parks. I’m pretty sure that the gates of Big Bend National Park remain open during shutdowns but I suspect the lodge and tourist centers will be locked. If you really need amenities in your life you might consider the nearby Big Bend State Park as a Plan B.
- The park is a long drive from San Antonio and El Paso, so give yourself an extra two days so that you can do an overnight stay in each direction. The towns along the way are small but most have cheap hotels and good Mexican food and BBQ (Pit Stop BBQ was great). I always recommend checking for bed bugs, of course — it’s easy. And don’t pass up fun things to do along the way (e.g., caves in Sonora, rock art at Seminole Canyon State Park).
- Buy books. I was happy with National Geographic’s Big Bend Day Hikes / National Park Map and FalconGuides’ Hiking Big Bend National Park: A Guide to the Big Bend Area’s Greatest Hiking Adventures. I also enjoyed Naturalist’s Big Bend: An Introduction to the Trees and Shrubs, Wildflowers, Cacti, Mammals, Birds, Reptiles and Amphibians, Fish, and Insects. The latter is not a beach read but has lots of amazing tidbits that you will never find online. And there’s always, Death in Big Bend, for learning about fatalities in the park.
- Order a National Parks pass in advance. I ordered a yearly one at REI ($79.99) but lots of places sell them. If you are only visiting Big Bend, you can buy an annual pass for $55.
- Monitor the Big Bend National Park newsletter, The Paisano. It’s a wonderful guide.
- Get the NPS app and load the BBNP module for offline use (it’s approximately 56 MB and likely too large to get quickly via a spotty phone connection after you arrive). You should consult this app often for alerts about road closures, missing hikers, etc.. Take advantage of the Self-Guided Tours section if you have a passenger willing to narrate while you drive or walk.
- If you want to refer to phone-based maps, download the offline version in advance. You won’t have cell coverage most of the time.
- Check road outages before coming and also every day during your visit. I suggest setting up a visualping alert that emails you whenever there’s a change. If you don’t track these changes you have to wait to get the news on the dry-erase boards set up at each of the entrance gates.
- Bring an insect head net. I didn’t end up using mine but I gather sometimes there are swarms of tiny biting insects that are horrible. The nets are cheap and small (here’s the one I bought on Amazon). And bring a repellent with either DEET, picaridin, or oil of lemon eucalypus (p-Menthane-3,8-diol). Don’t bother with repellents that lack one of these chemicals.
- Consider buying or renting a GPS locater device such as a Garmin inReach or equivalent. You can set it up so your family can track your progress. These are rather expensive but entirely worth it if you are hiking alone, are accident-prone, or have a family member that is a worrier. Your phone will have no connection in most areas of the park so don’t rely on it for maps or for calling for a rescue. In related news, here’s a page detailing all the deaths and accidents in Big Bend National Park since 1986.
- Regardless of where you stay, stock up on food at a grocery store in a large town well before you approach the park area. I recommend Fort Stockton (if approaching from San Antonio on I-10) or Del Rio (on I-90). Buy yourself a cheap cooler or two, ice, and then splurge on absolutely everything. Get the fancy steaks, the seafood, the desserts, the fresh fruit, vegetables, chips, and top-shelf alcohol — whatever you’re going to crave after a long day on the trail. And get fixings for great breakfasts and lunches on the trail. Don’t hesitate to overbuy (I made this mistake, so trust me). If you buy the same food in Terlingua and Study Butte you will spend at least twice as much plus you won’t have the selection. And the food at the restaurants I tried in Terlingua and Study Butte was overcooked and over-salted, so I would avoid if you’re used to fine dining (that said, I totally agree that eating out is good fun).
- About water: you’re going to need a lot so I highly recommend buying several 5-gallon containers before you get to the park in case the local water becomes contaminated (that happened in Terlingua in October of 2023). You can apparently fill up containers at the visitors station inside the park so bring your empties.
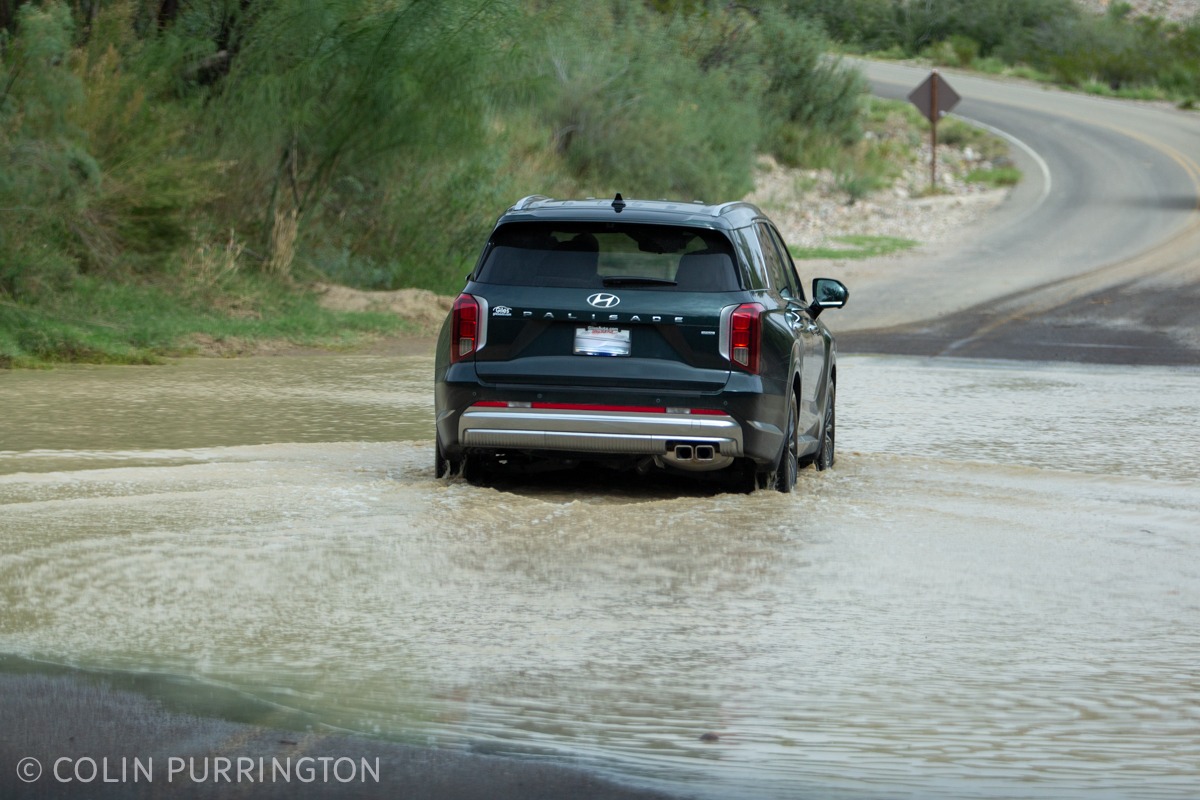
- Some of the roads in Big Bend National Park are too rough for vehicles without sufficient clearance. In addition to the normal boulders and ruts, sometimes the dips fill with water and you’d kill your engine by driving through it. If you want full access to the park rent a 4-wheel drive vehicle.
- The gas stations in the park (Panther Junction Service Station, Rio Grande Village Service Station) don’t seem to show prices but they are reportedly cheaper than the gas in nearby towns. However, I’ve heard that the in-park stations sometimes run out of gas so don’t run on fumes with the expectation of filling up there.
- If you are driving your own vehicle, bring a spare tire. The roads are really rough and the nearest service stations are far away and invariably closed when you need them. And if you’re renting a car, remember that it will almost certainly be stripped of a spare (due to liability concerns), so you’re going to be out of luck in the event of flat. For this reason, you might consider picking up a can of Fix-a-Flat before entering the park. This might enable you to drive the car back to civilization to be repaired.
- Dying from lack of water is a real concern in Big Bend National Park so splurge on a lightweight hydration backpack if you don’t have one already. I have a bladder that fits inside my F-STOP camera bag and it’s amazing on a hot day when loaded up with ice cubes. You can also partially fill the bladder and stick it in the freezer each night. Not only is the water ice cold but your back gets chilled all day.
- Bring your passport. I didn’t end up using mine but there’s a crossing in the park and you can spend the day exploring the town of Boquillas (NB: not open every day).
- I didn’t know about it during my visit but you might take the Just Ahead app for a spin. I think you’re allowed one download as a sample before needing to purchase anything, so select Big Bend National Park and connect the audio to your car’s bluetooth speaker. The preview I listened to is a tad cheesy at times but has some really good information. It’s GPS-aware so it will tell you things that are appropriate as you drive. E.g., “that volcano on the left is blah, blah, blah.” (FYI, written and narrated by a National Geographic / Outside Magazine guy, Rob Howells.)
- Consider installing the ExploreHere app on your phone. This app contains information about historical markers on your route, so you can entertain yourself in that way during the long drive from El Paso or San Antonio. All these markers are well advertised on the sides of the road but the app allows you to access the information without stopping, and that’s especially convenient when the marker is on the opposite side of the road. The pro version has a 7-day free trial and an offline sync so activate all that when you have wifi at the airport before starting your drive. Note that with the pro version ($9.99/yr) you’ll also get notifications (the base version doesn’t) but you’ll need to click on the app to get an audio version of the marker content, so it’s best if you have a willing passenger for that. I’m a huge fan of stopping for historical markers so this is an app I really wish I’d known about when I was there. If anyone tries it out let me know.
- Consider buying bear repellent. It’s unlikely you’ll need to use it but it’s certainly the case that rangers always seem to have it. Remember that TSA will not let you through security with bear spray so keep it in your checked luggage.
- Bring a pair of waterproof footwear in case you need to cross a stream or soak in hot springs. You can do both bare-footed but I always worry about broken glass.
- Don’t forget flashlights and headlamps if you want to navigate trails when it’s dark. Super important if you want to get to a particular location for sunrises and sunsets.
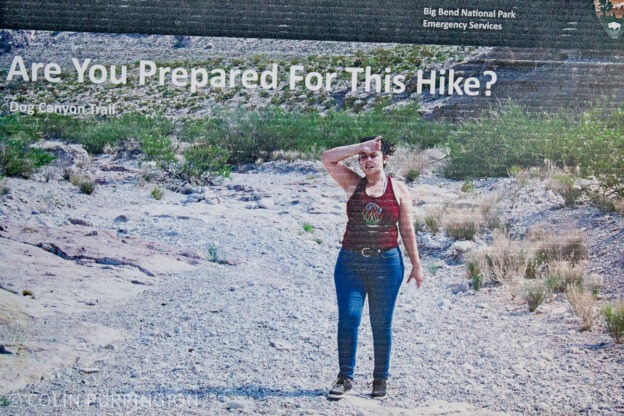
- If you go during the heat of the summer please don’t underestimate the danger of overheating. That’s especially true for children, pregnant women, seniors, and anyone overweight. If you’re in any of those categories, opt for shorter, more shaded trails with less elevational gain. People die in the park from dehydration so this is no joke.
- Bring forceps for removing spines. There over two dozen cactus species that will try to stab you, plus it seems like most of the other plants sport spines, too.
- Consider buying a pair of gaiters for protecting your shins from weaponed plants. They also help to keep pebbles out of your boots and barbed seeds from attaching to your laces. REI sells them.
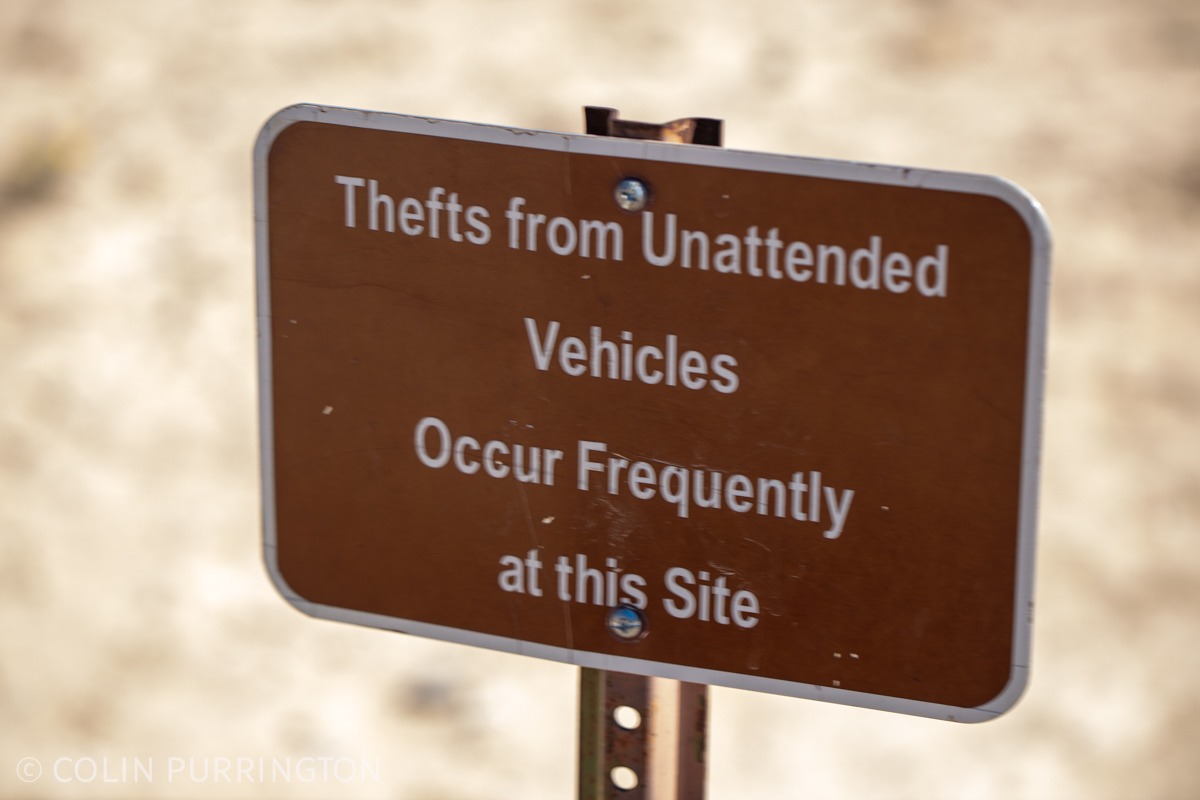
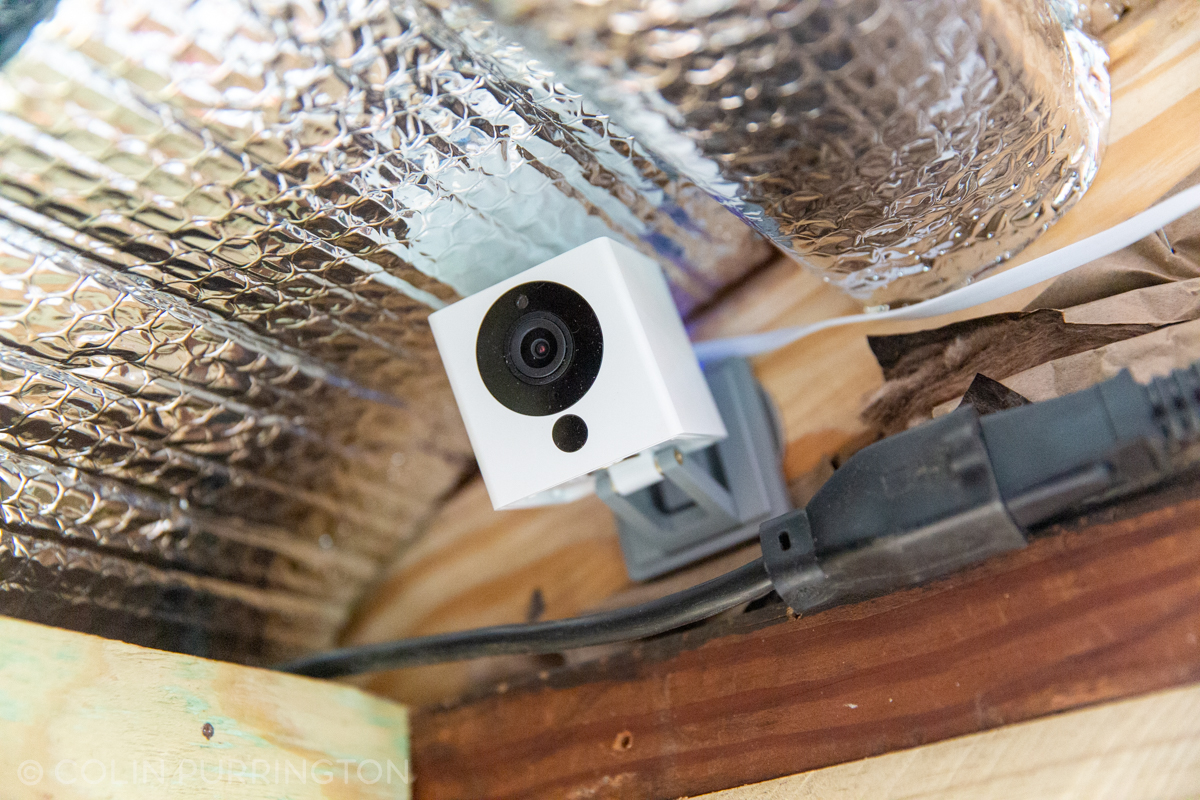
- Don’t leave valuables in your car when parked at trailheads. And don’t leave backpacks or bags visible because a thief might assume there is something in them. There are signs at some parking lots that repeat the warning, plus cameras that seem to have been positioned to deter such crime. I gather it is an issue mainly near the Mexican border.
If you want to see nature pics from my recent visit, please see my previous post.


