
Pics of my chicken coop in case useful to others who are building their own. It has a sunflower theme because I used an old mural for the exterior.
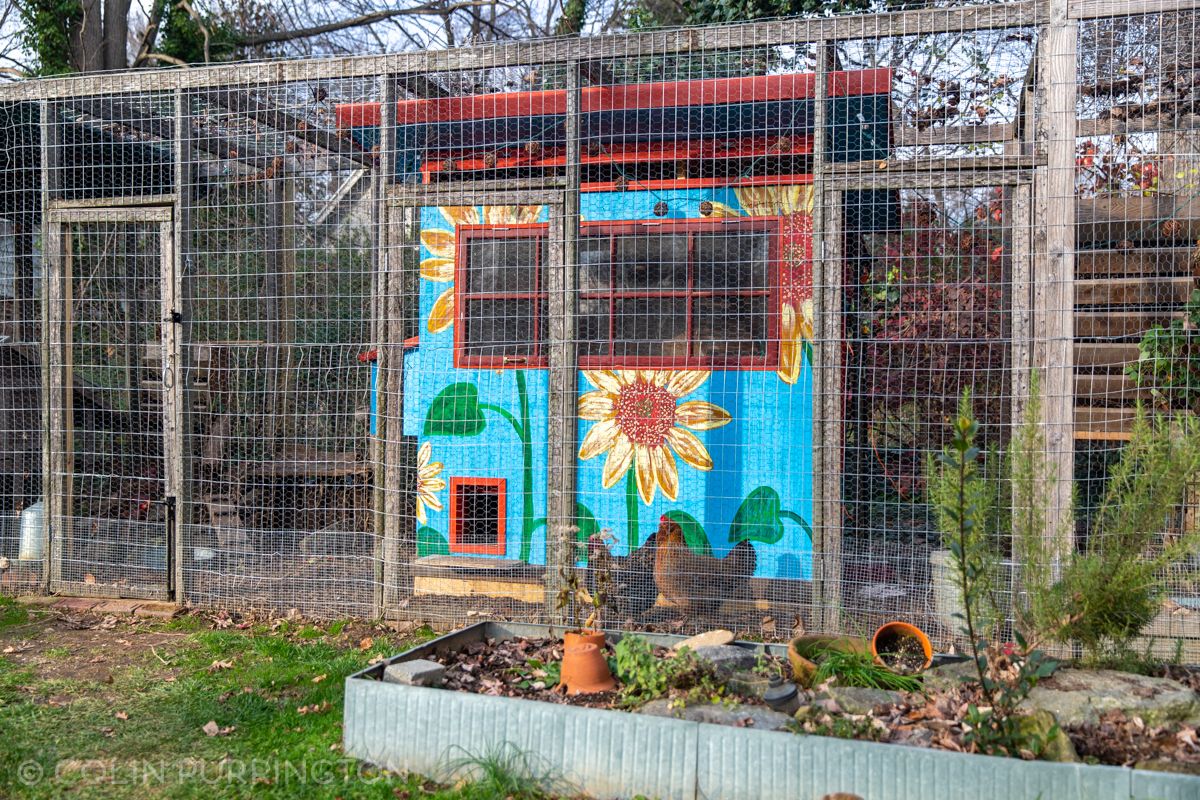
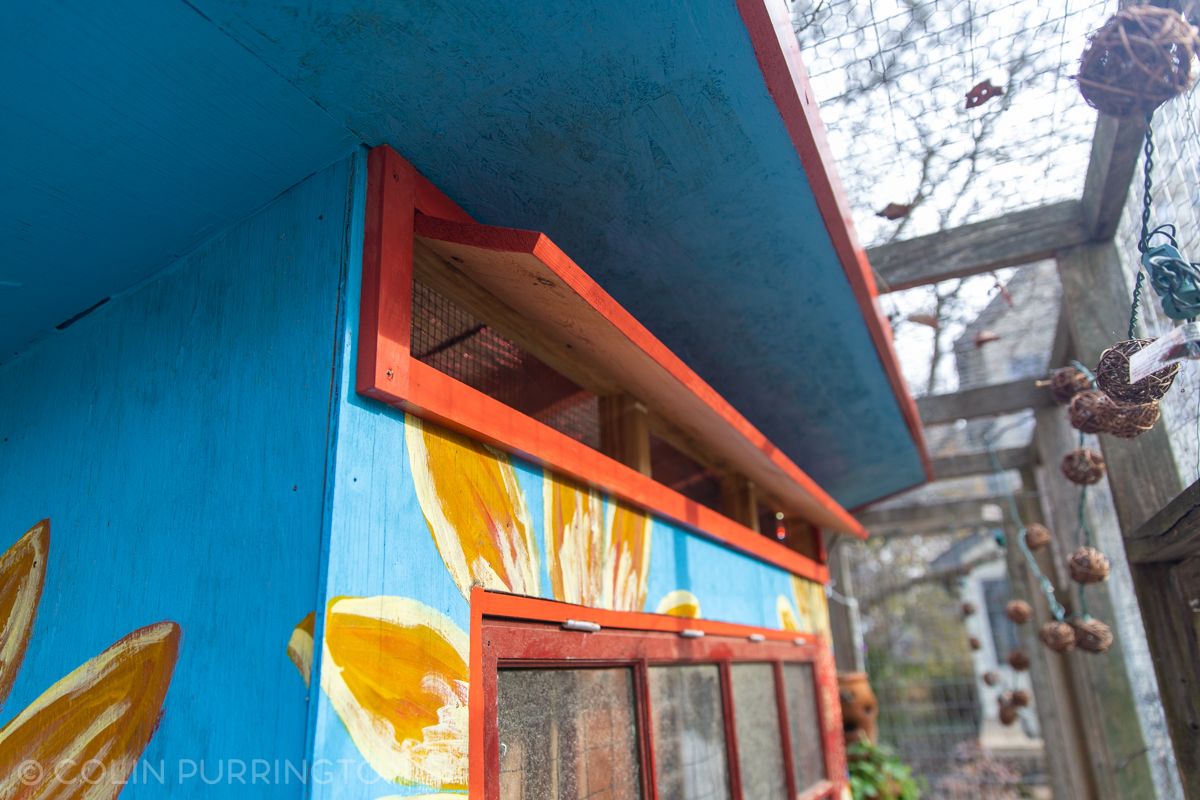
The primary feature is a large, south-facing window on the front that provides solar gain during the winter, but hinged to provide ventilation, too. Opening is covered with heavy wire (to exclude raccoons) and screening (to exclude mosquitoes).

Additional ventilation is provided by a hinged panel at the top. This will be open even during the winter unless temperatures get shockingly low. Opening is covered with hardware cloth and mosquito screening.
I’ve opted for a platform at the pop door so the chickens can more gracefully go in and out. They really like to just rest on the platform.
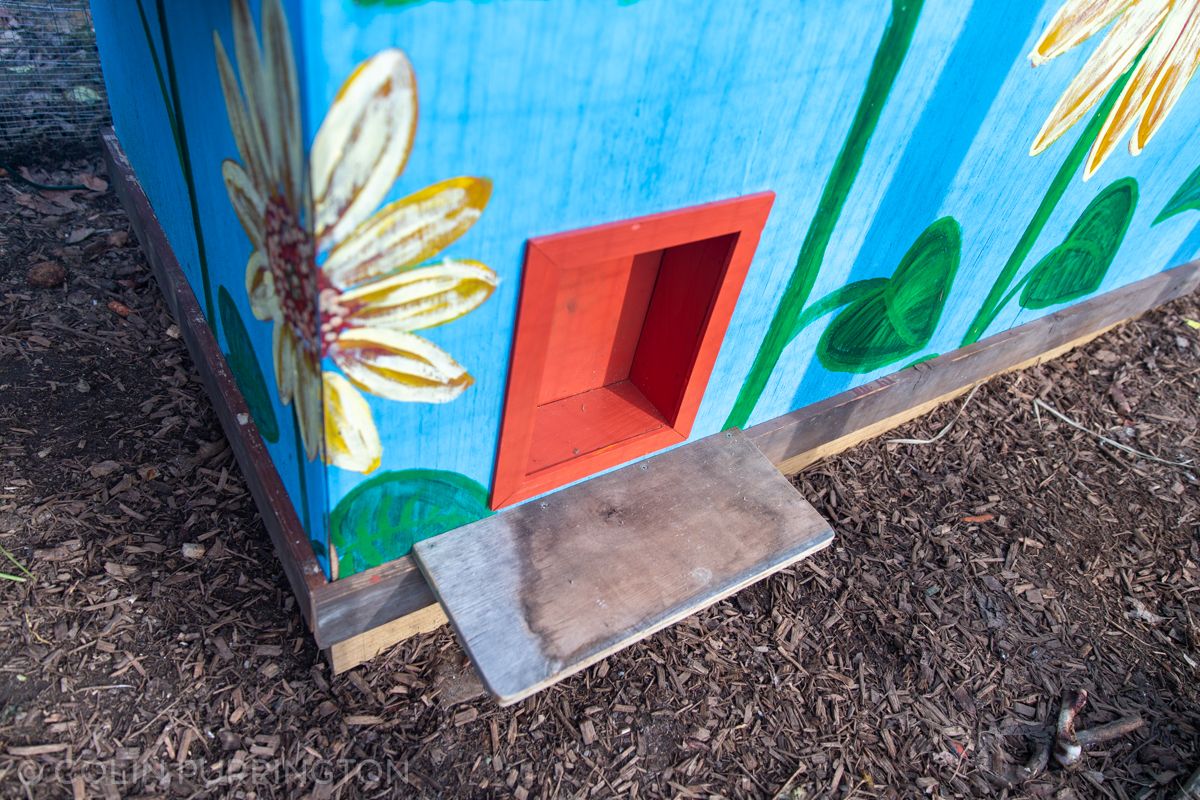
Pop door is opened and closed by an Add-A-Motor controlled with a Wemo smart plug. The Wemo needs to be configured with two separate routines; one to open, and one to close (like this). Here’s a video of the door opening in the morning, followed by a video of chickens using it. The motor is a tad loud but that’s useful in alerting the chickens.
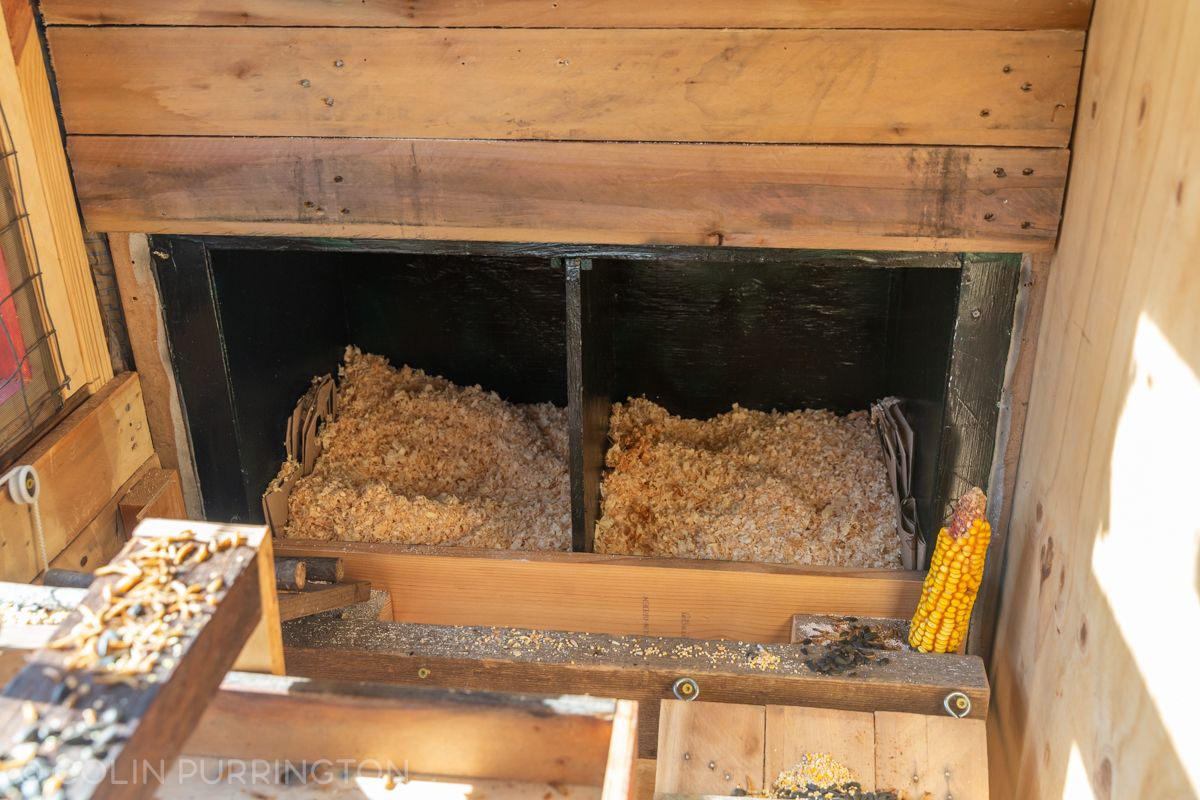
Nesting boxes are accessible on the outside of the coop so that I don’t need to disturb the flock to do an egg check. Lid can be hooked to chain above if there are a lot of eggs to collect. The hinged side is protected from rain with a rubber gasket made out of an old bicycle tire. Lid and nesting boxes are all insulated so that frozen eggs are less of a concern.

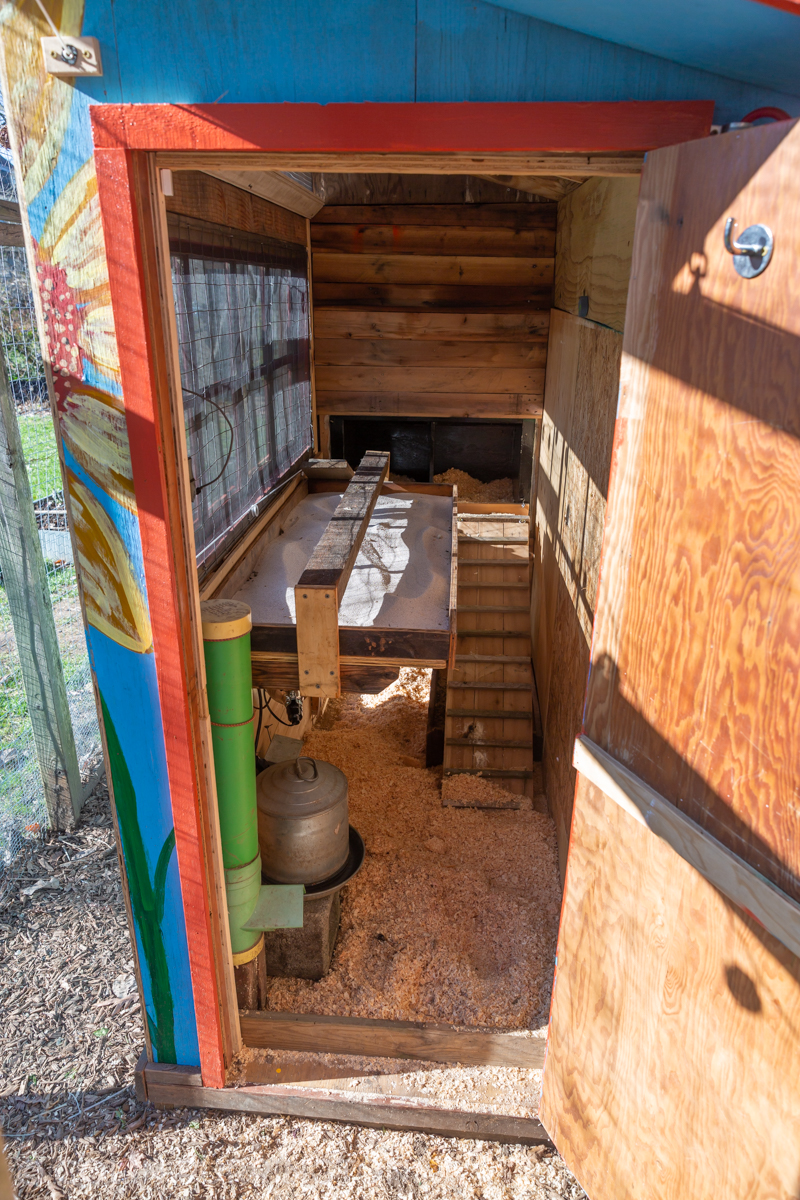
Here’s the view inside the coop. The chickens get to the nesting boxes and perch via a ramp with cleats spaced every 3″. Then there’s a short hop (or optional ramp trip) to the perch. Underneath the perch is a droppings pit that gets filled with granulated clinoptilolite (“PDZ”) to absorb ammonia. Floor of coop is covered in pine shavings. Wood is left unpainted mainly because I’m lazy, but also because if I went with the traditional white it would always look dirty. I did, however, treat the perch with linseed oil, then sprayed it with permethrin (to kill mites).
This photograph shows the small ramp that comes up from the nesting box landing. It’s likely unnecessary but the chickens do use it, so it will stay. It’s screwed down but can be easily repositioned if needed.

Next is a close-up of the nesting boxes, positioned below the level of the perch so that they don’t hang out. I have an old pillowcase (see above video) that tacks onto the boards to give them privacy in the nests.
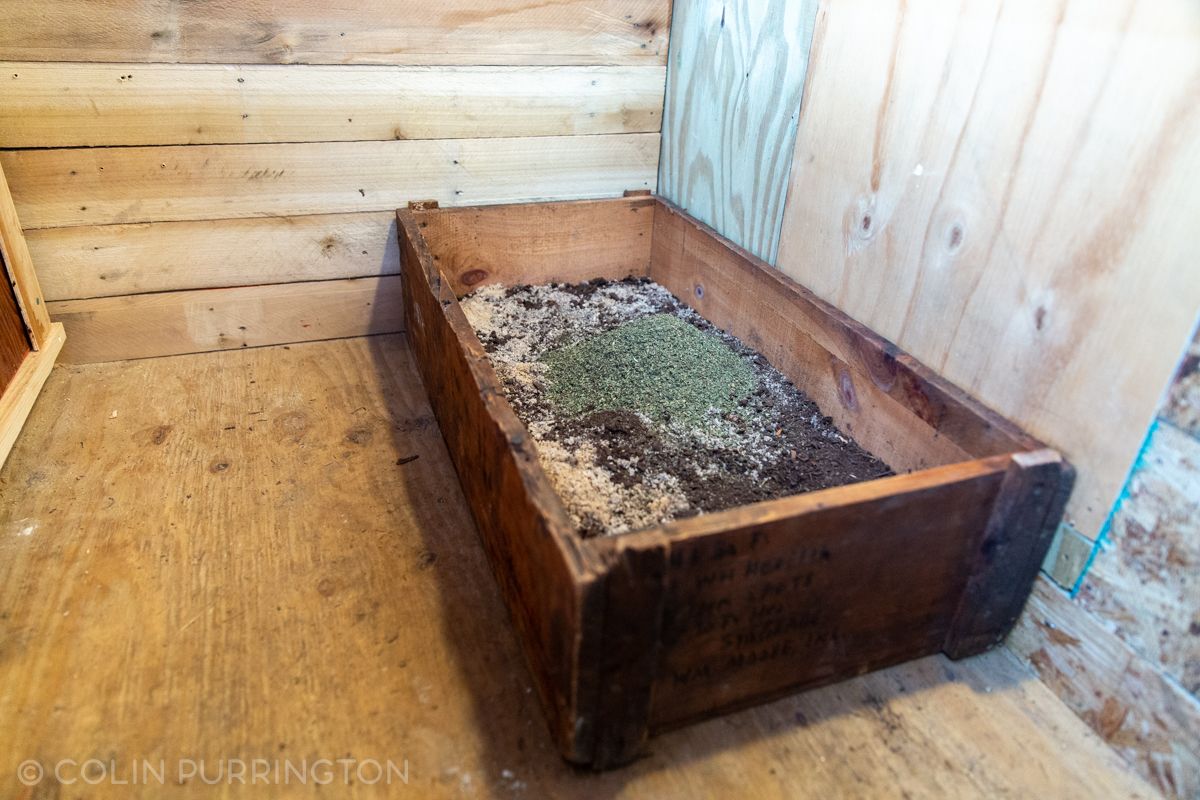
Underneath the ramp is a wood box filled with moss, sand, and dried mint. The chickens will likely never use this but it was fun to provide. It’s large enough for four chickens at once, I think.
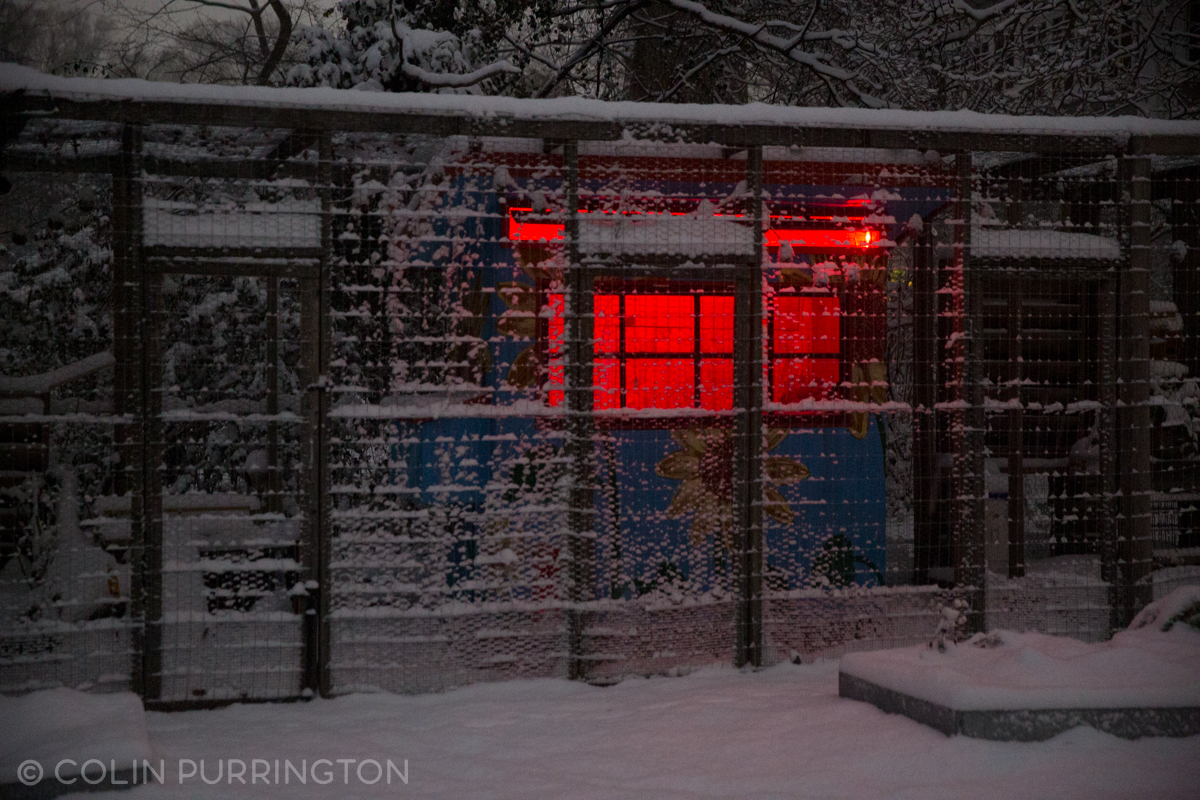
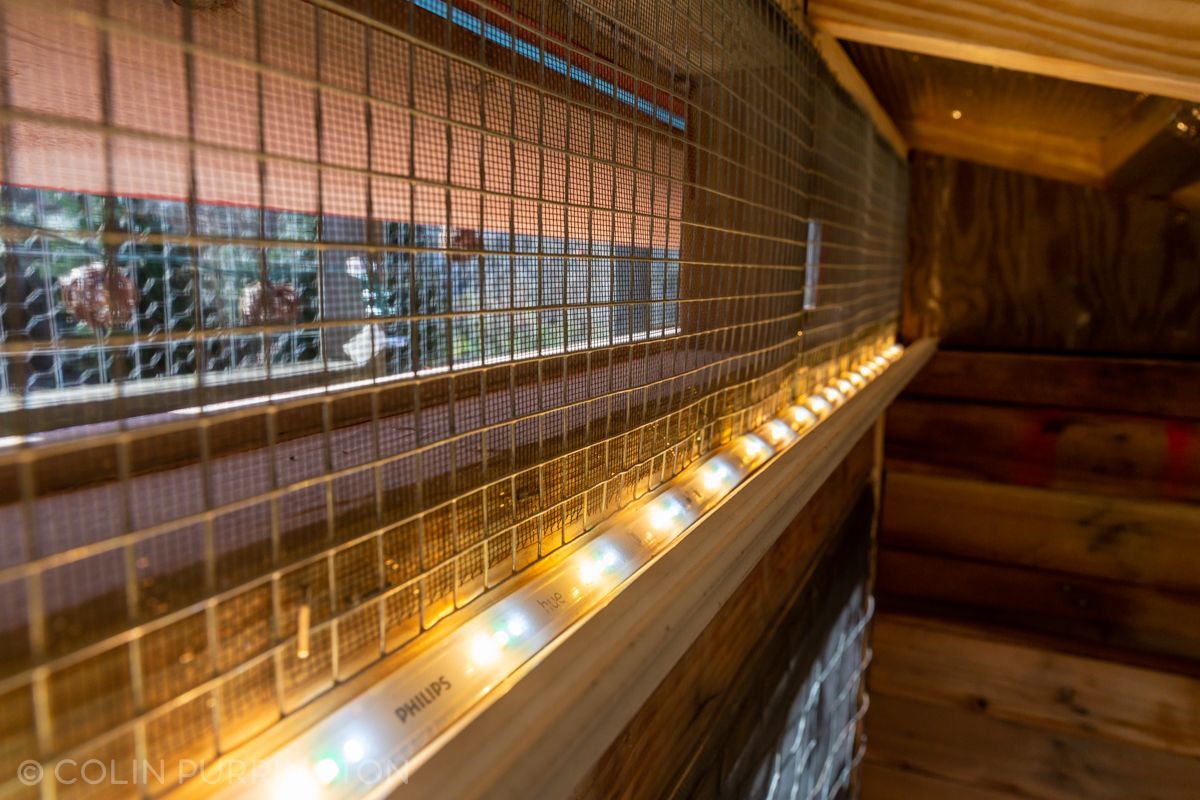
Lighting inside the coop is provided by smartphone-controlled LEDs (Philips hue shape light). Lights come on automatically (but slowly, over 30 minutes) in the morning for several hours, then again in the evening to provide 15-hour days. I’ve set mine to red to minimize aggression among hens and to increase egg production (per research). Red lighting is also less polluting for humans due to our reduced reliance on that part of the spectrum.
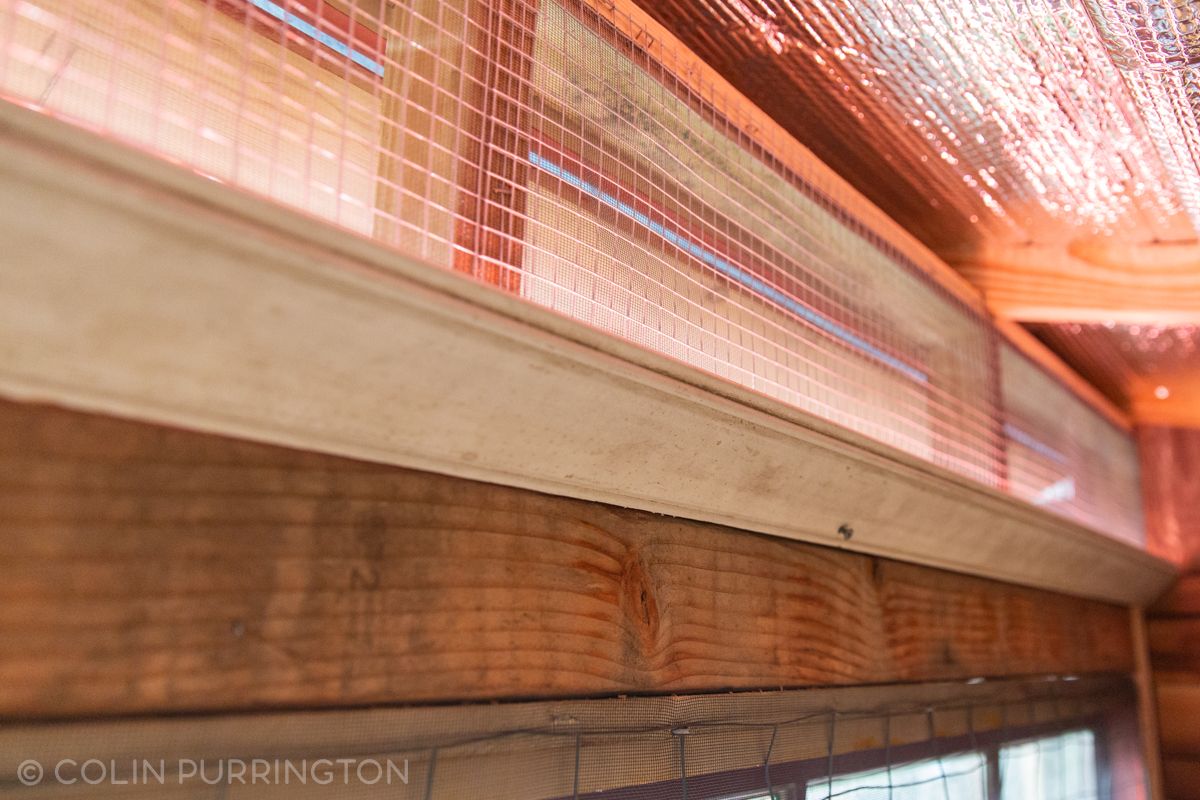
The LEDs are a tad bright so I’ve nested the strip inside a piece of white molding attached to the wall at 45°. The resulting illumination is bounced off the ceiling.
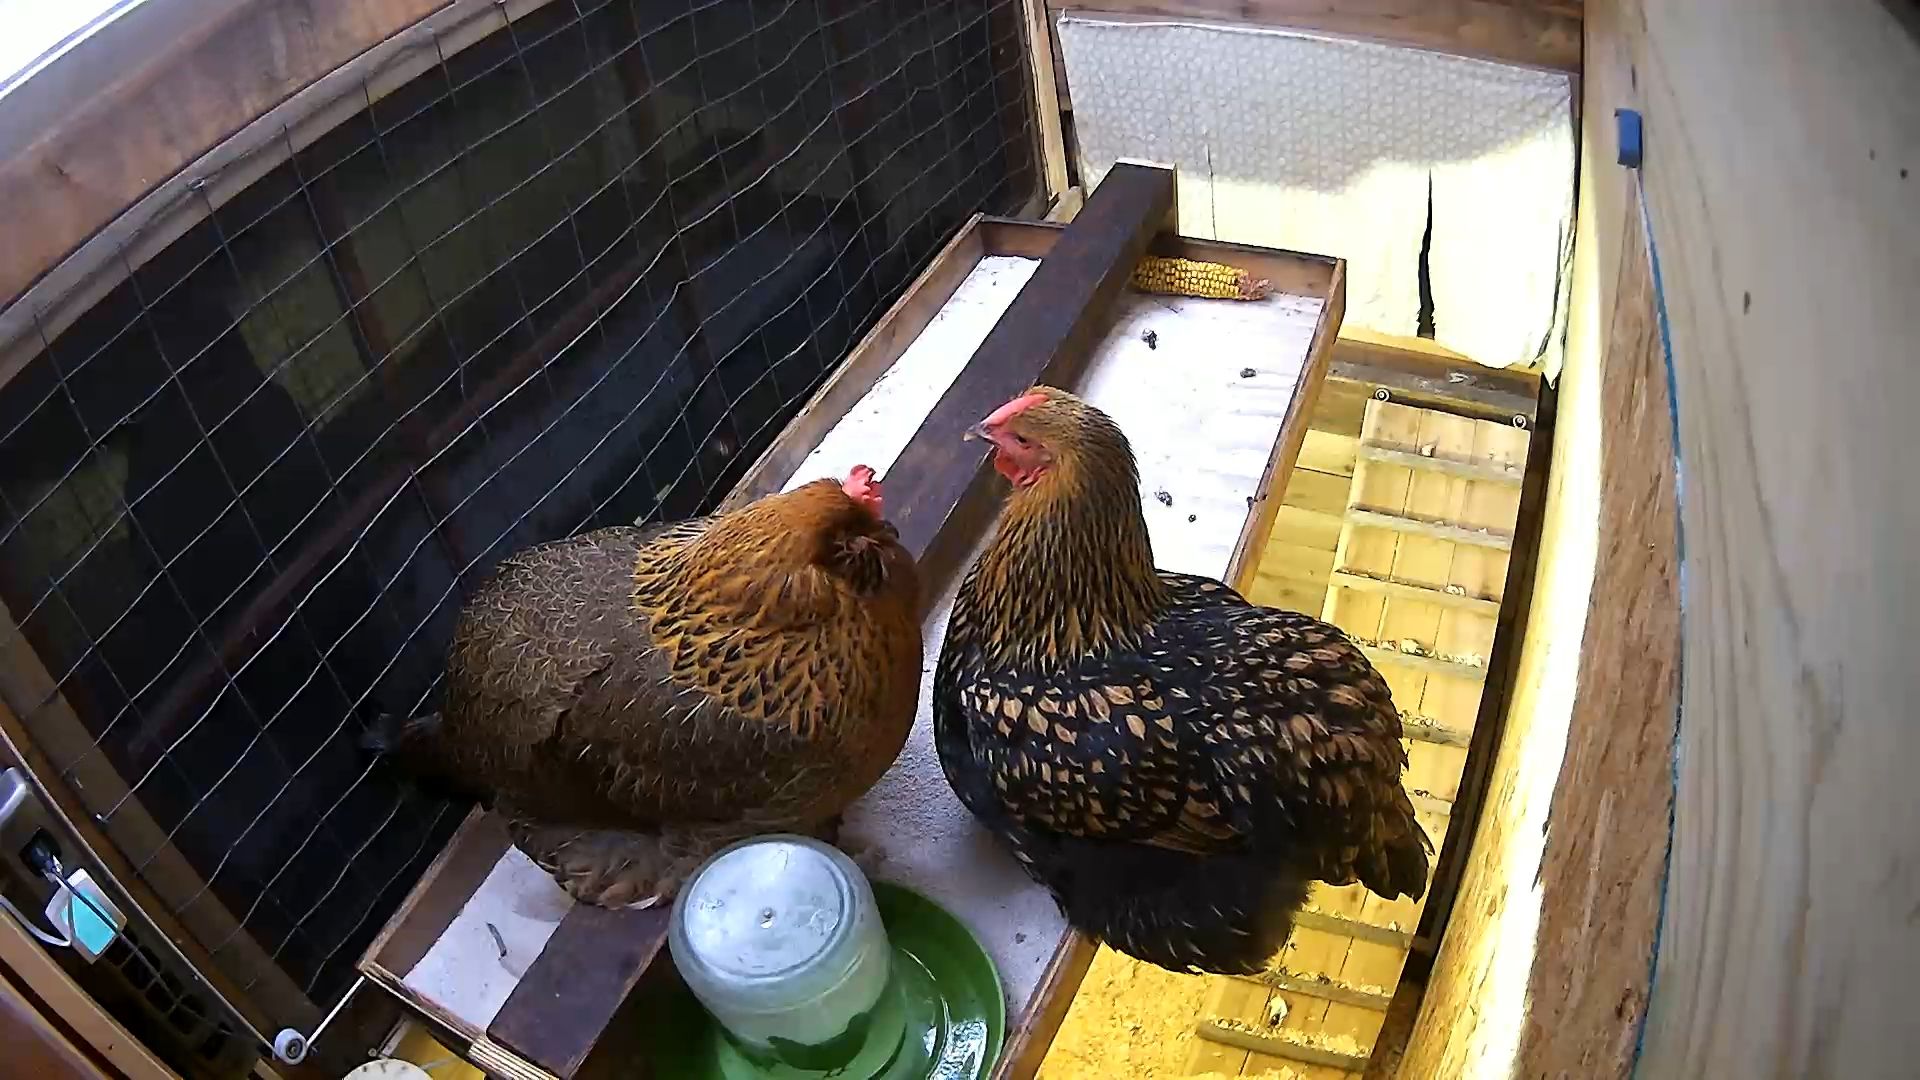
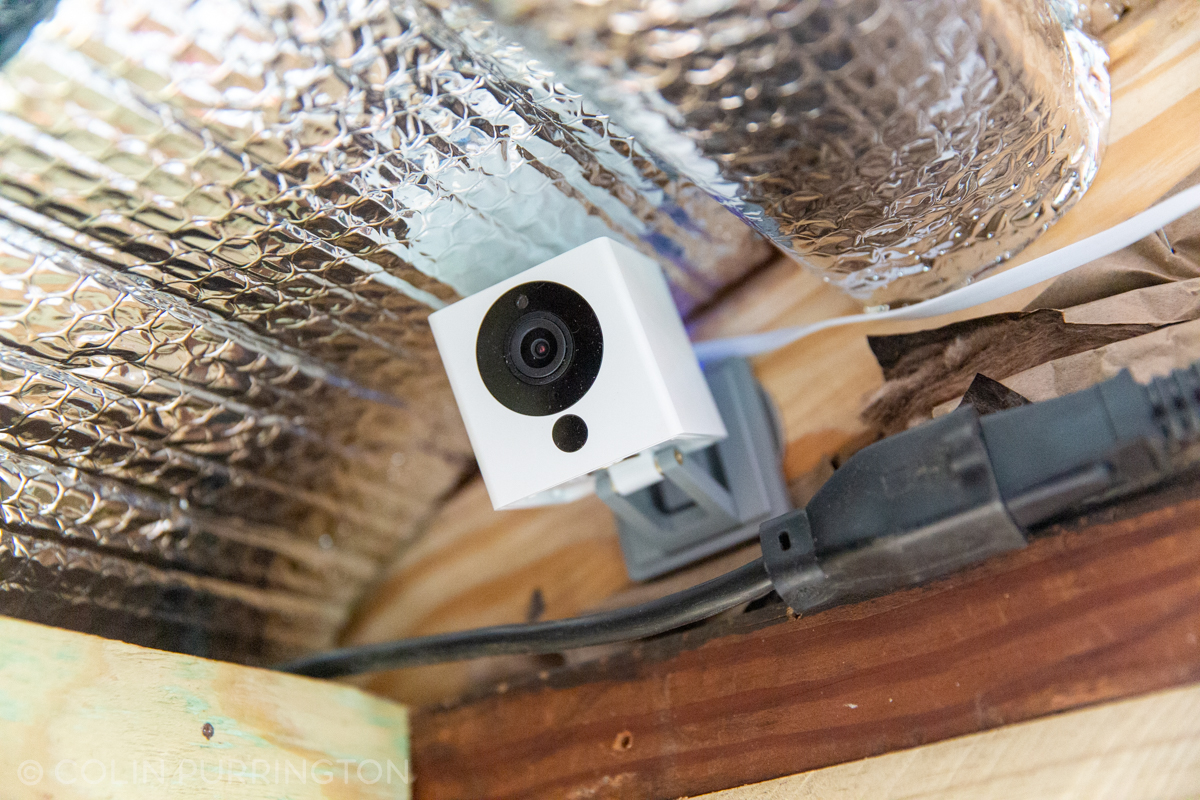
To spy on my chickens I’ve installed a Wyze (v2) video camera equipped with a 64Gb microSD card. Here’s a still showing birds on perch. I have a second cam trained lower level so that I can monitor the pop door and the water status.
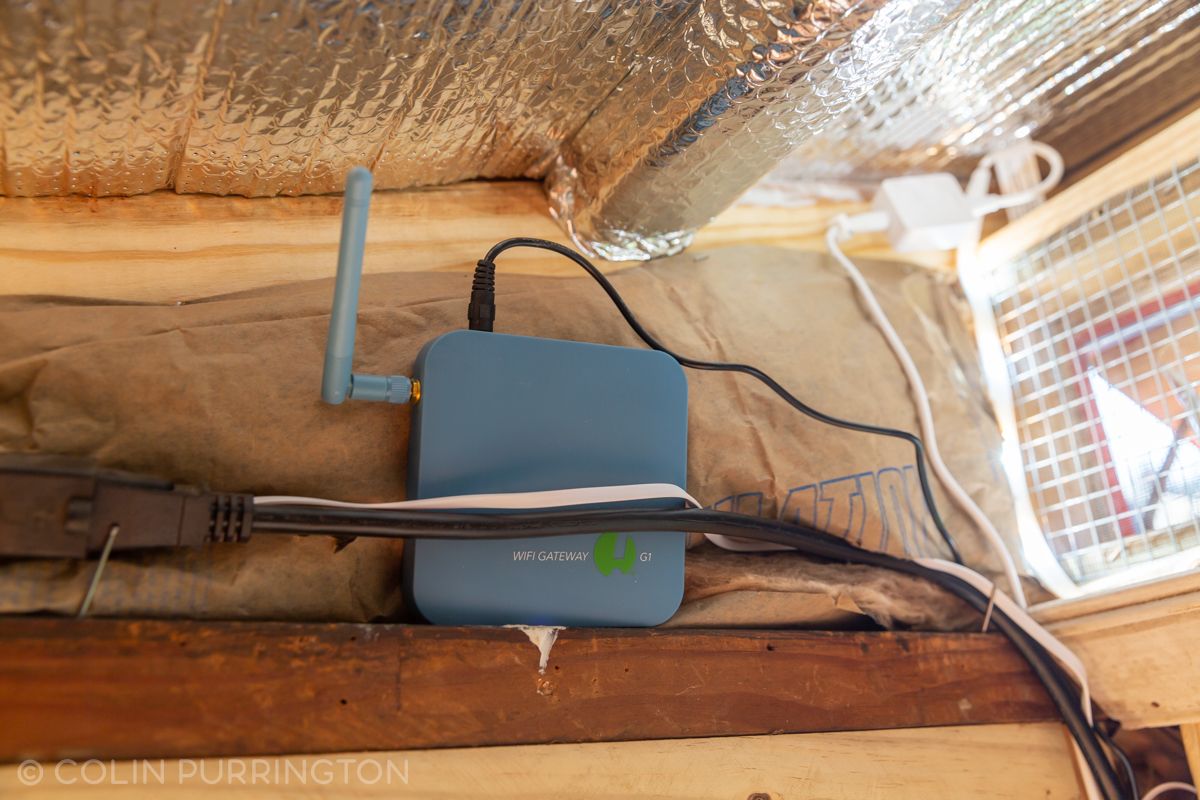
To monitor the temperature and humidity in the coop I’ve added a SensorPush, configured to send me phone alerts if temperature gets too low or too high. I can also set humidity alarms. I purchased the SensorPush G1 Gateway, too, so that I could access the data even when I’m away from home (normal version is Bluetooth-only). Overkill, surely, but fun.

I was worried about condensation (from moist air hitting a cold ceiling) so I added reflective bubble insulation. The walls are filled with fiberglass insulation so I don’t think the winter will be a problem, especially in Philadelphia and especially given global warming. Plus the chicken breeds I currently have (Golden Laced Wyandotte, Blue Easter Egger) are large and cold-tolerant. With my current setup I could likely raise Silkies.
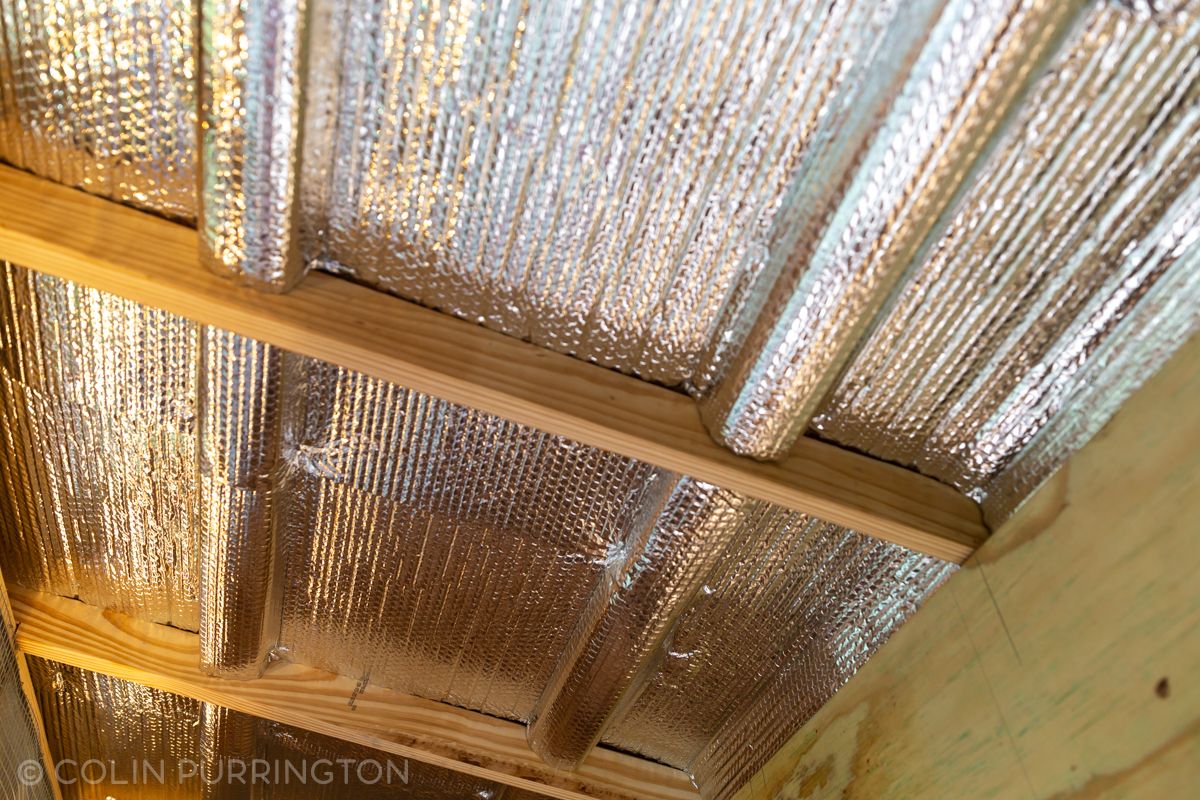
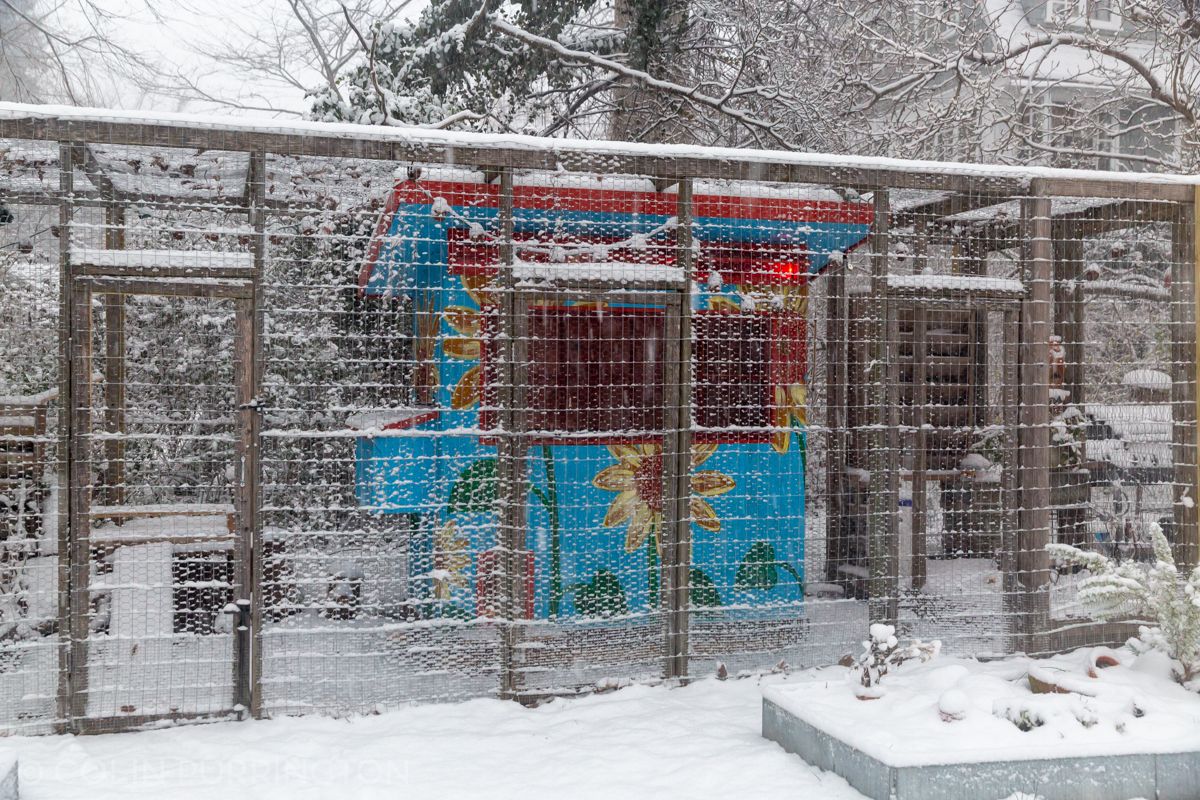
The insulation seems to work. During the December 15-17 nor’easter (pic below), outside temperature fell to 24 °F; inside dipped to only 31.8 °F. It’s not just the insulation, of course — the chickens generate heat (10 W each, I think), plus the thermal gain during the day is retained in the pure mass of the structure (wood, nails, screws, etc.). If I felt the cold would be a problem I’d also attach plastic film to the window.
For all the lights and gadgets, power is delivered via an extension cord fitted with a GFCI splitter. I decided on getting one of these after a near-death experience with a faulty router.

The coop is situated inside my former berry garden that featured chicken wire to protect fruit from birds and squirrels. To convert it for chickens I added a layer of 2×3″ fencing to all surfaces, plus buried hardware cloth along the perimeter. I also added approximately 15″ of hardware cloth on the lower part of the structure to prevent raccoons from reaching in and grabbing a chicken, which apparently they like to do. Something could, conceivably, tunnel into the coop from several feet away, avoiding the buried screening, so I still patrol it daily in case a hole has been started. Small birds (wrens) still come in to steal food, though, and if I’d had to build a run from scratch I would have opted for 100% hardware cloth.

Construction photographs
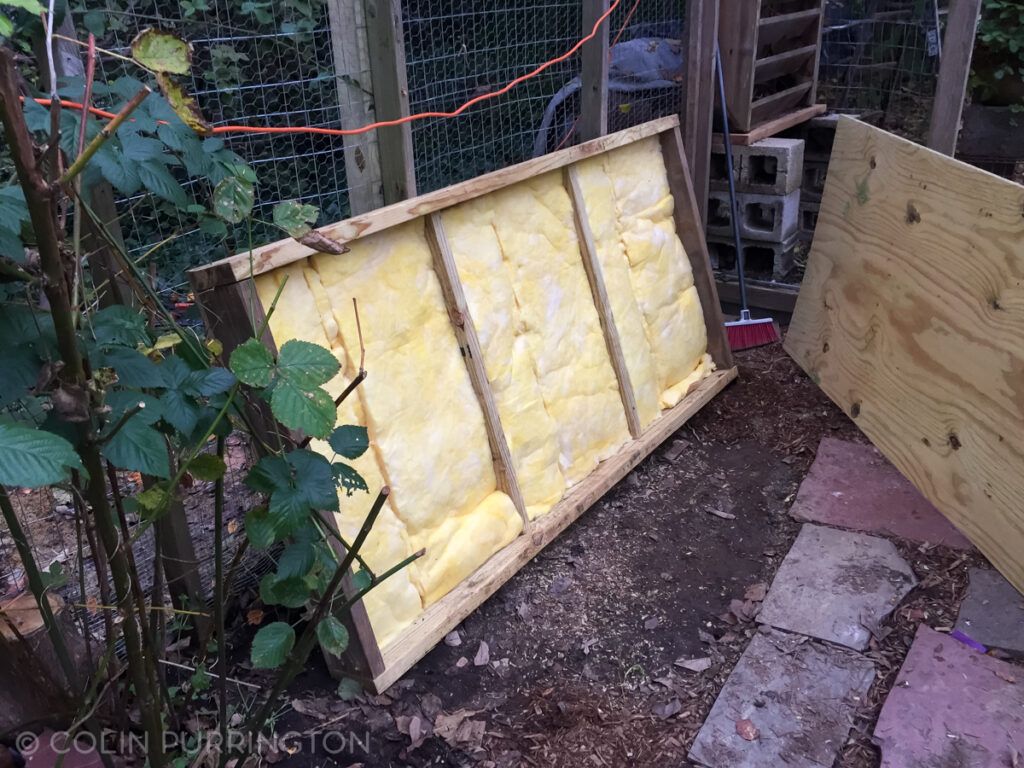
Adding insulation to base 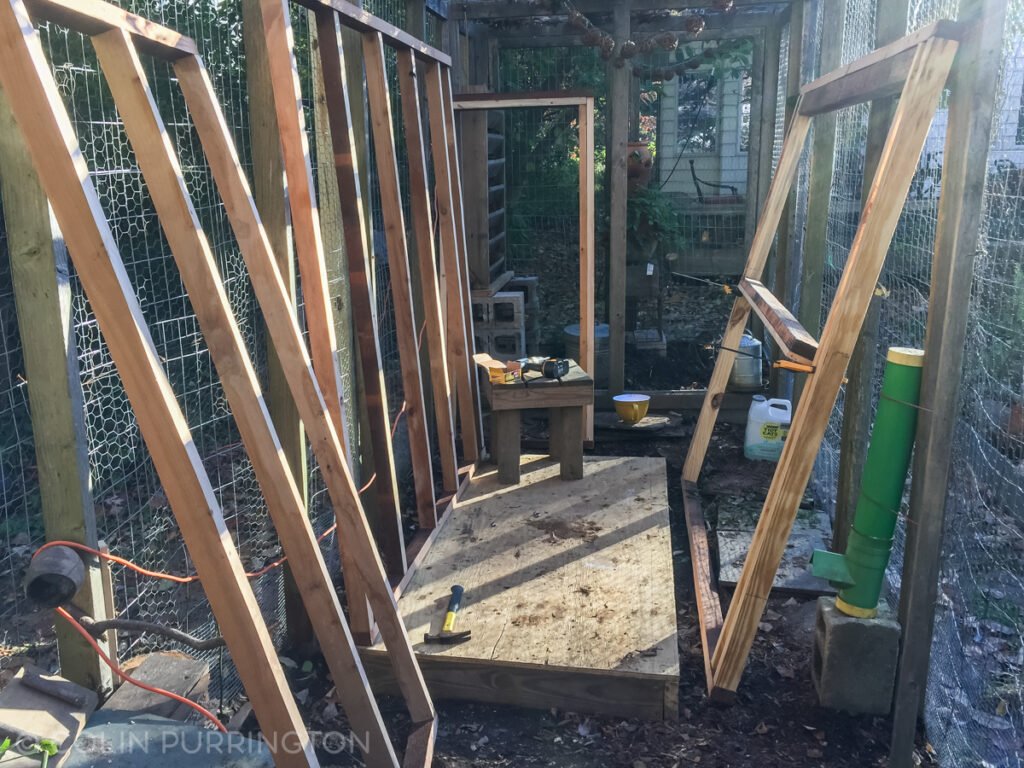
Framing 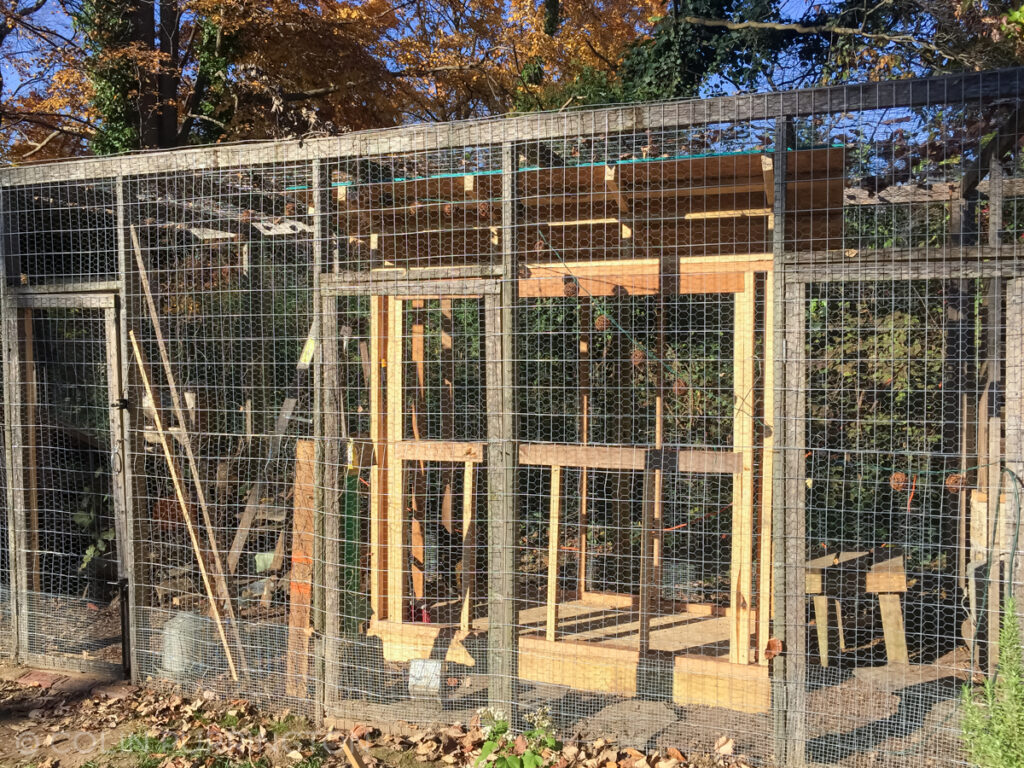
Roof goes on 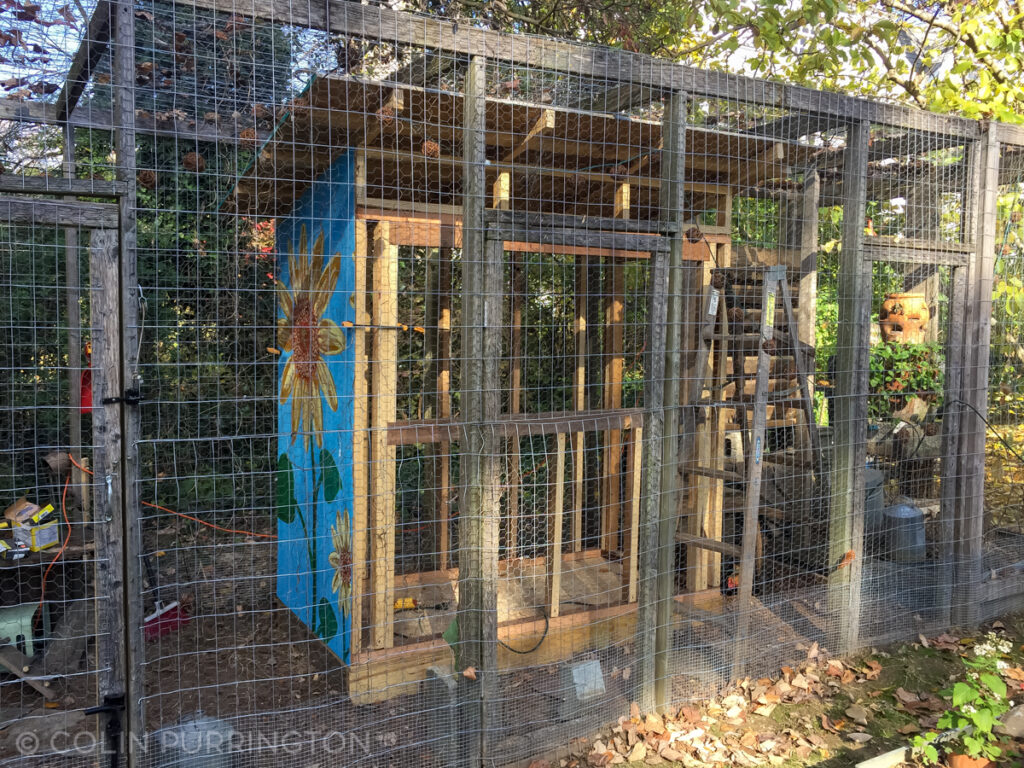
Plywood siding goes on 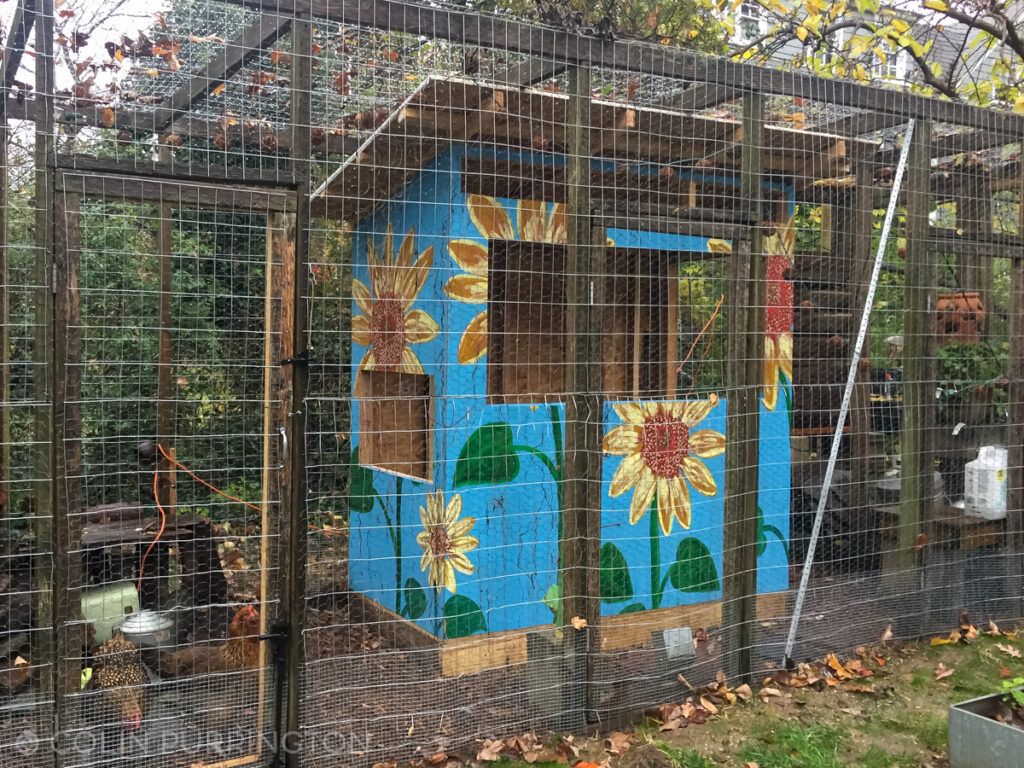
Holes cut in siding 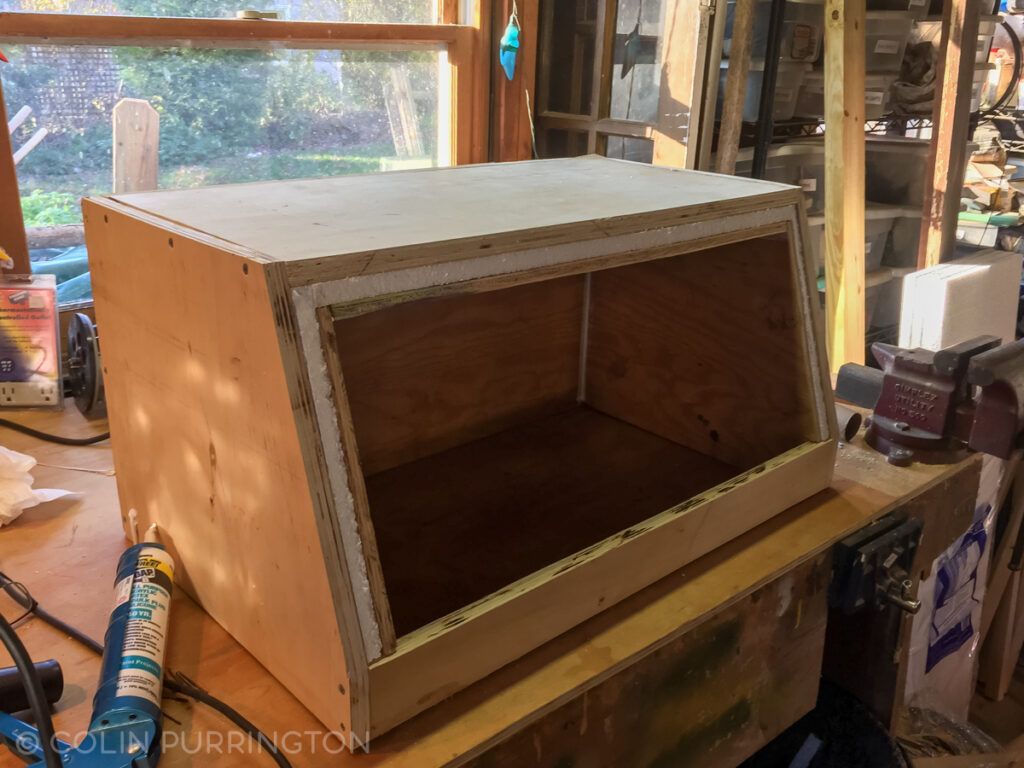
Building insulated nesting box 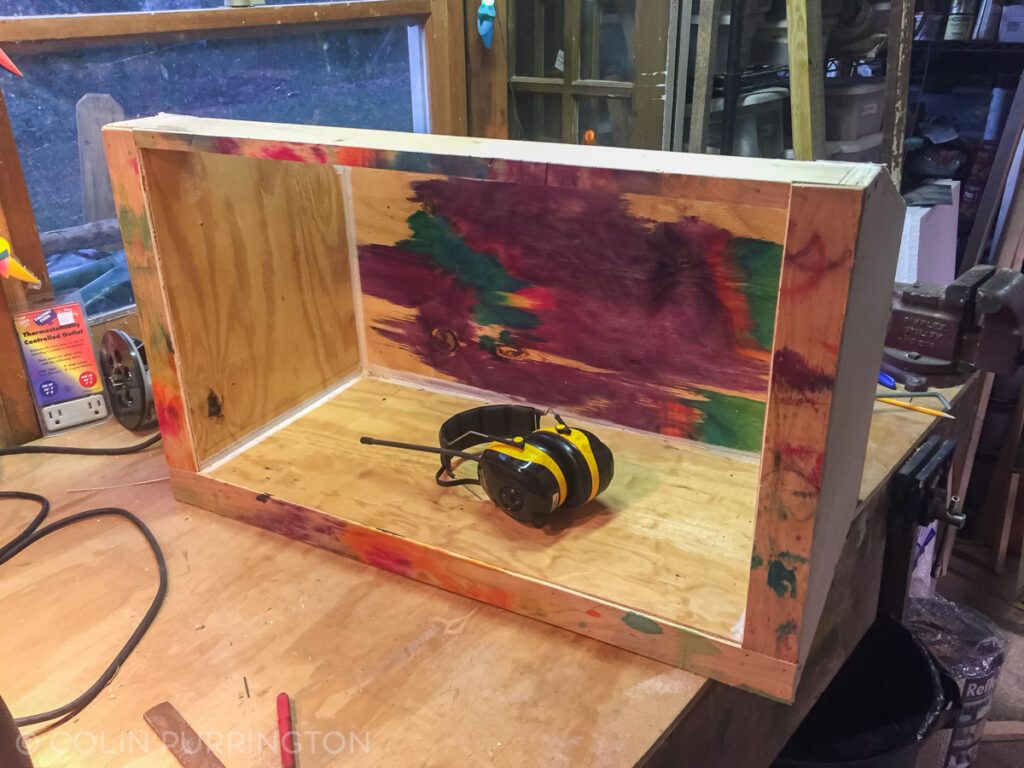
Nesting box, unpainted 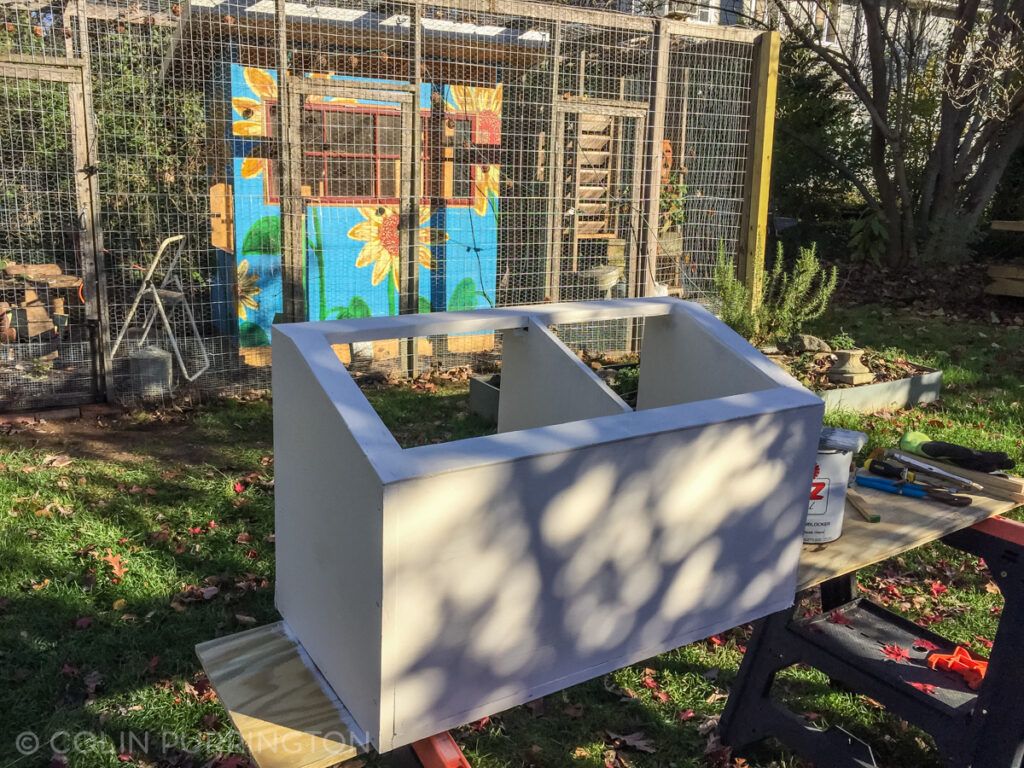
Priming nesting box 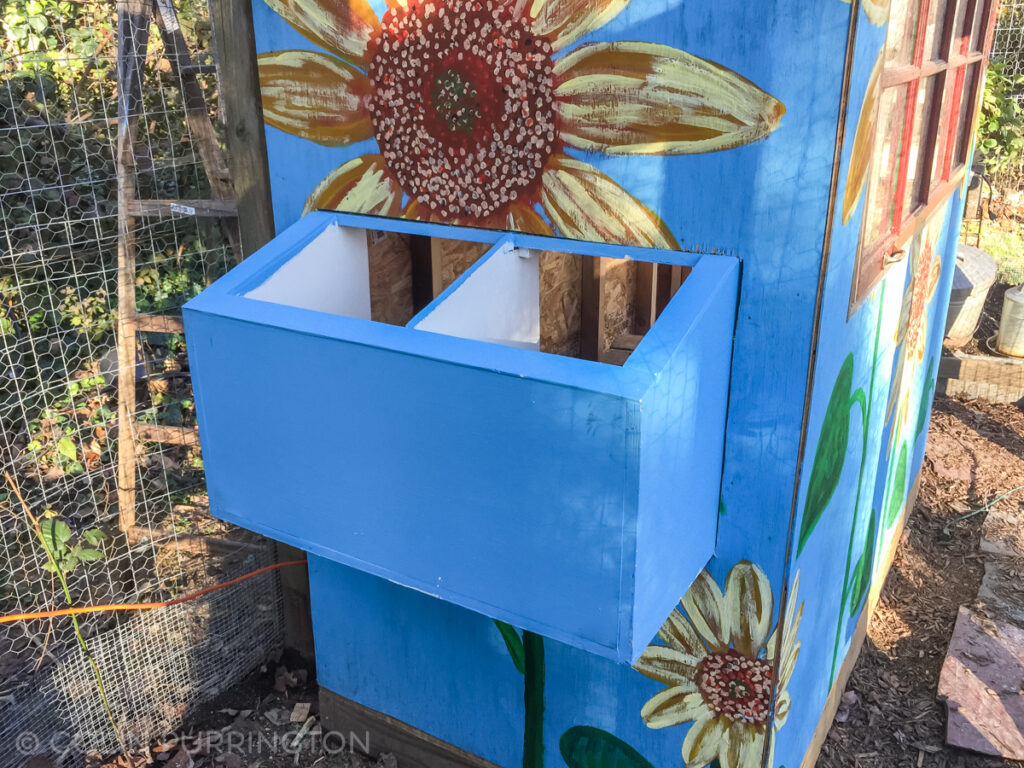
Nesting box attached 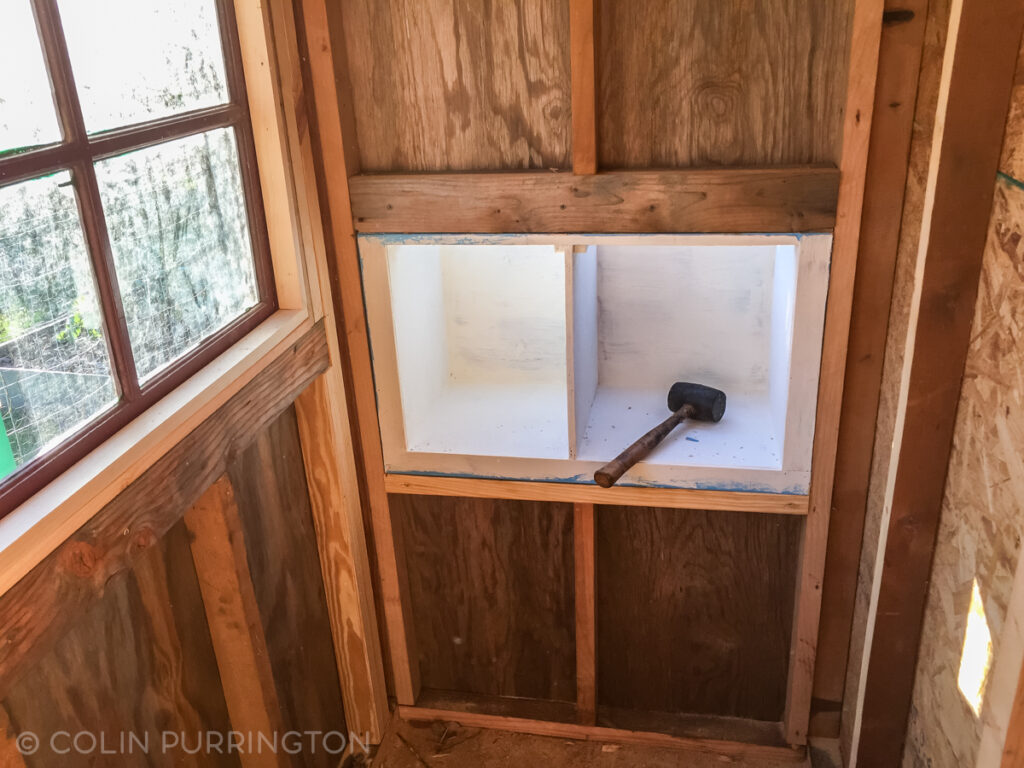
Nesting boxes interior view 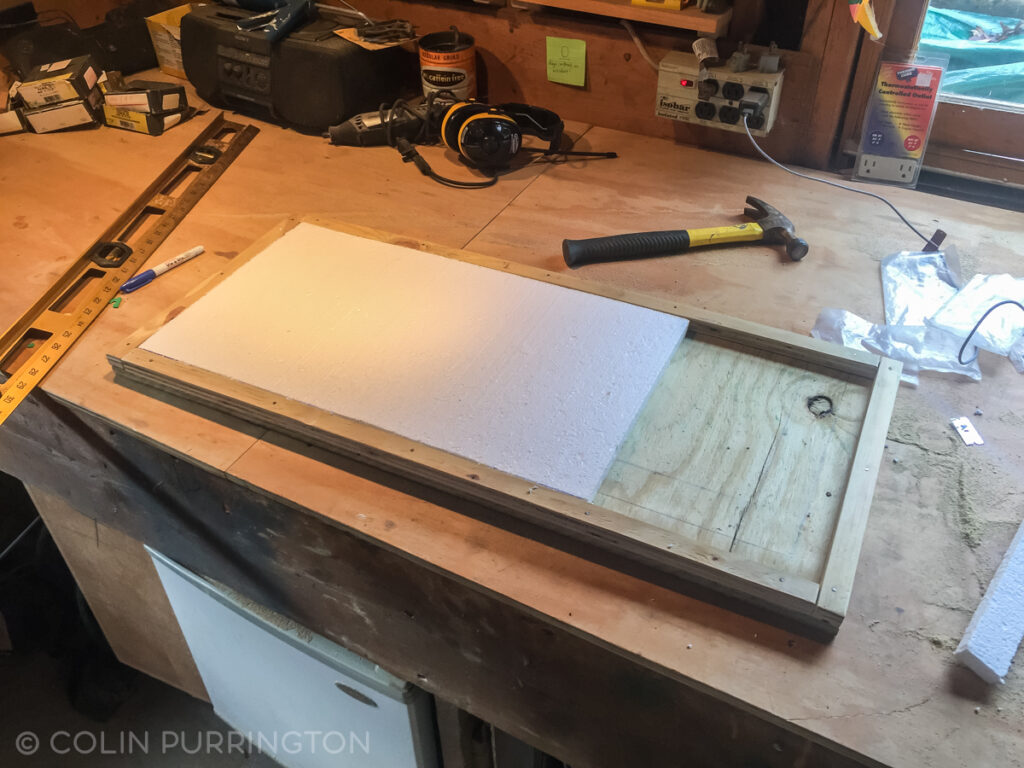
Insulating lid for nesting box 
Lid attached with rubber gasket 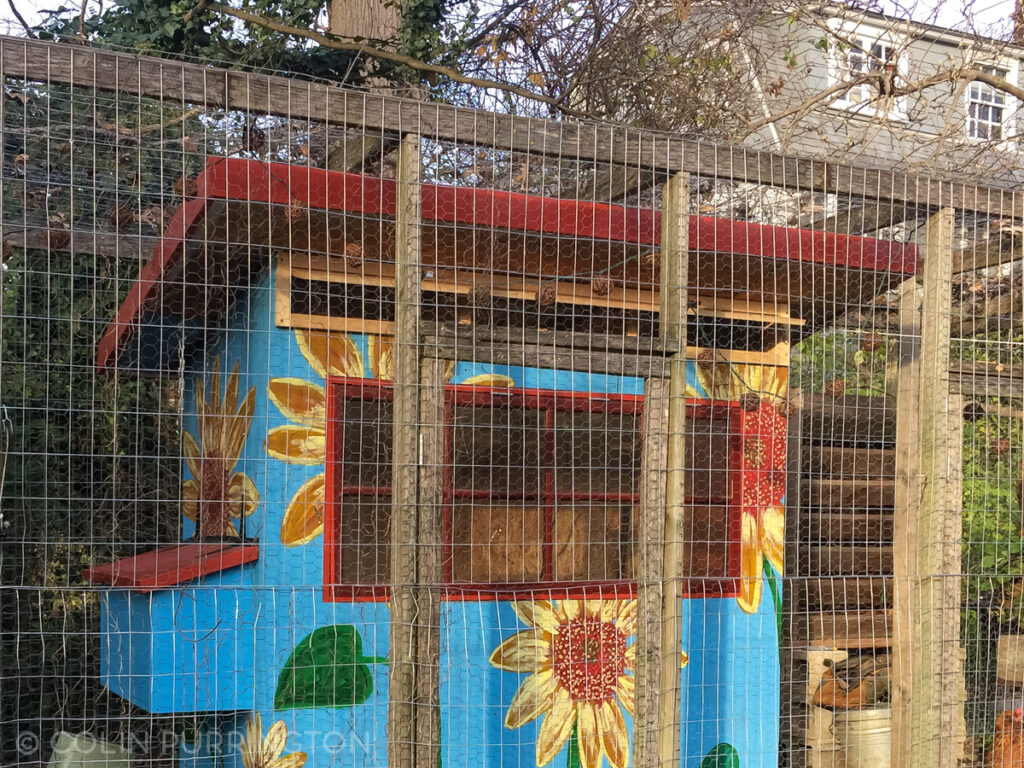
Added hinged flap for vent 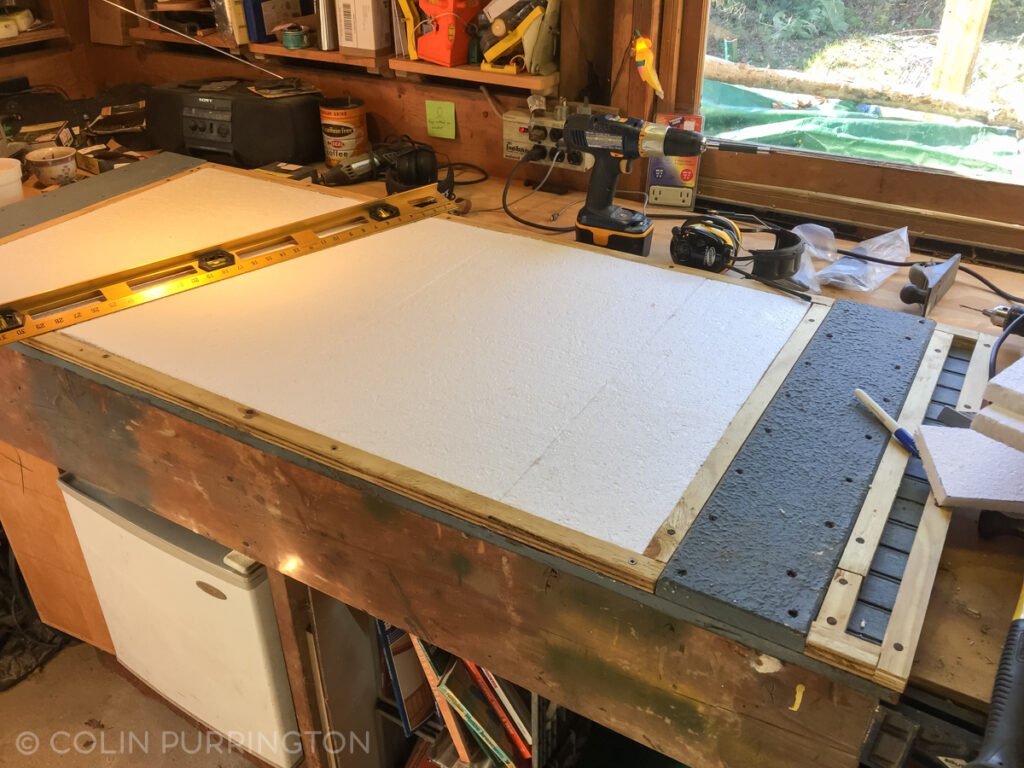
Insulating human door 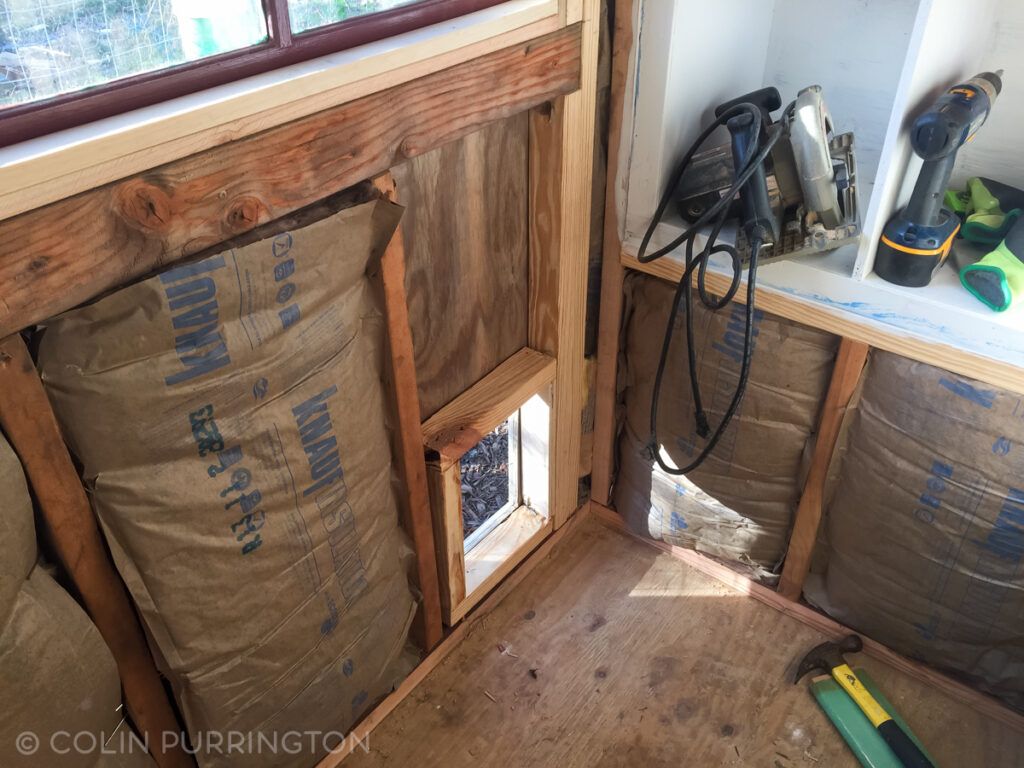
Pop door framed 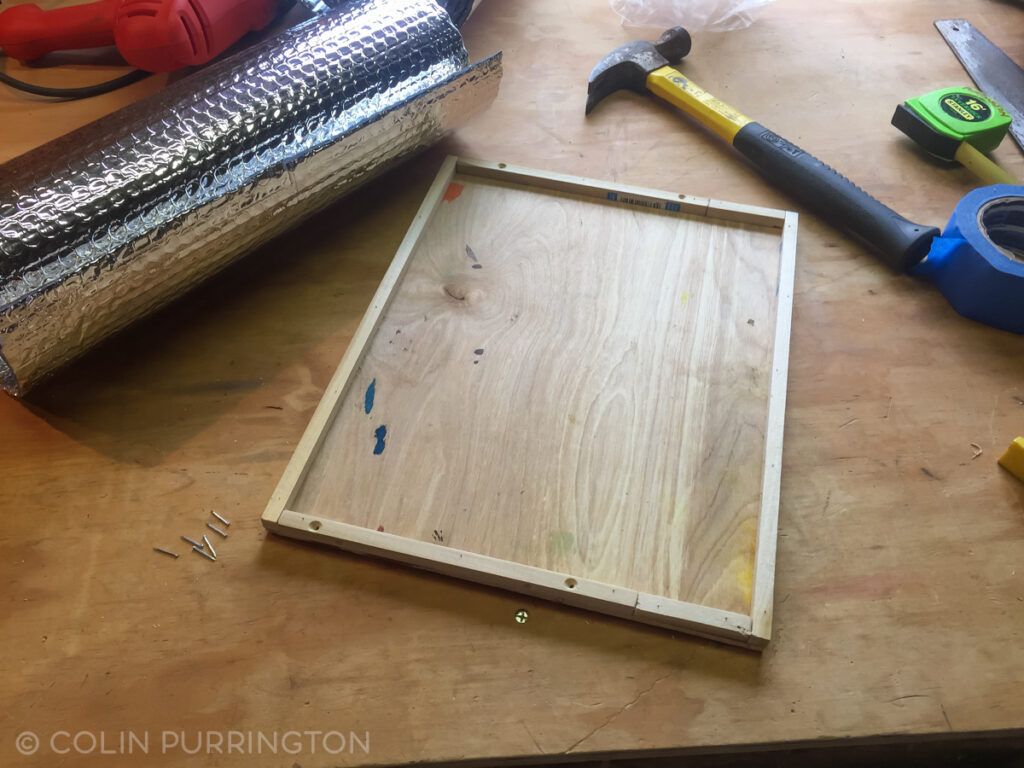
Insulating pop door 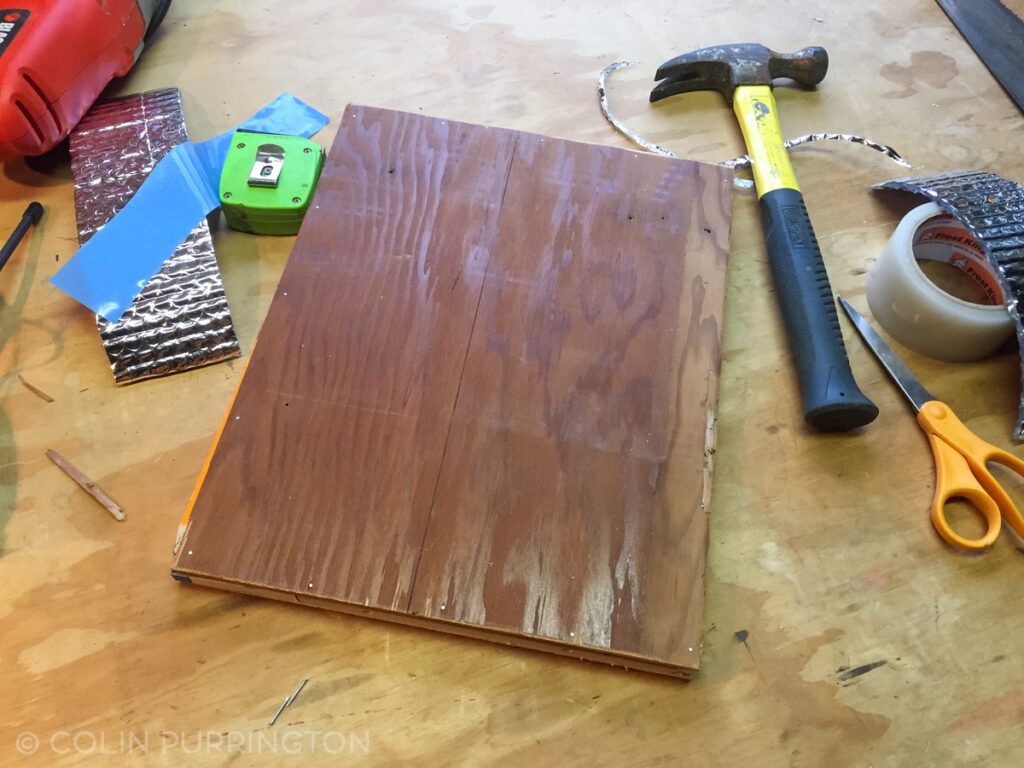
Pop door before painting 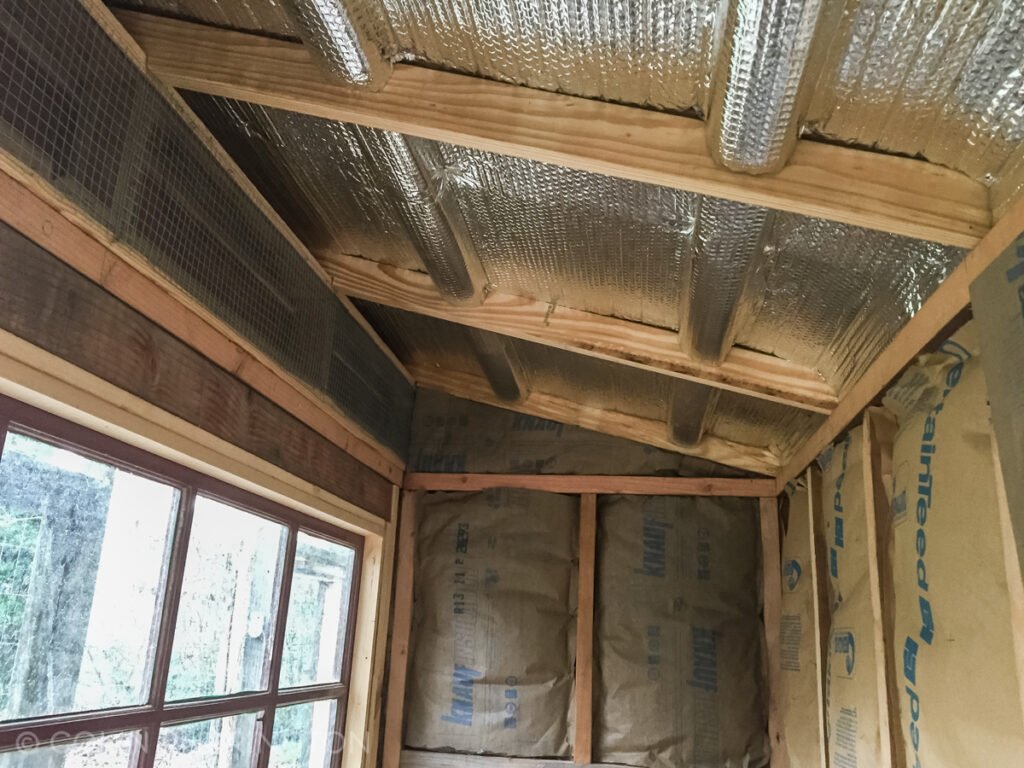
Insulation installed 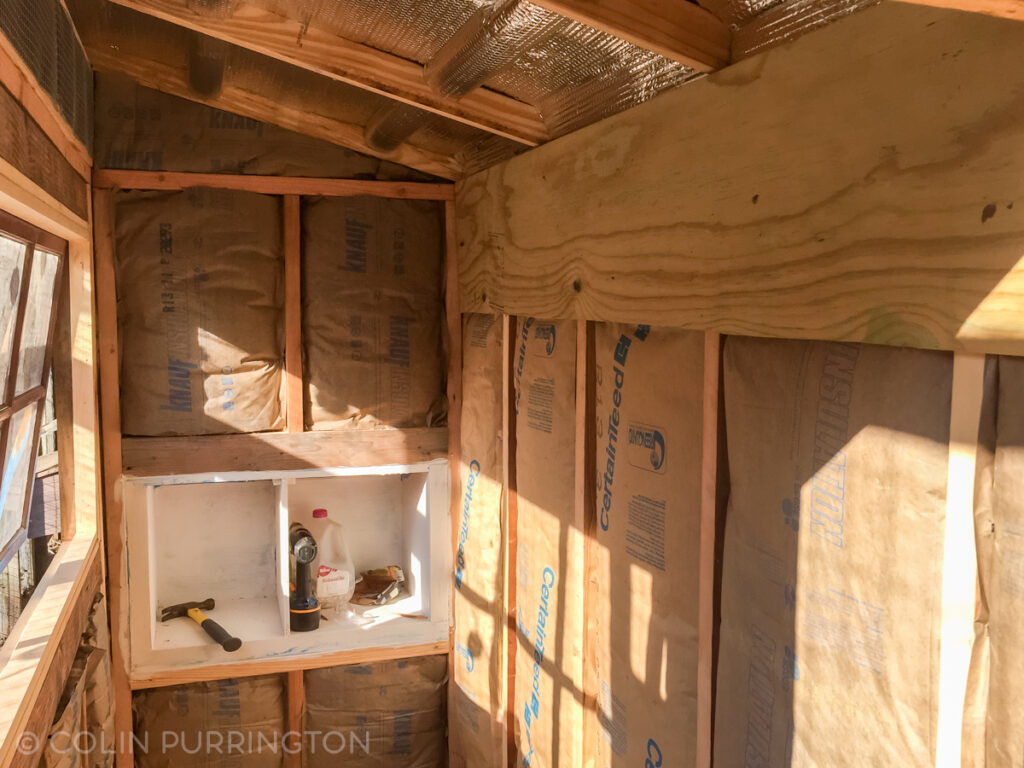
Interior sheathing goes on 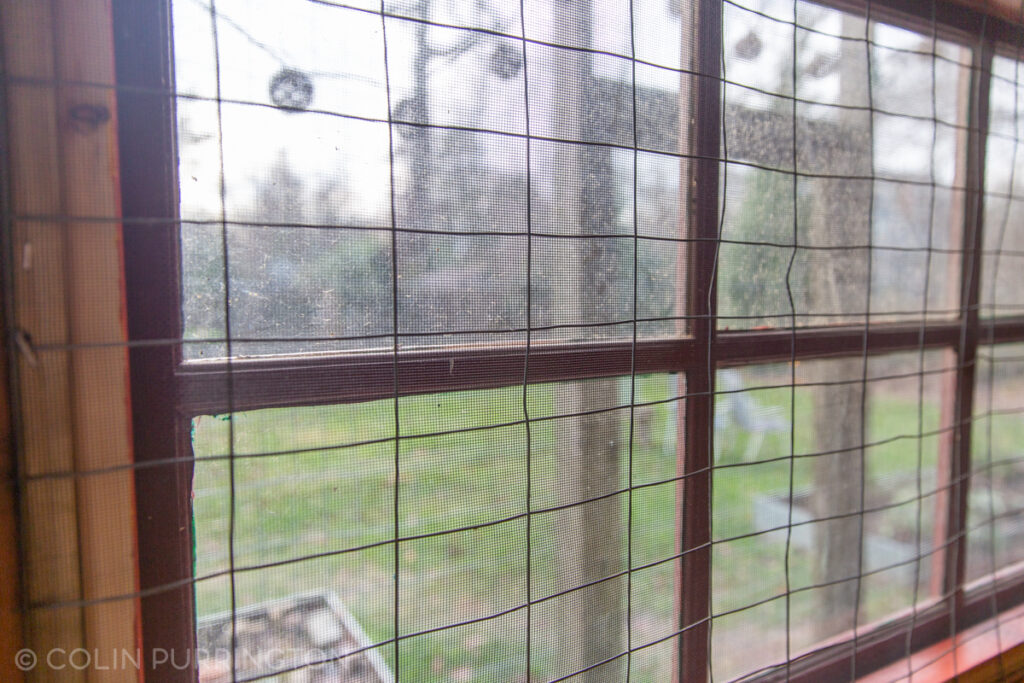
Wire, screening for window 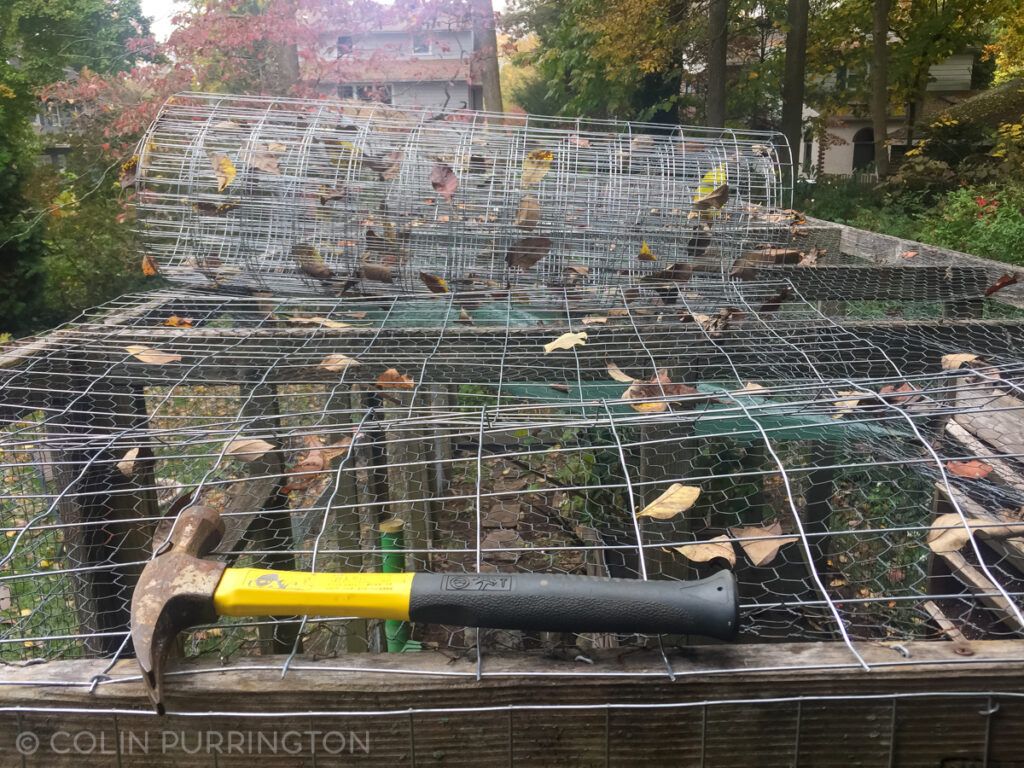
Adding wire fencing to run 
Hardware cloth on perimeter
Tips for building a chicken coop
- Tour local chicken coops for inspiration before you do anything else. You can’t do this online … pinning hundreds of ideas to your Pinterest boards simply poisons the brain and you really need to see actual coops and talk to actual chicken people who, surprise, know things.
- Join or create a local Facebook or Nextdoor group that traffics in free things. I got window, door, and almost all the lumber free. People have things sitting around and you really just need to ask. There’s absolutely no reason why chickens will care if things don’t match or are broken in some way.
- Start collecting materials months in advance so you can plan your coop before you start building. E.g., don’t finalize your framing plans until you know the dimensions of your windows and doors.
- If you can find a cheap or free shed, do it. Moving a shed and converting it to a chicken coop is infinitely easier and cheaper than building your own. I enjoyed building mine from scratch but it took a long time given I didn’t know what I was doing.
- Equip the inside with removable ramps and perches so that you can fix your building mistakes. Similarly, opt for screws instead of nails. Then you can watch the chickens on a security camera for a week or so and then reconfigure items. I.e., perhaps your ramp needs more cleats — easier to just pull it out and take it to the shop for that mod.
- Finish your coop before ordering chickens. It’s going to take longer to build than you think.